 "Rust and Dust - Oppositelock Forever" (rustanddust)
12/14/2016 at 15:29 ē Filed to: None
 4
4
 7
7
 "Rust and Dust - Oppositelock Forever" (rustanddust)
12/14/2016 at 15:29 ē Filed to: None |  4 4
|  7 7 |
Just finished up with a partial restoration on a Ď70 El Camino that I thought Iíd share. Itís only a partial restoration in the sense that our customer is rather mechanically inclined, so he disassembled the vehicle, stripped paint/old body filler, and completed all the drive line and suspension upgrades, and had already powder coated the frame. Heís also handling the post-paint reassembly, save for some awkward chrome installation we did for him. We were just tasked with undoing 46 years of wear, tear, collision damage, and lack of corrosion protection/body sealing technology.
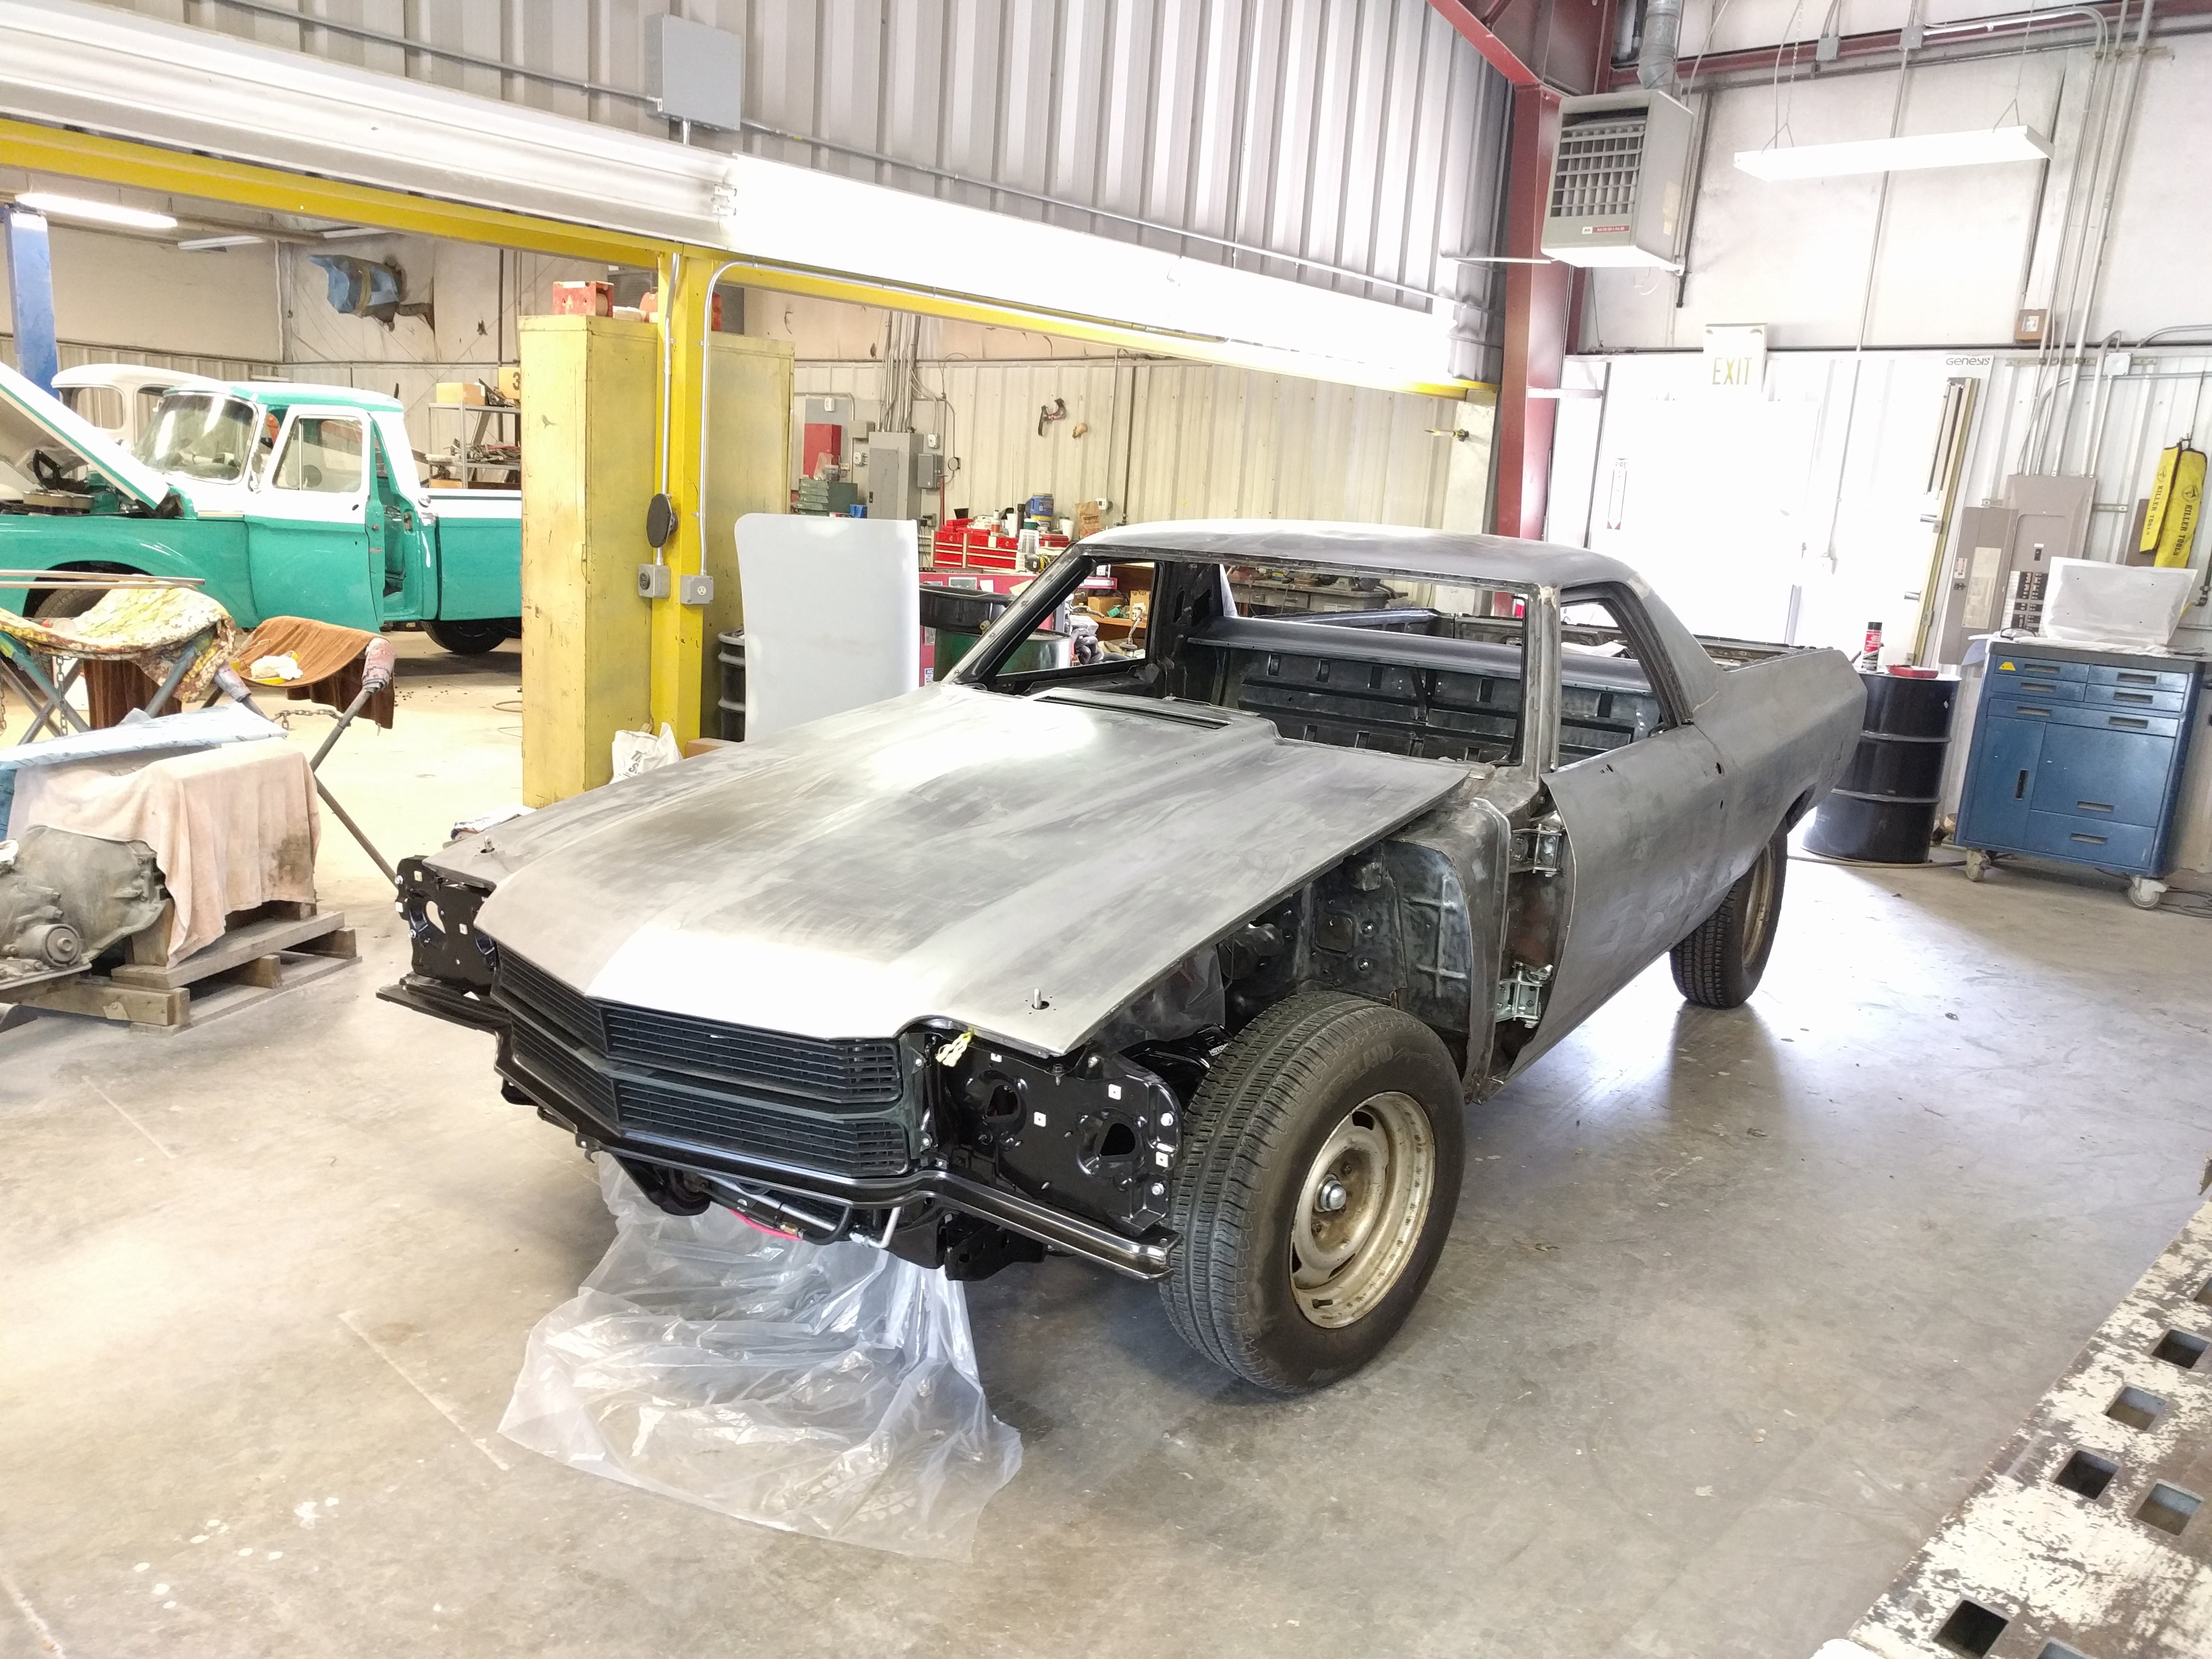
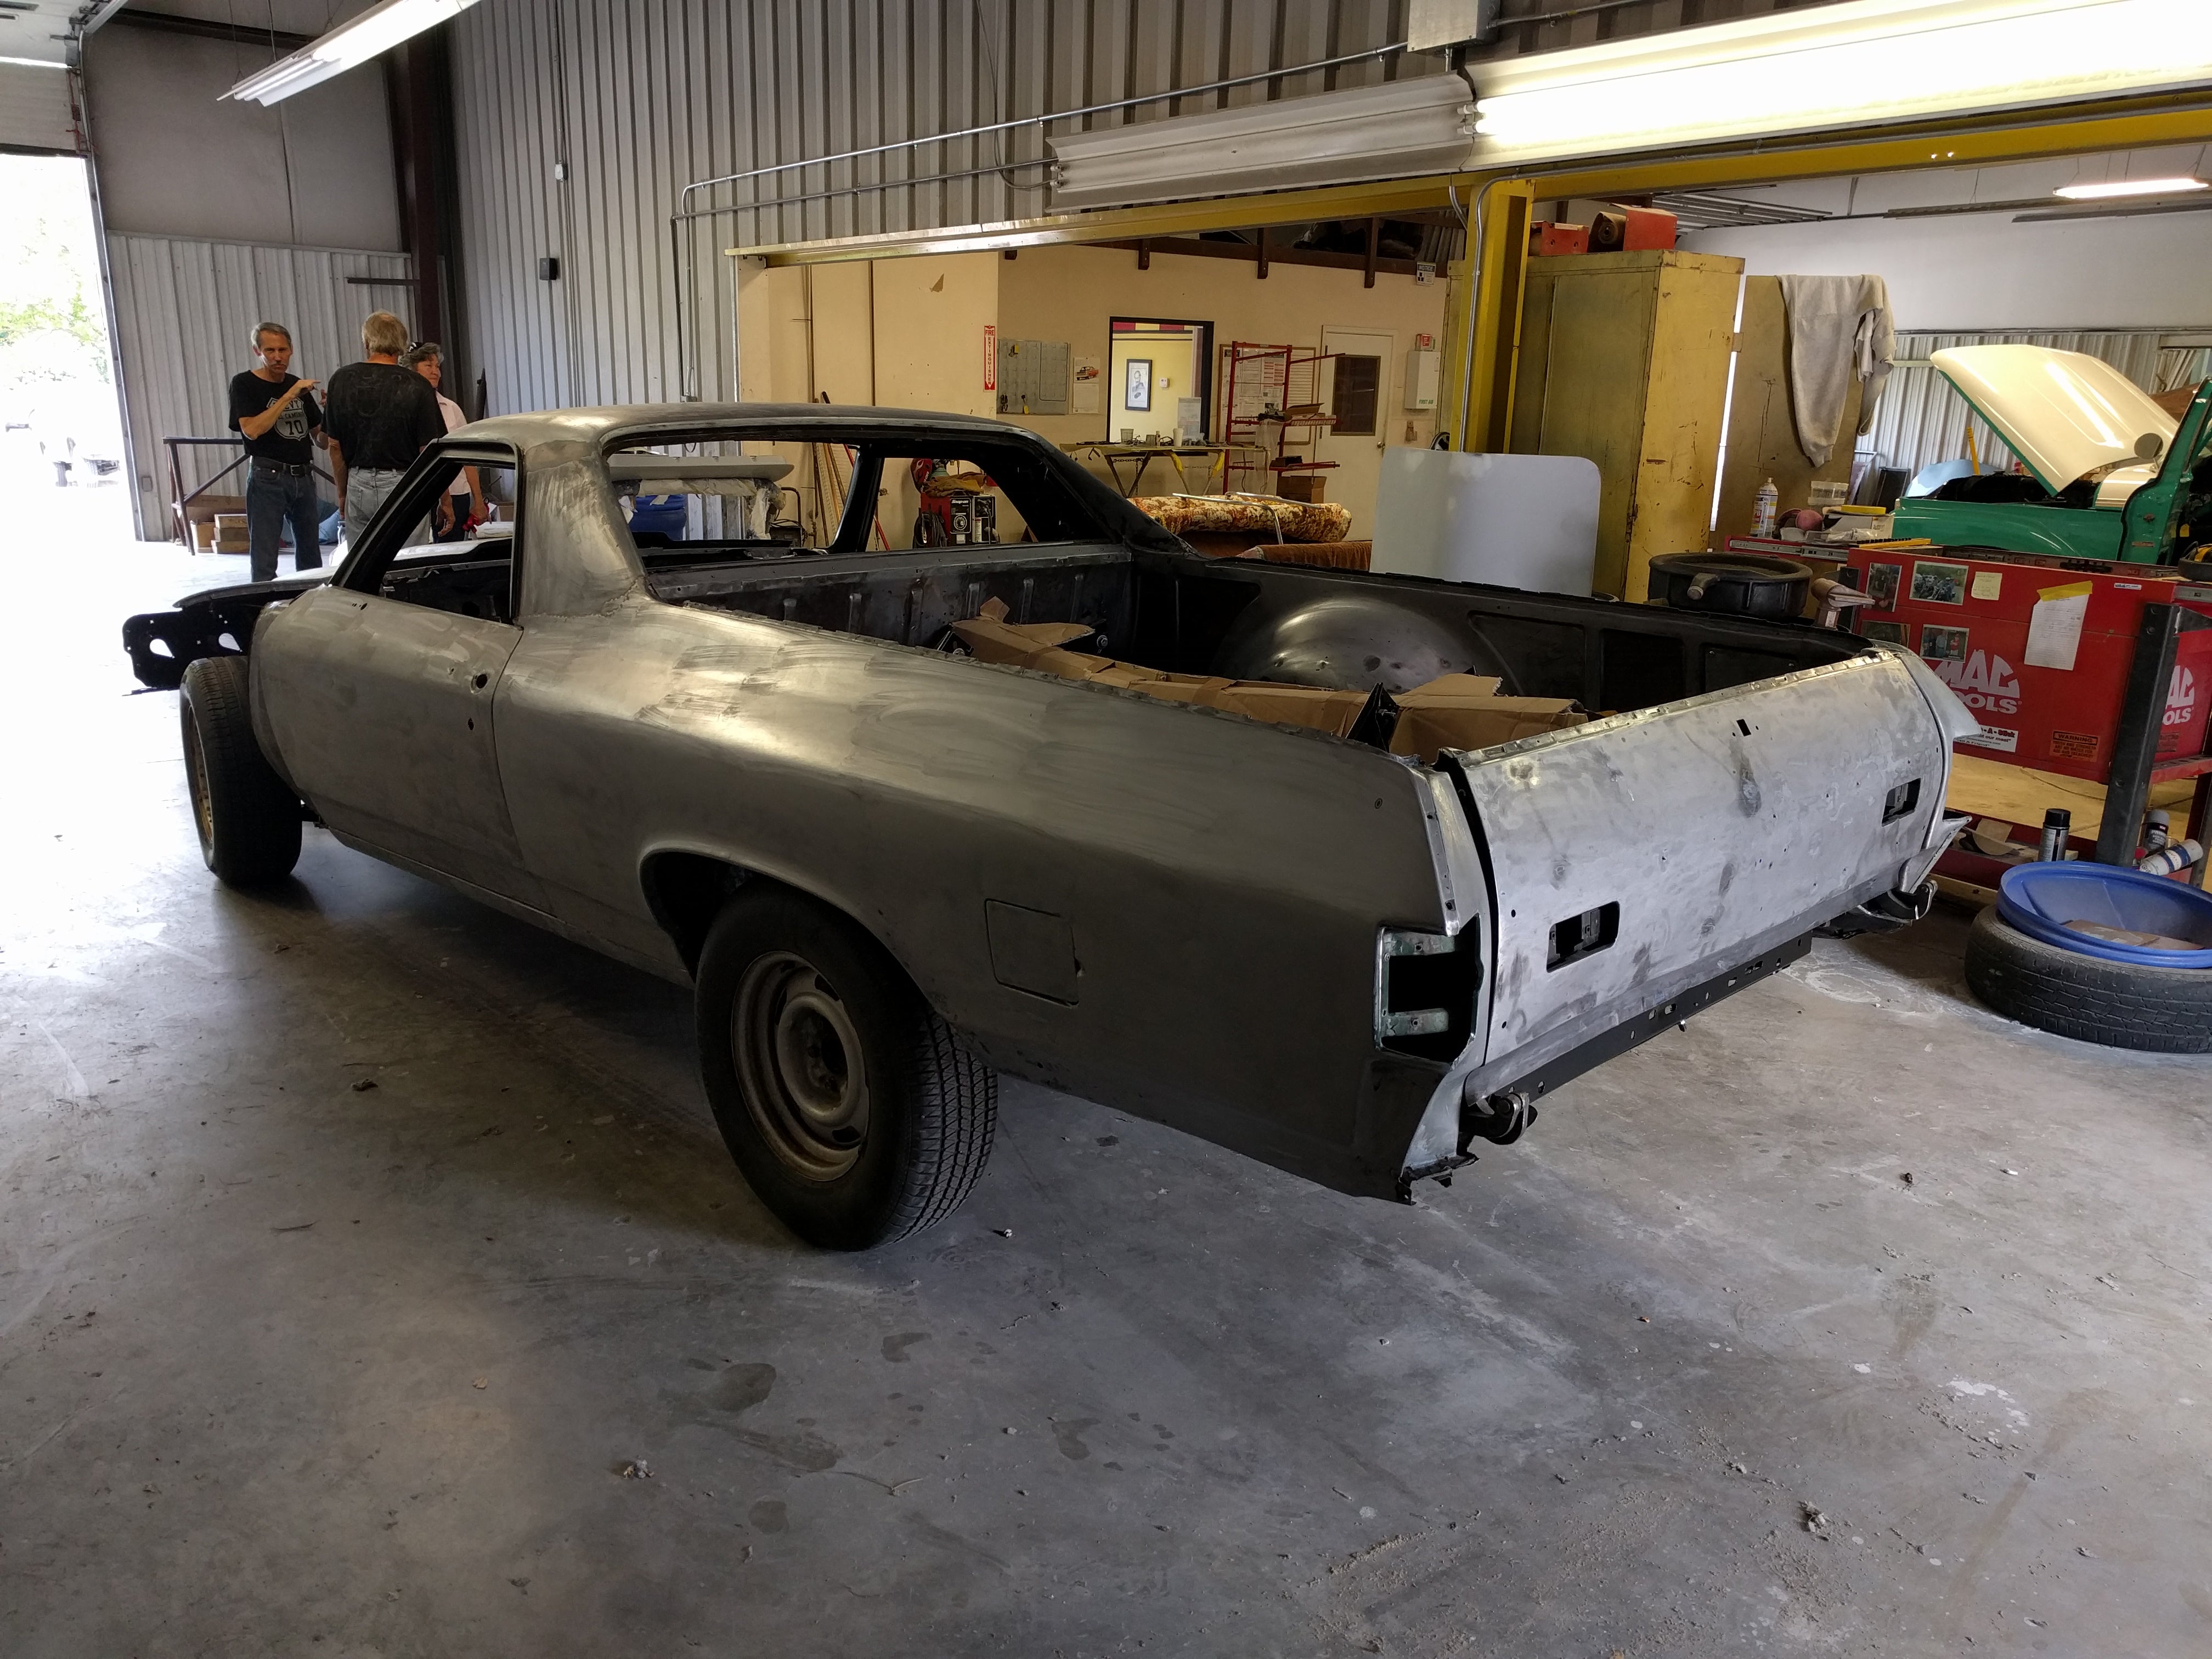
Note the horrendous gap at the rear of the left bedside and tailgate.
Corrosion-wise, this vehicle was in pretty good condition. Our customer had picked it up a few years ago from Arizona, and itís had a nice, warm, dry spot in his garage since then. There was a bit of rot on the sides of the firewall/cowl, and a handful of minor pinholes, but overall a solid vehicle. The worst bit was a collision it had been involved in 35(?) years ago, that seemingly received the ďcave and paveĒ body filler repair approach.
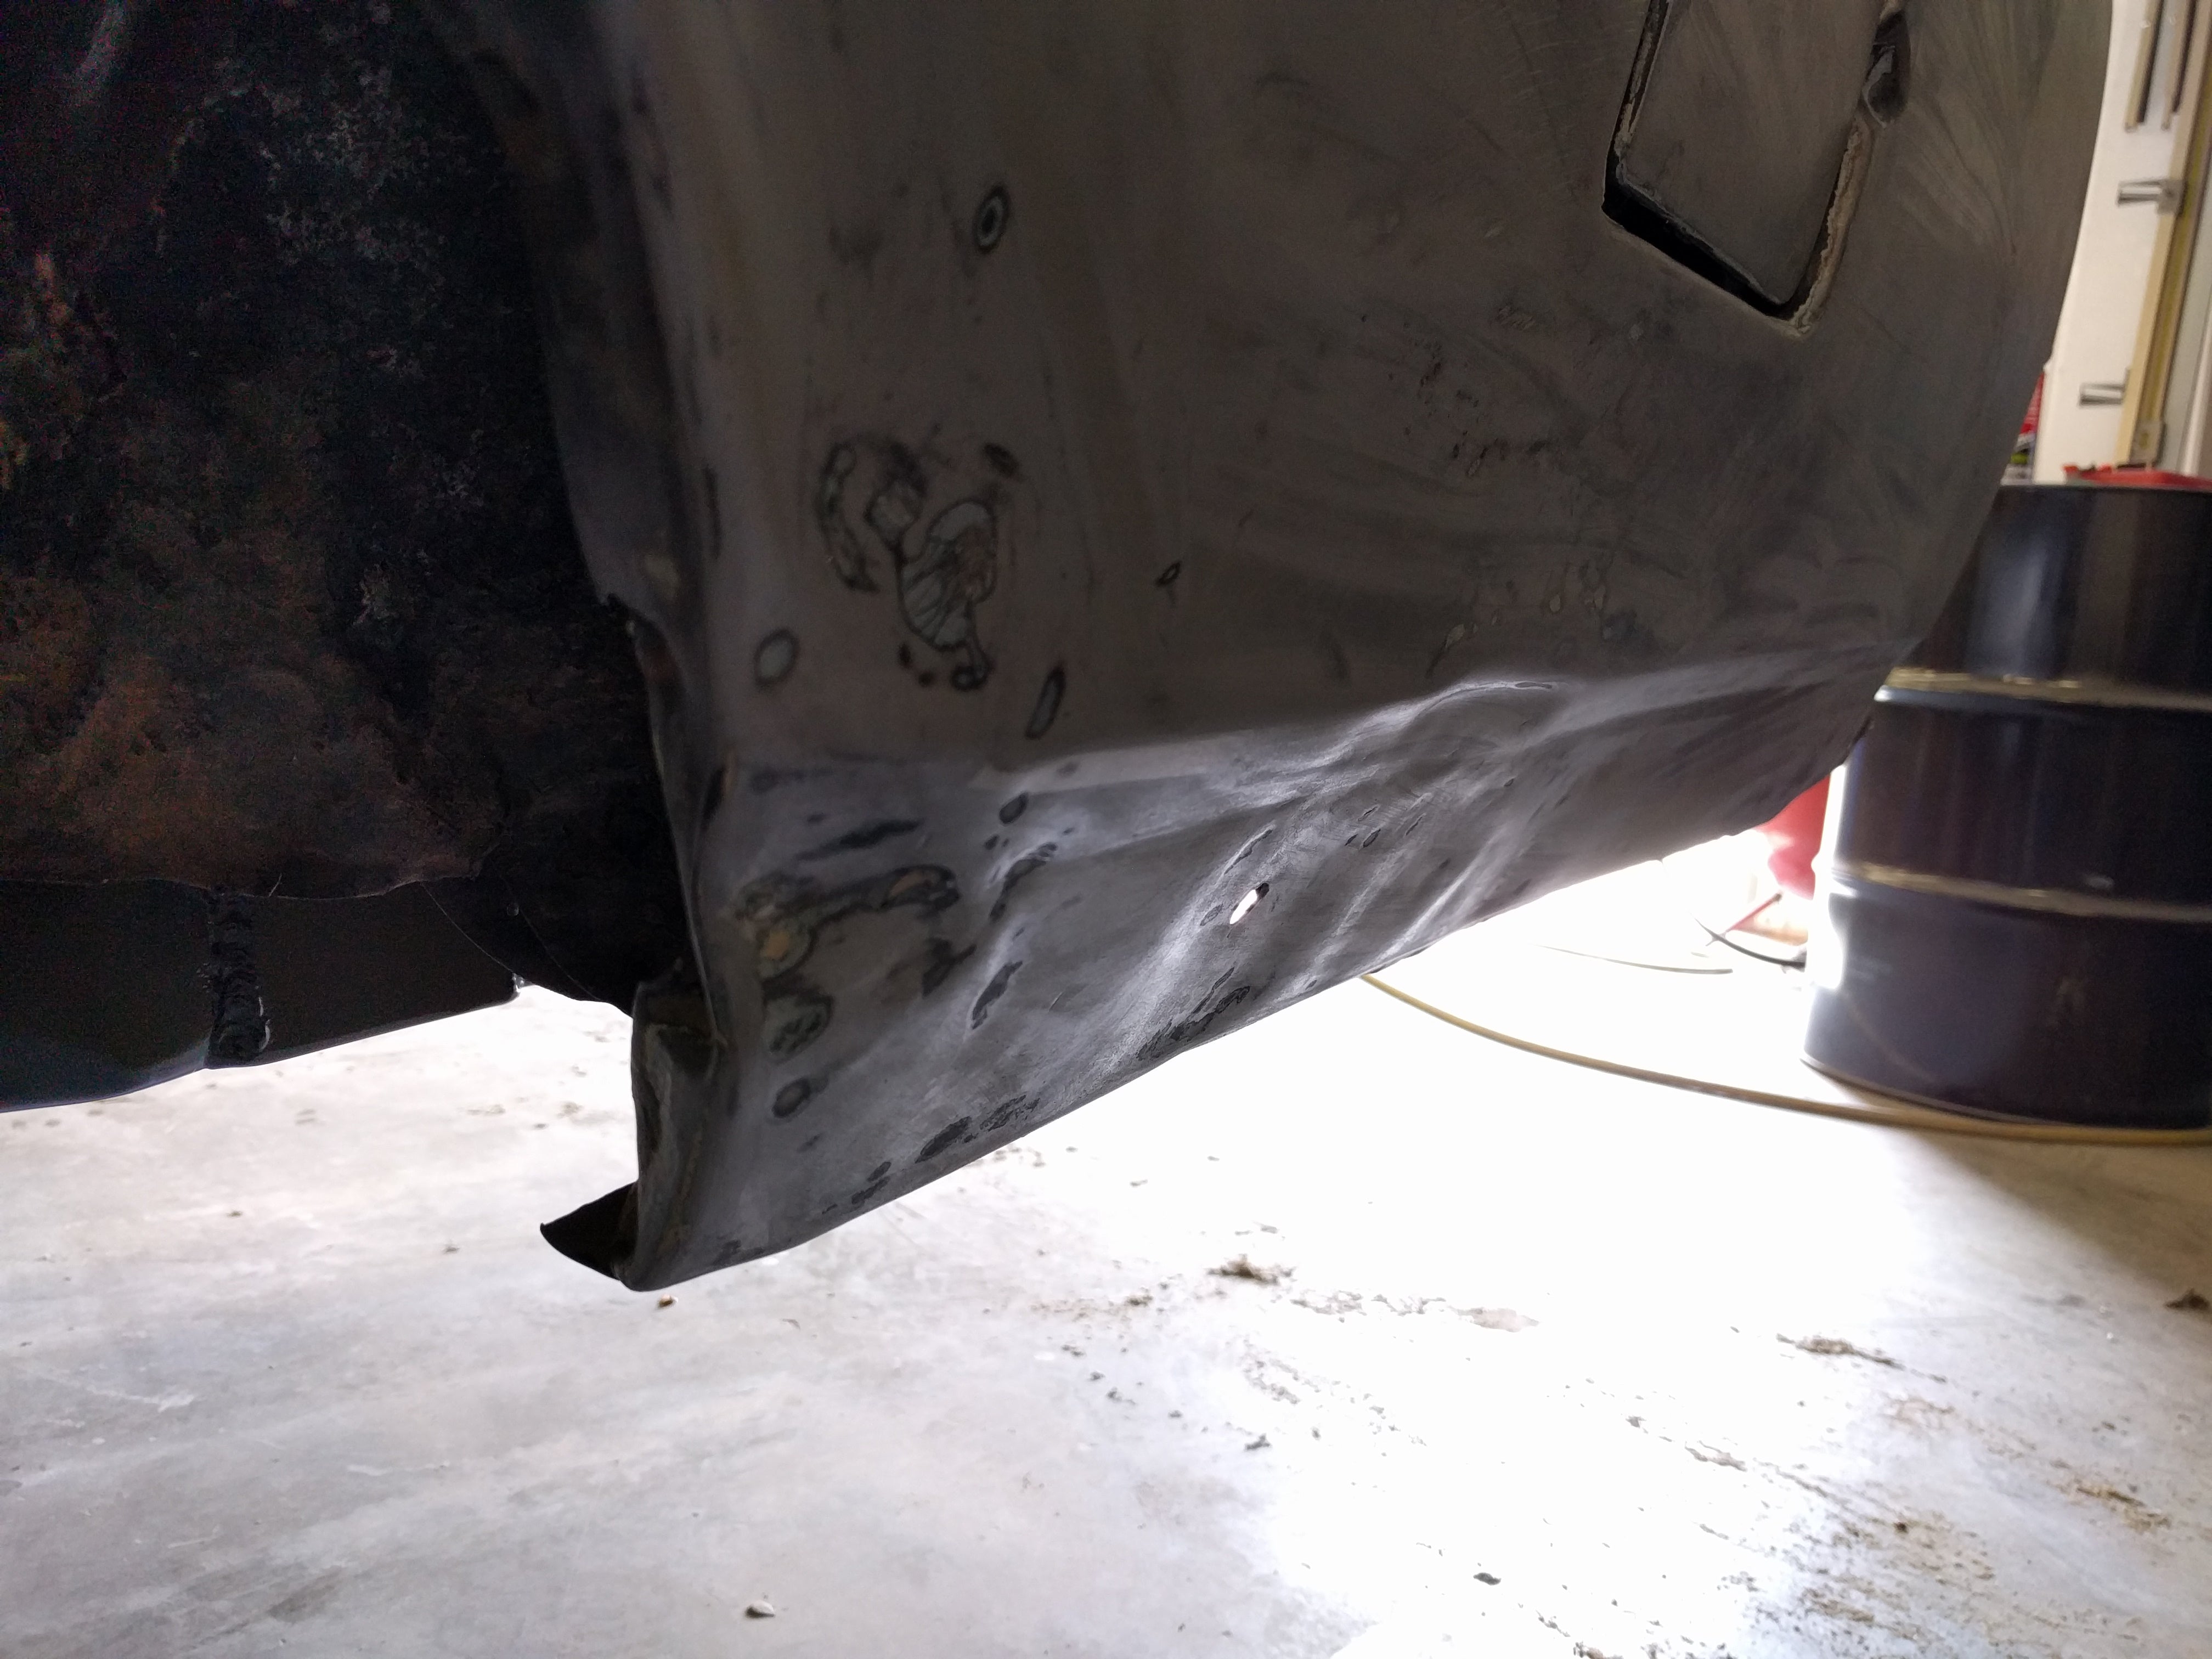
This probably couldíve been metal finished a bit better, and the fuel door is a bit...off.
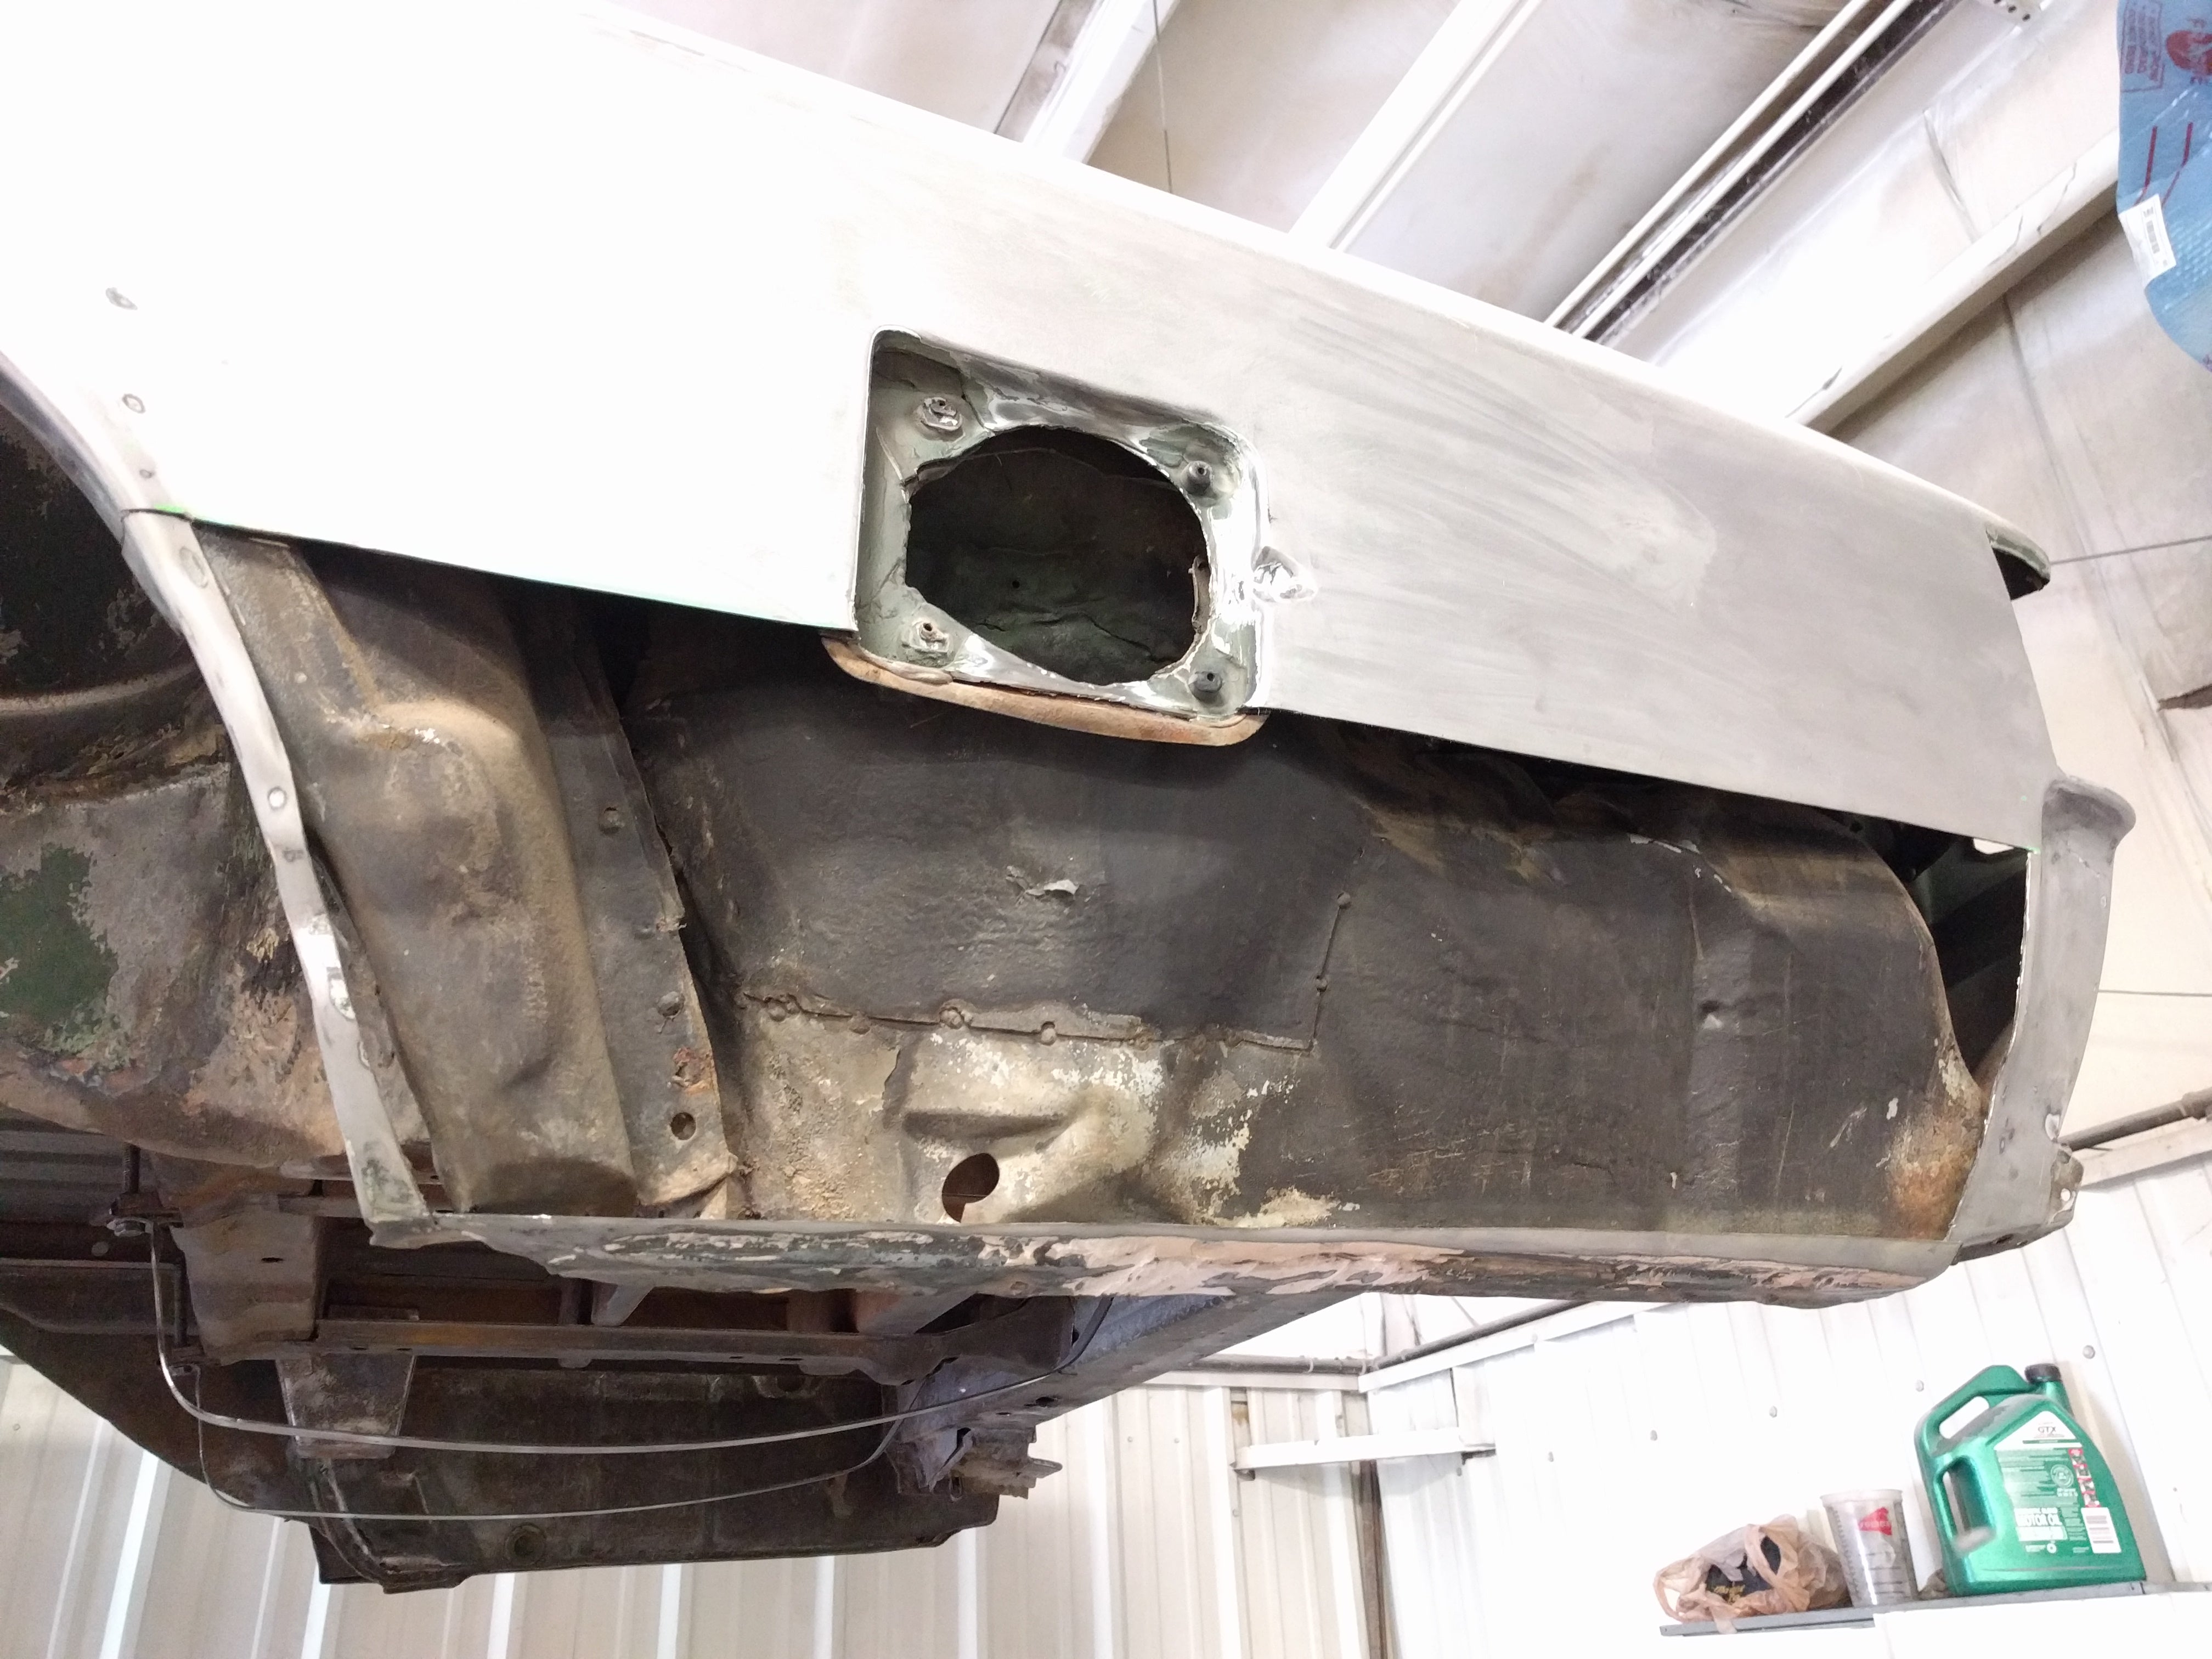
Why hello there crushed fuel neck, inner bedside, and wheelhouse.
Once we cut away the distorted lower left bedside in preparation for a patch panel, we found that weíd be needing more than a patch panel. The inner quarter had been crushed and bent, and was holding the quarter panel in the wrong place. The only way to fix it without a heroic application of body filler to align panels again was to replace the wheelhouse, rear inner panel, and quarter panel (P.S: we have a nice left quarter patch panel for sale for a 1970 El Camino now...)
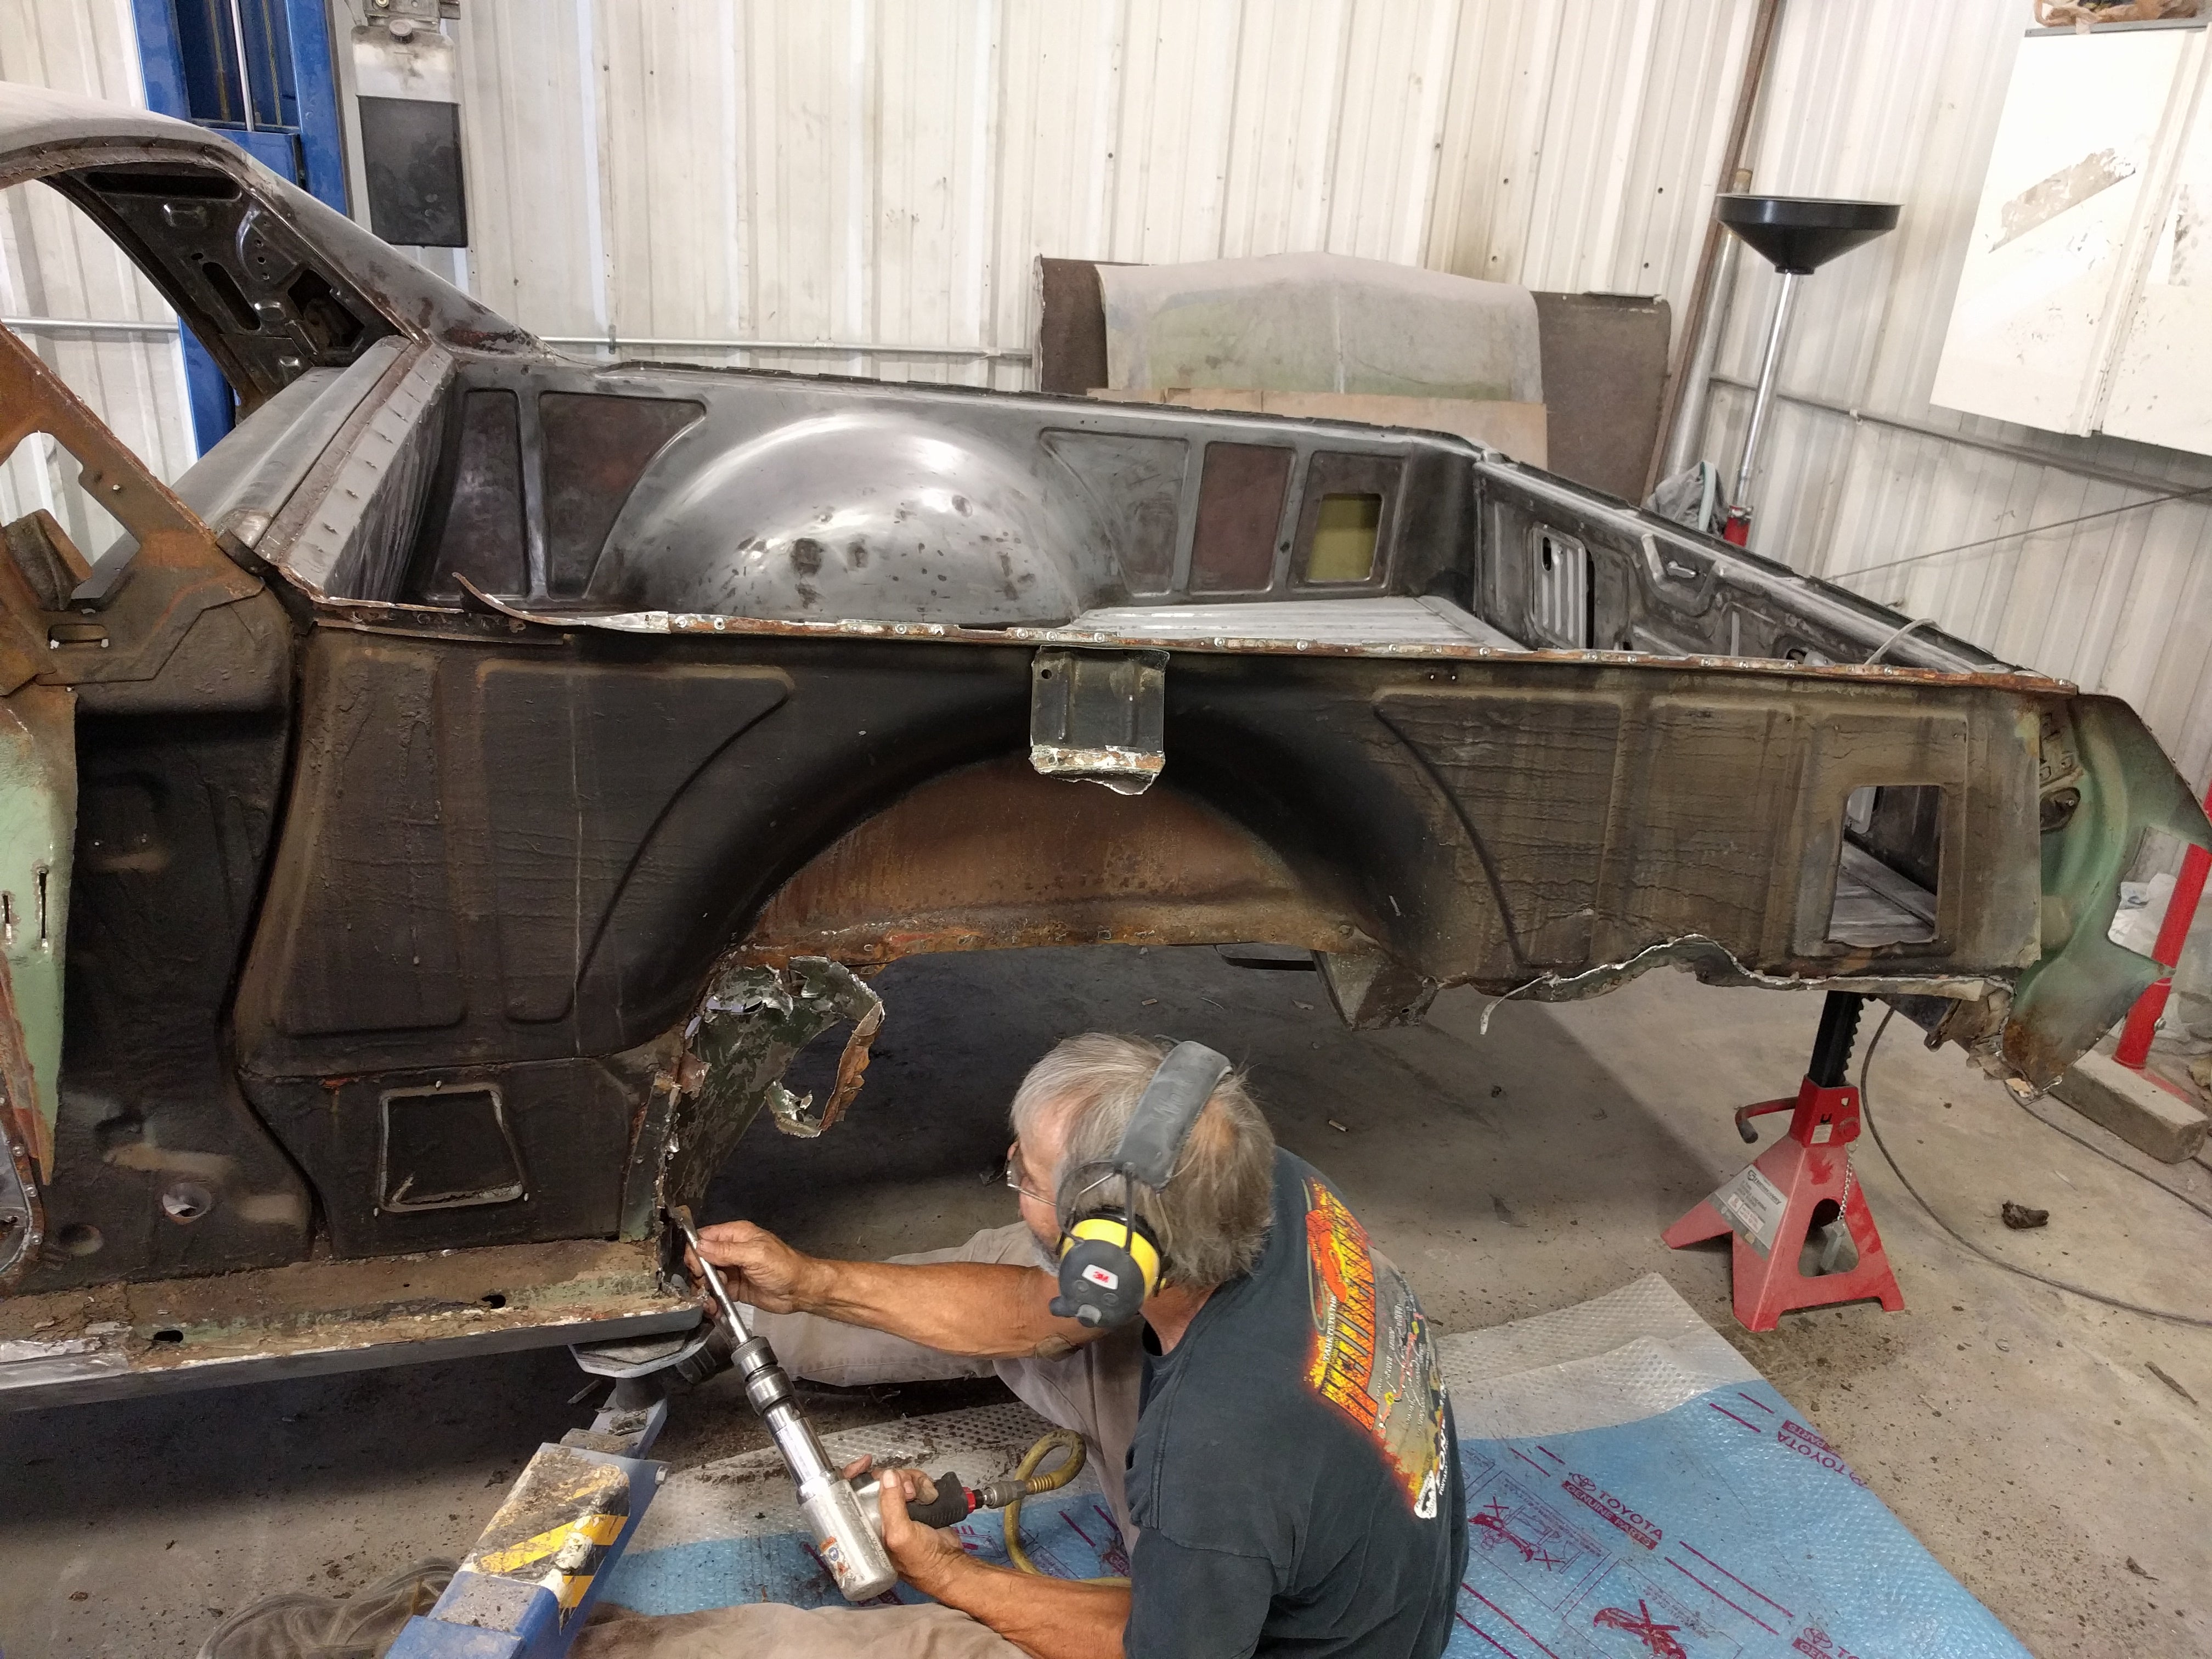
Removal of trashed metal
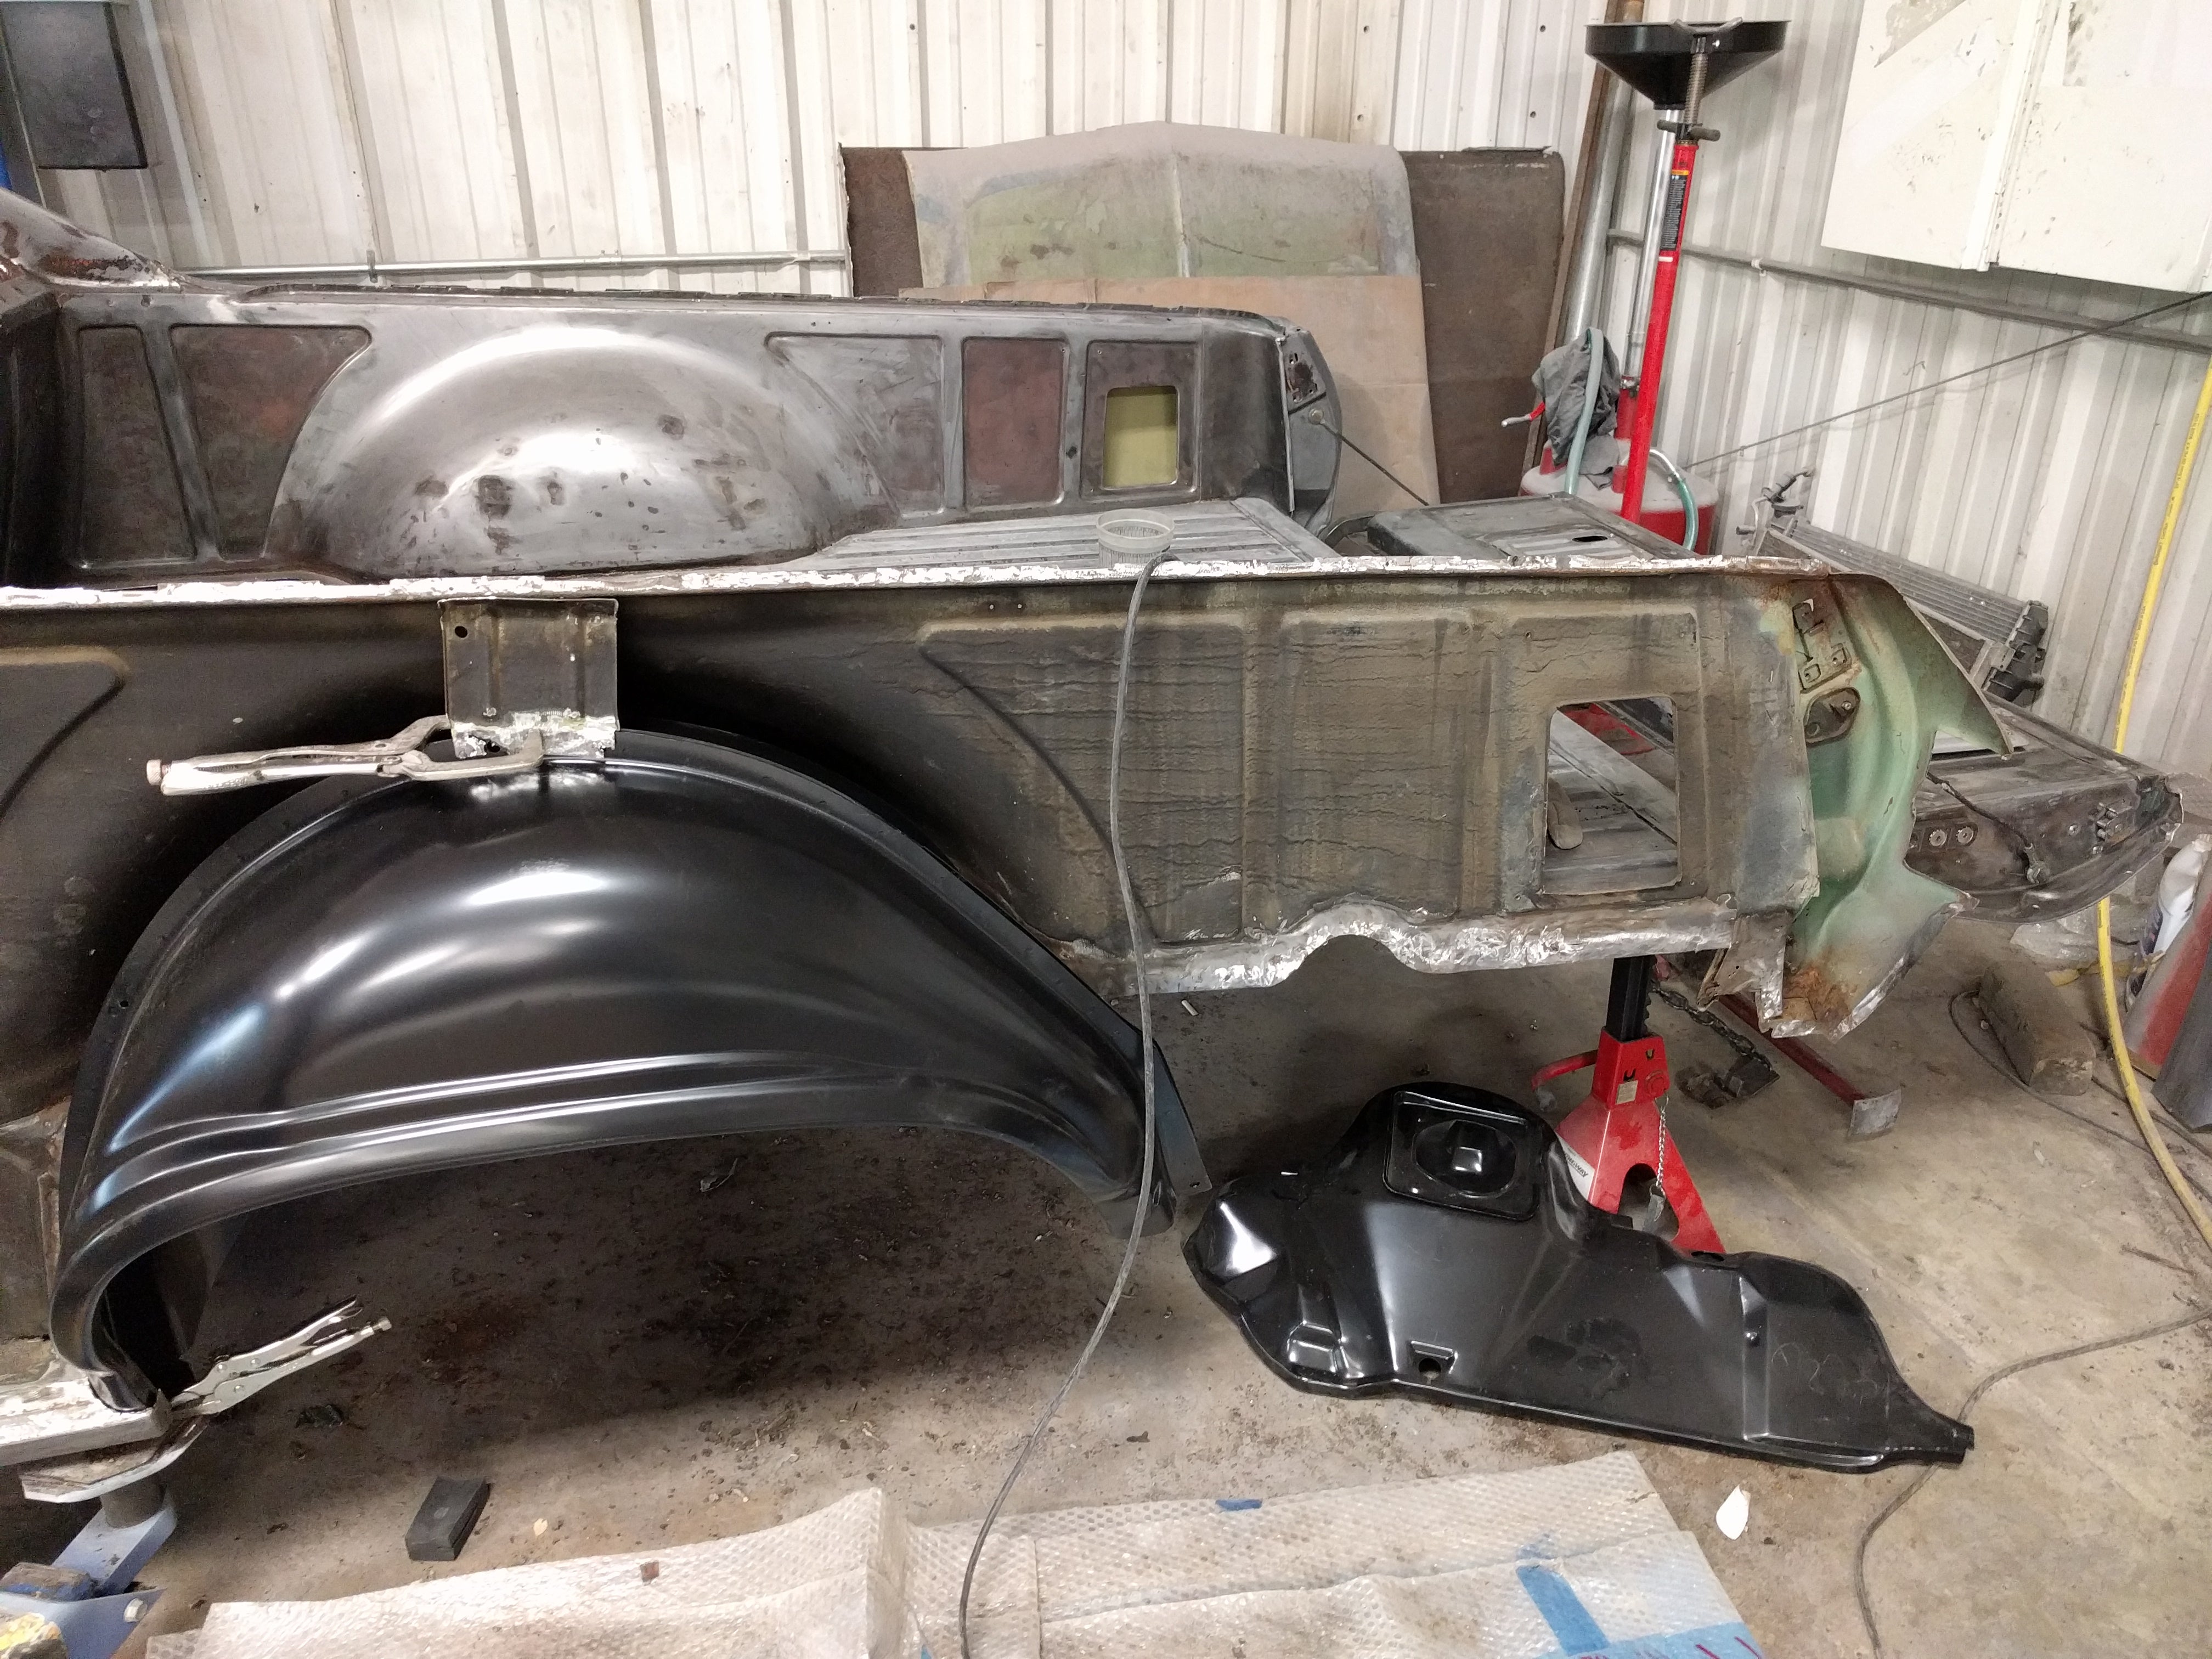
Mockup of wheelhouse
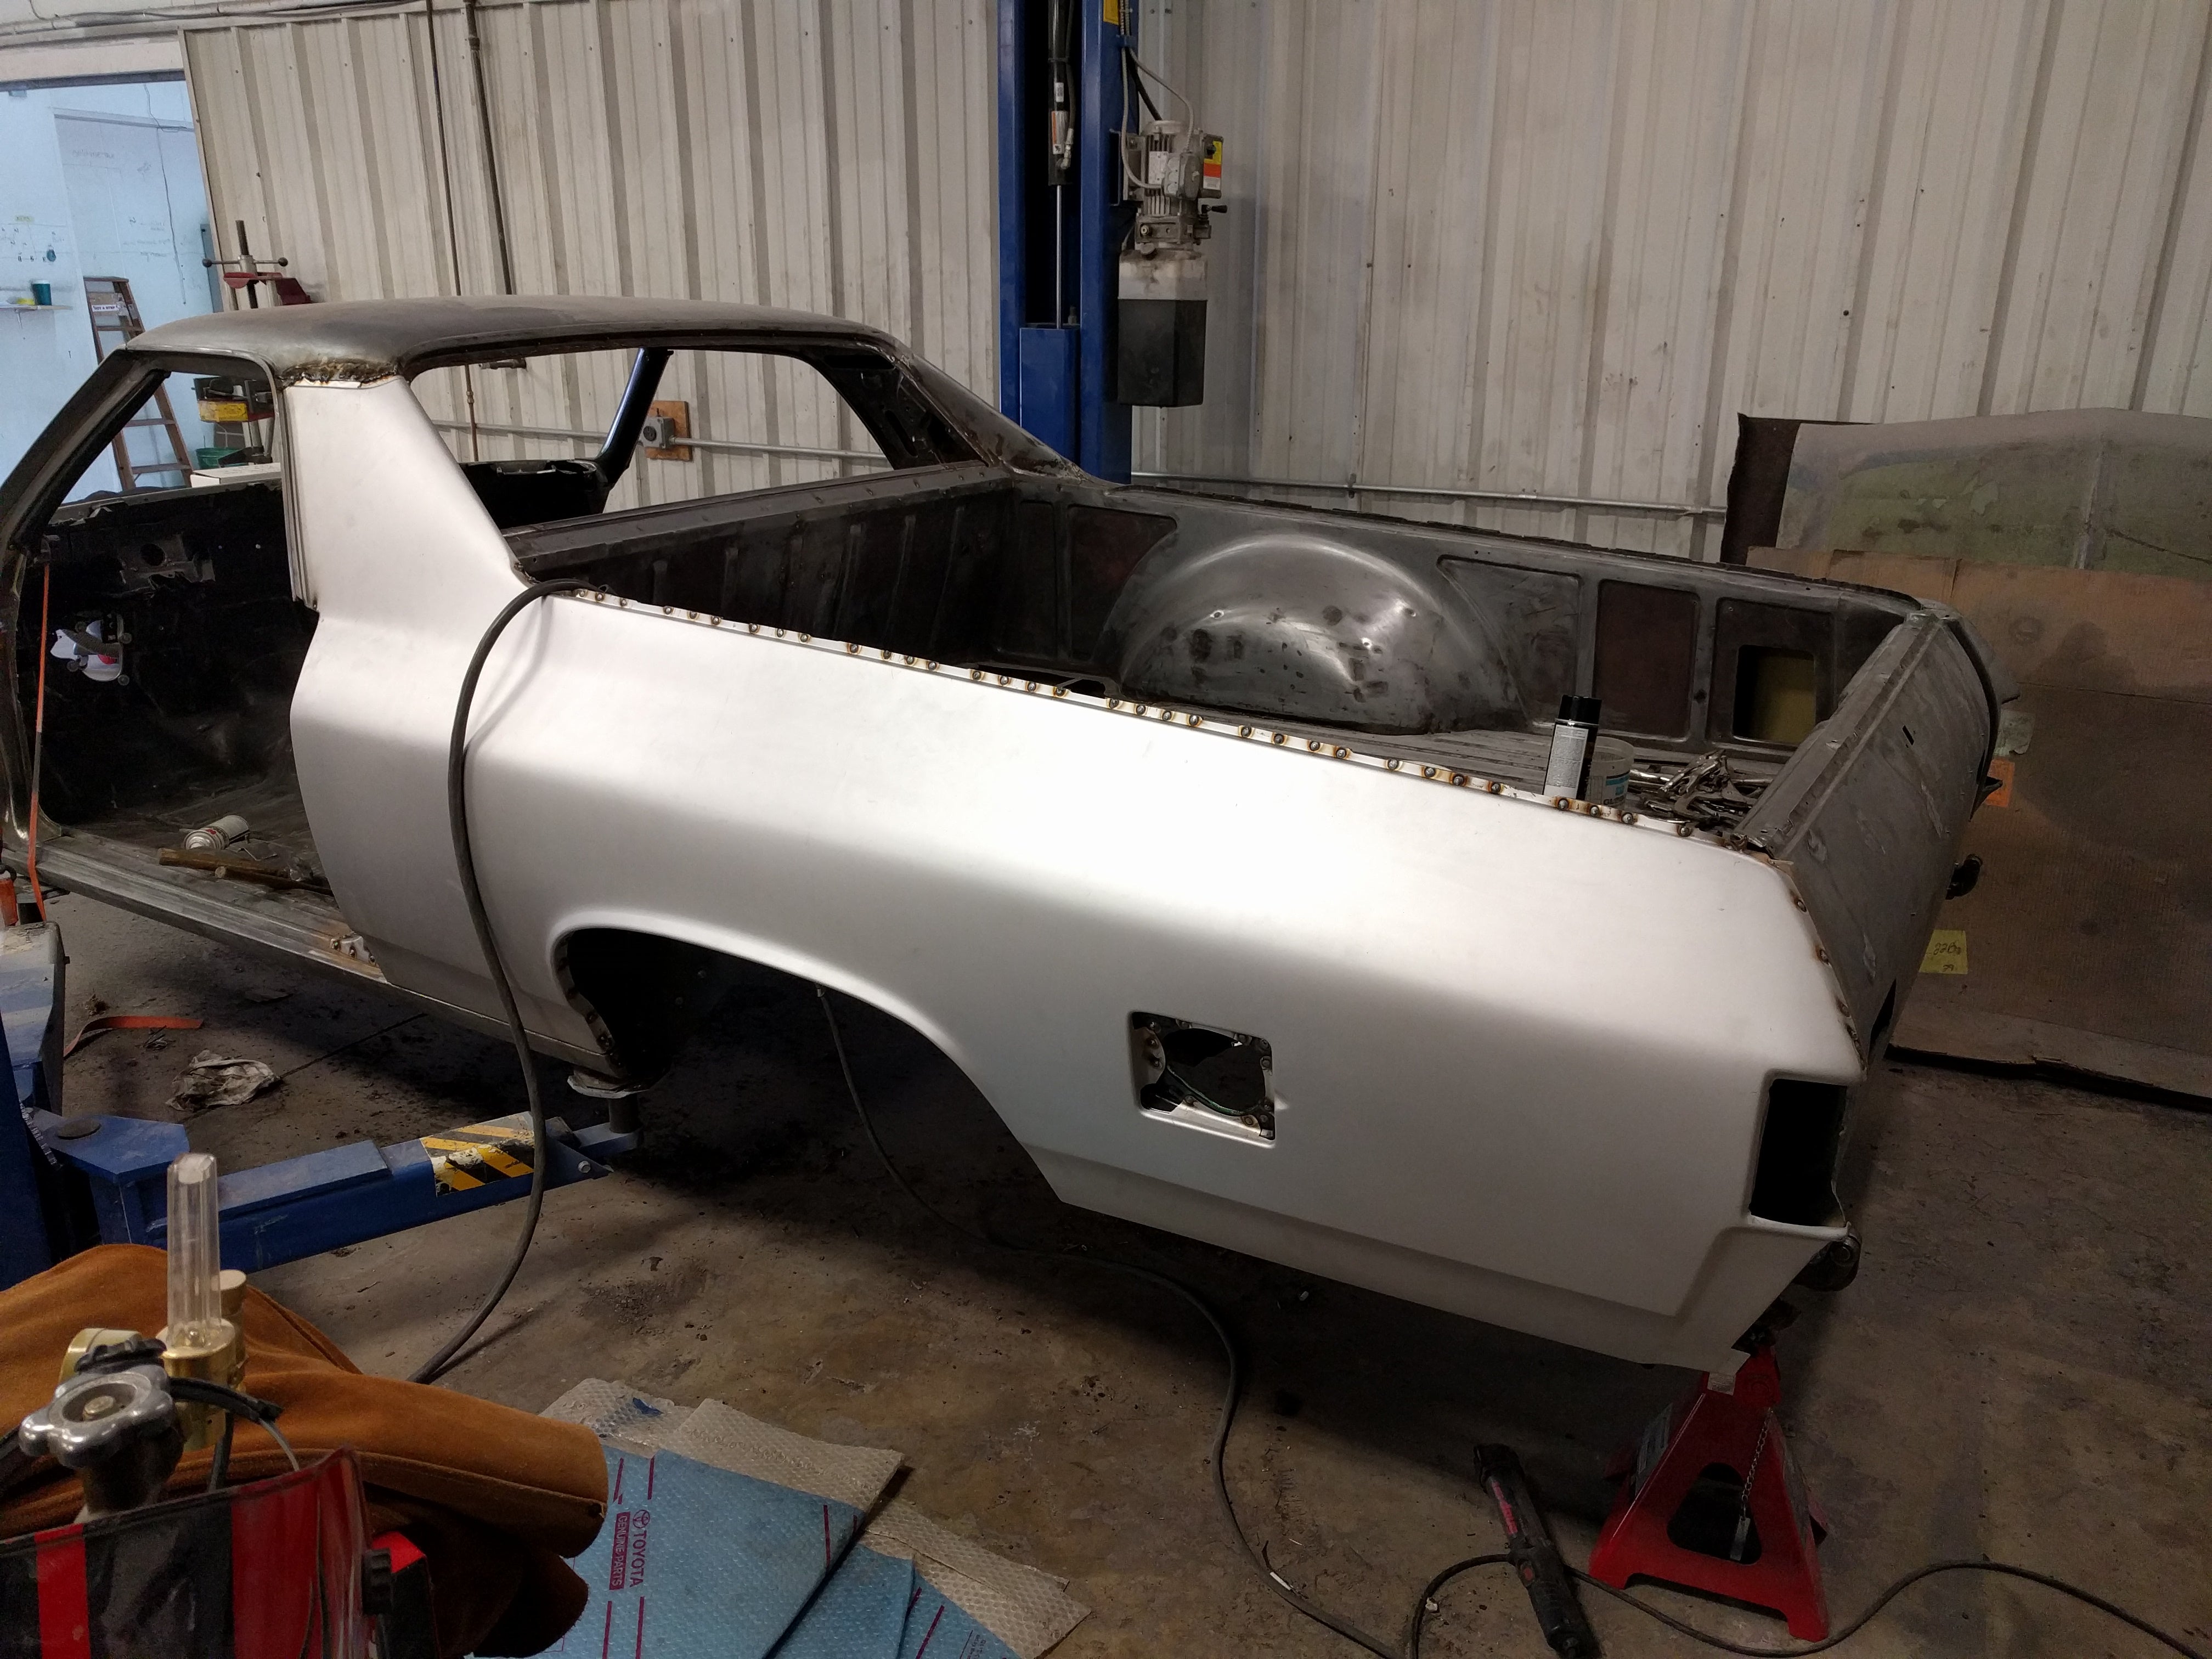
Fin.
Once the metalwork was done, we applied a coat of epoxy primer to the entire vehicle, painted the firewall, undercoated the body, set the body back on the frame, and began the arduous process of applying body filler, and sanding 75% of it back off again.
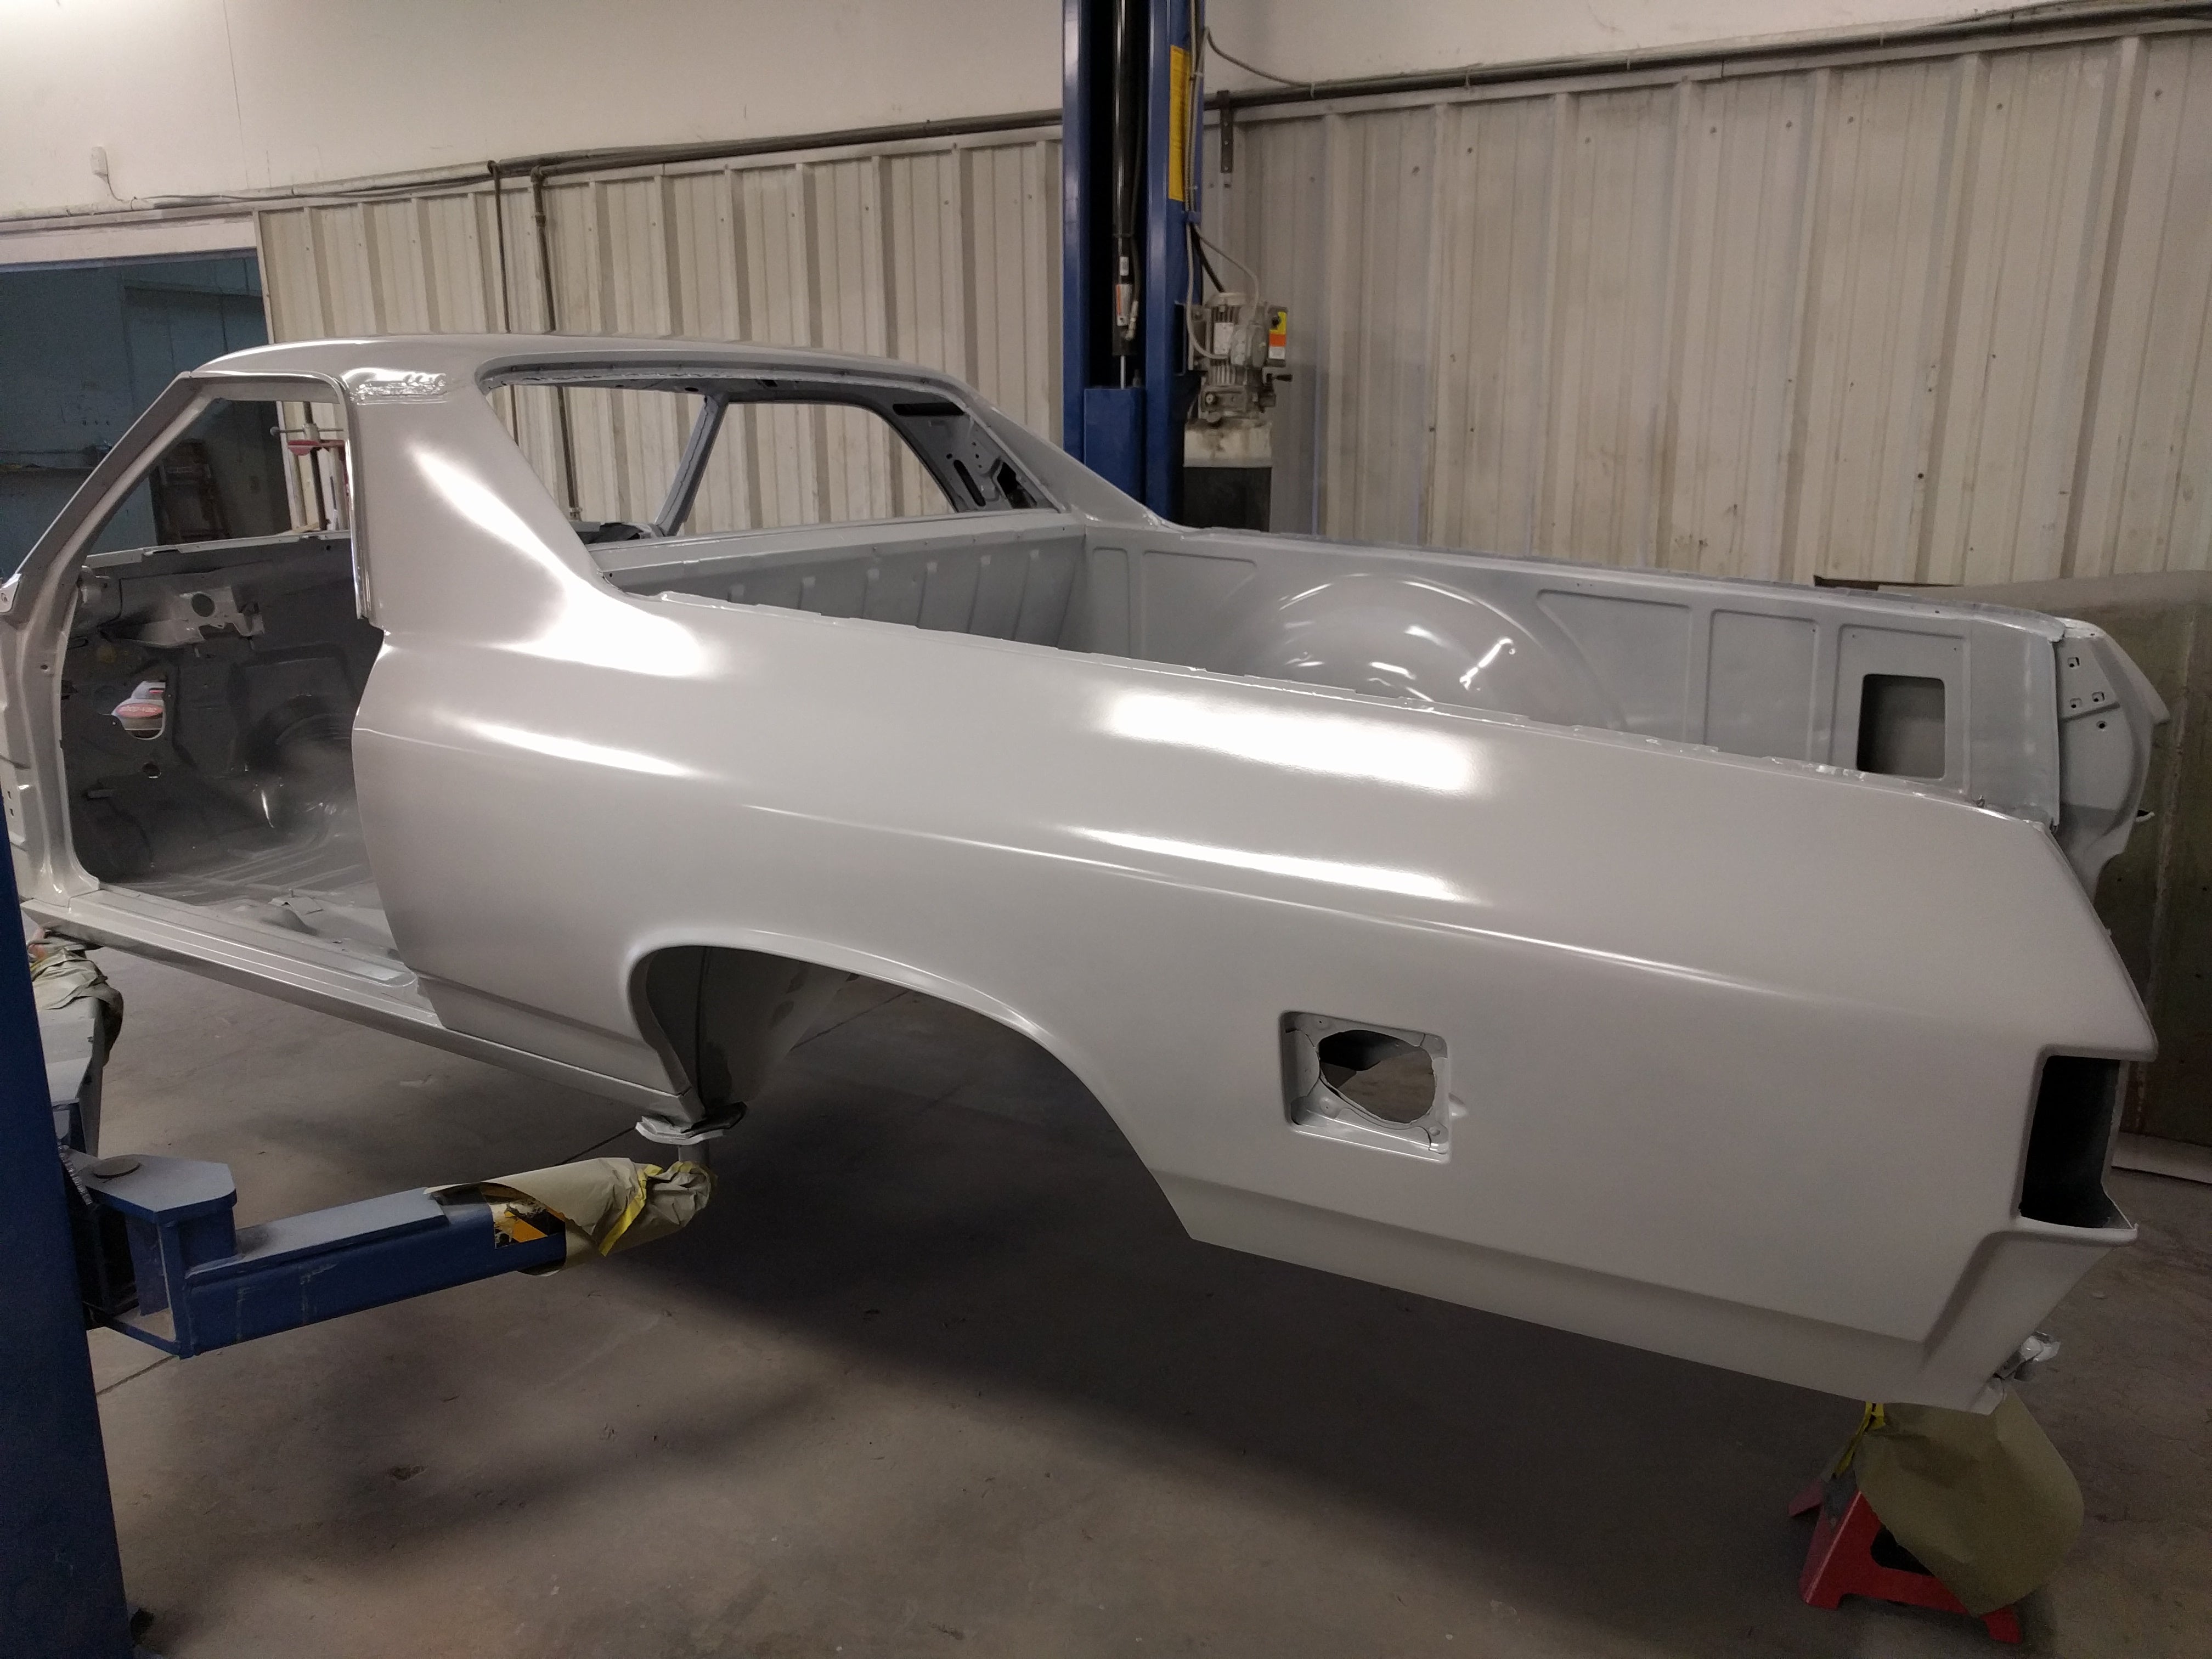
Donít touch me, Iím still wet.
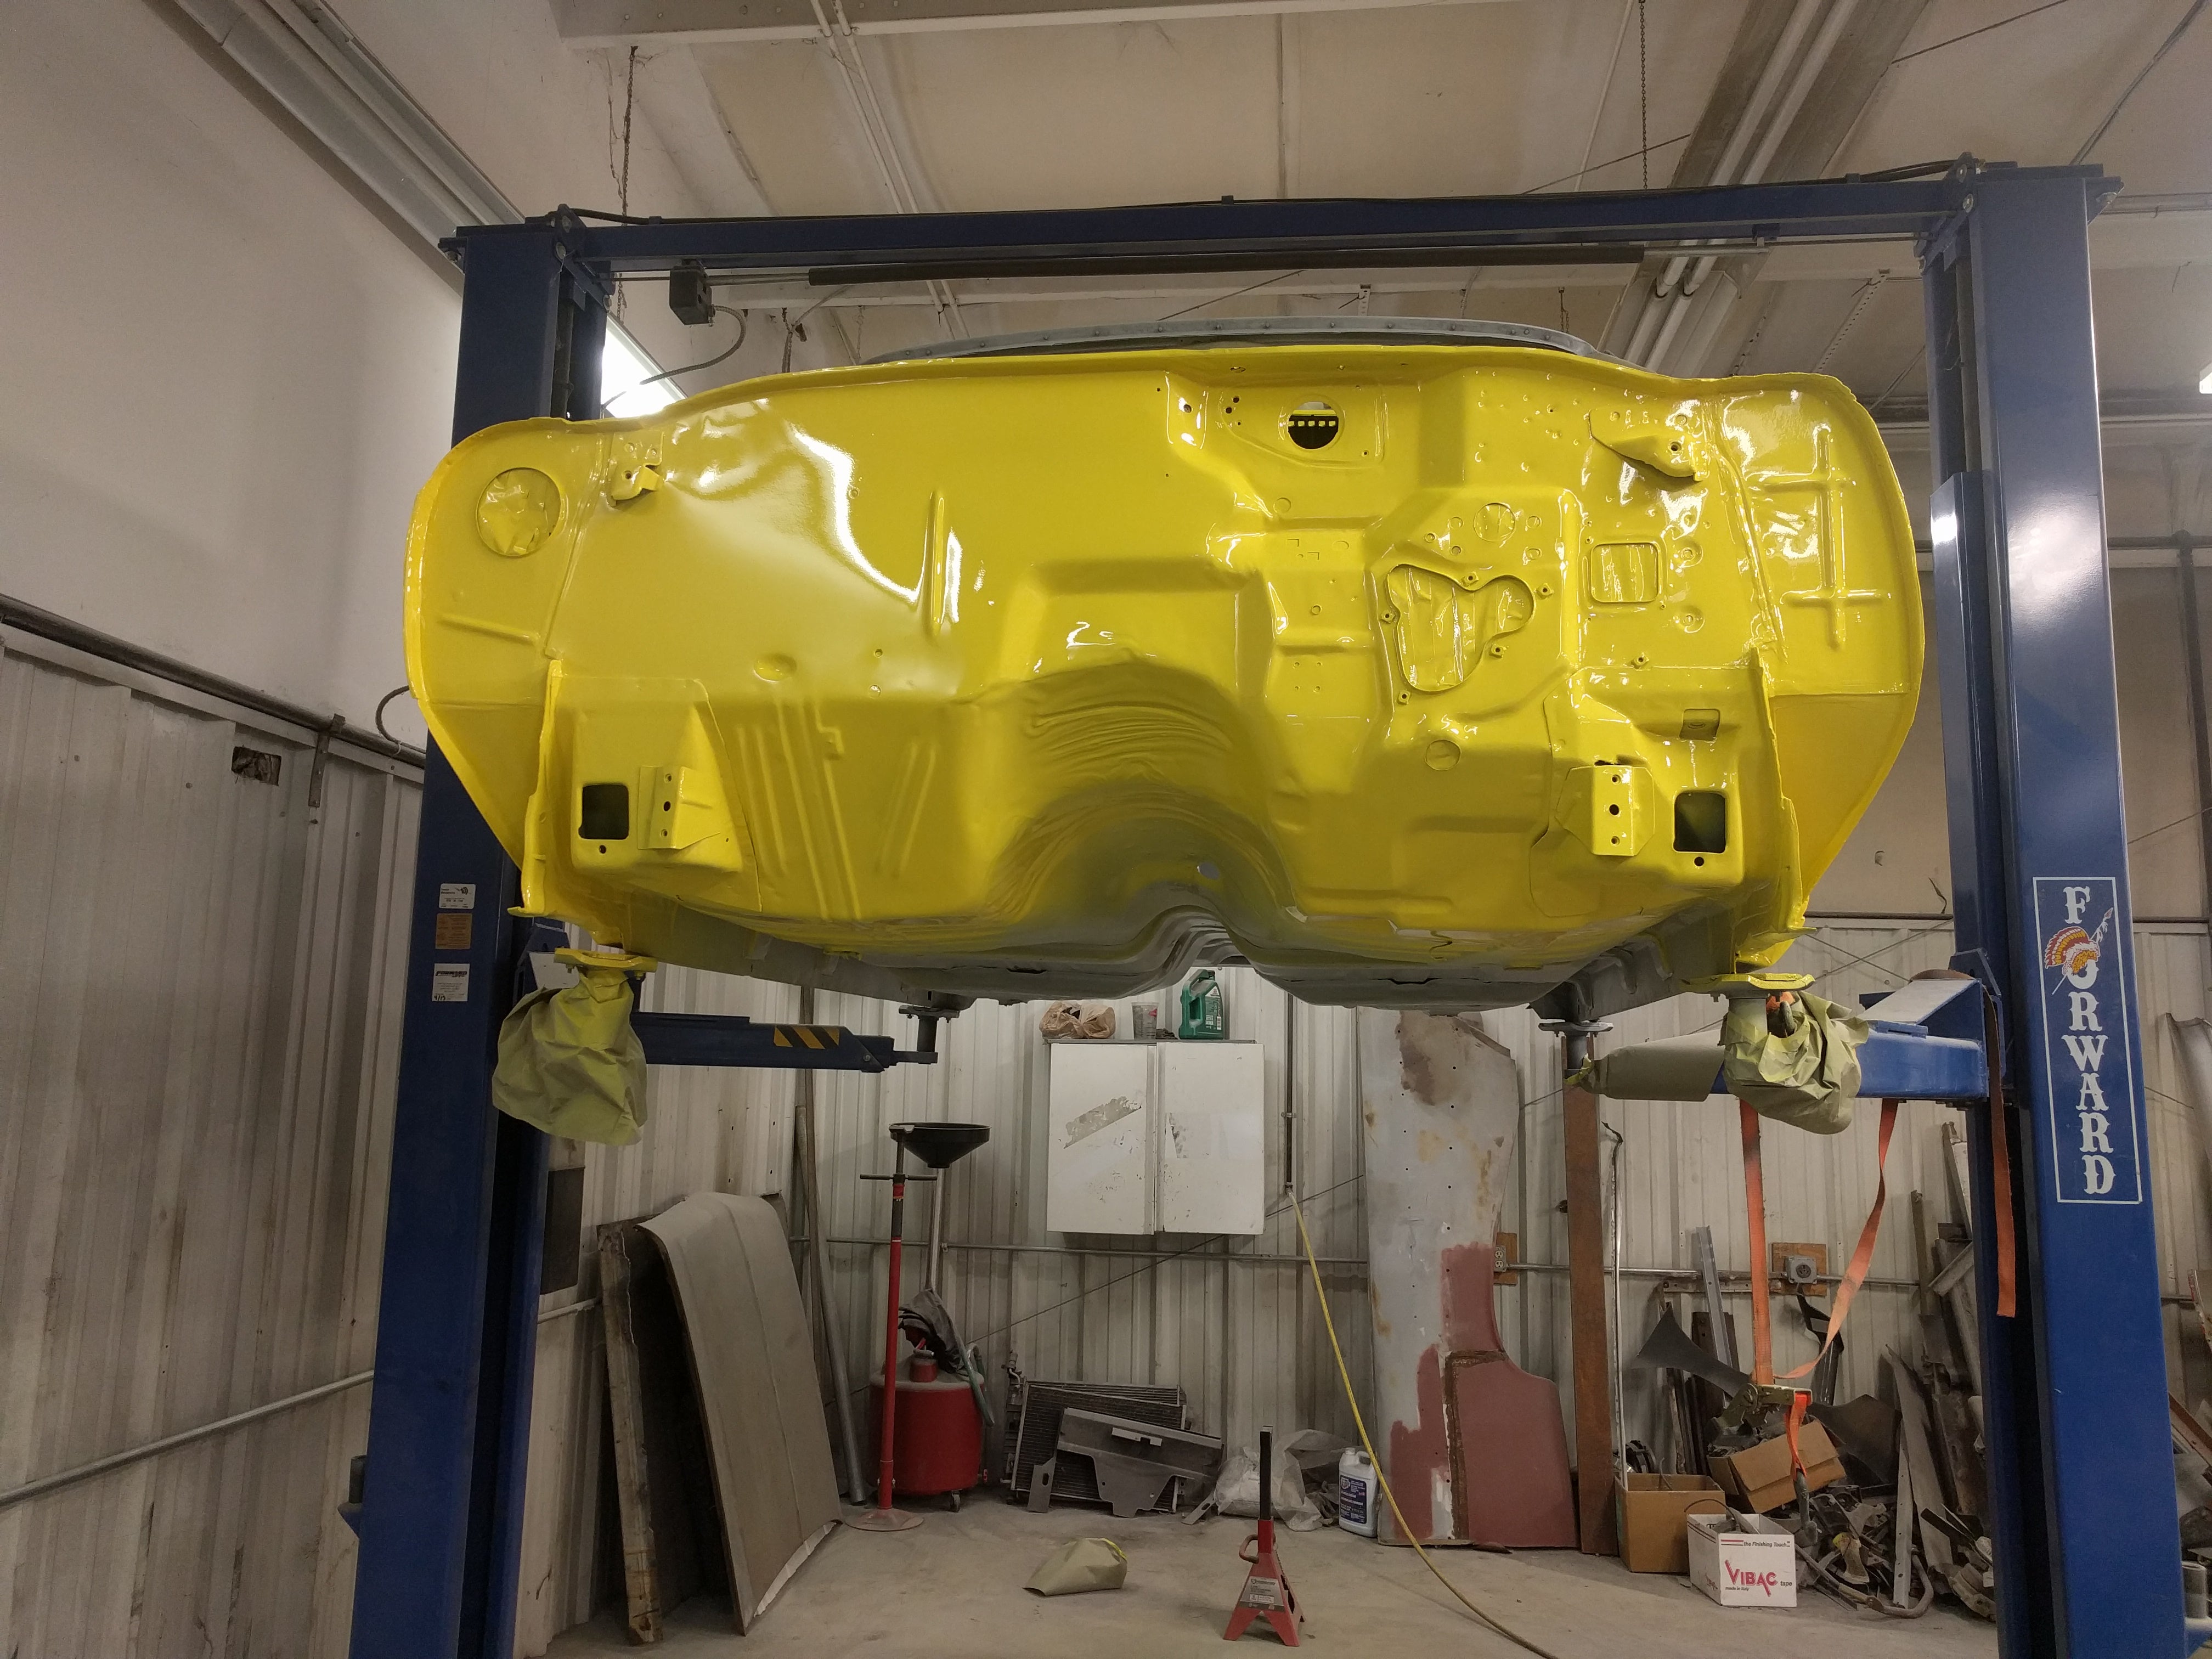
Finally color!
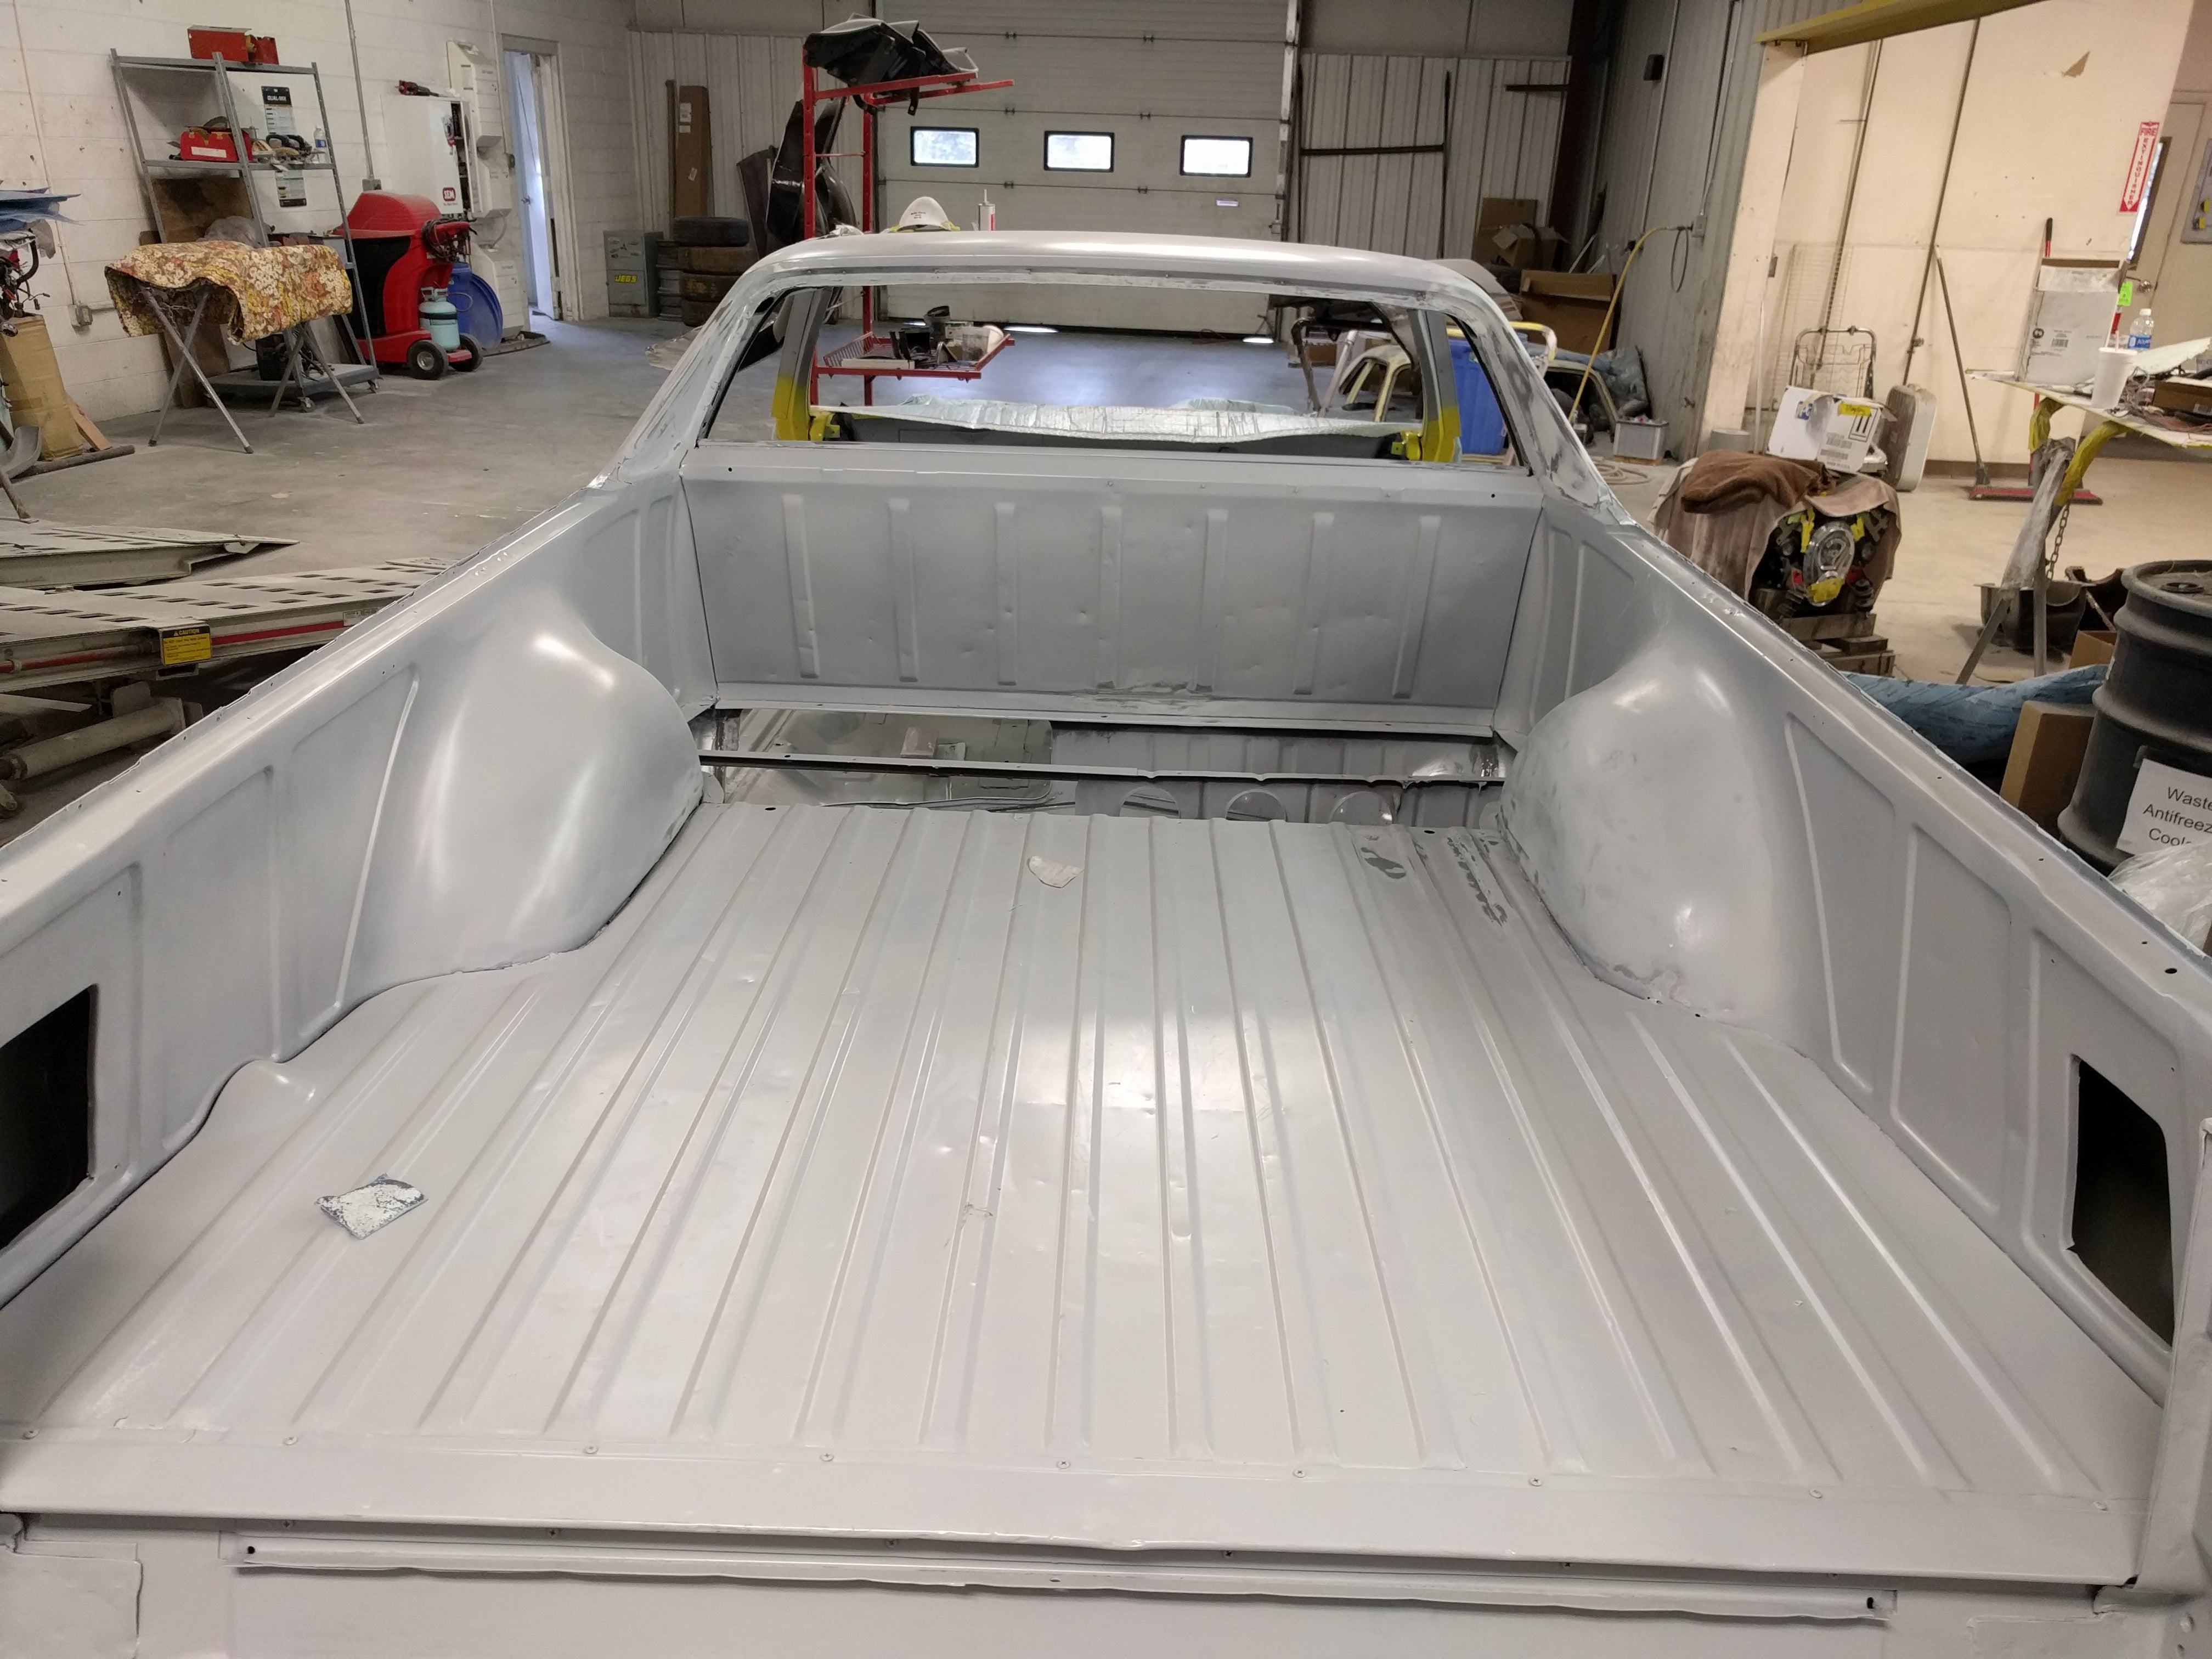
It looks like someone gave a toddler a ball peen hammer and paid $5 for every new dent...
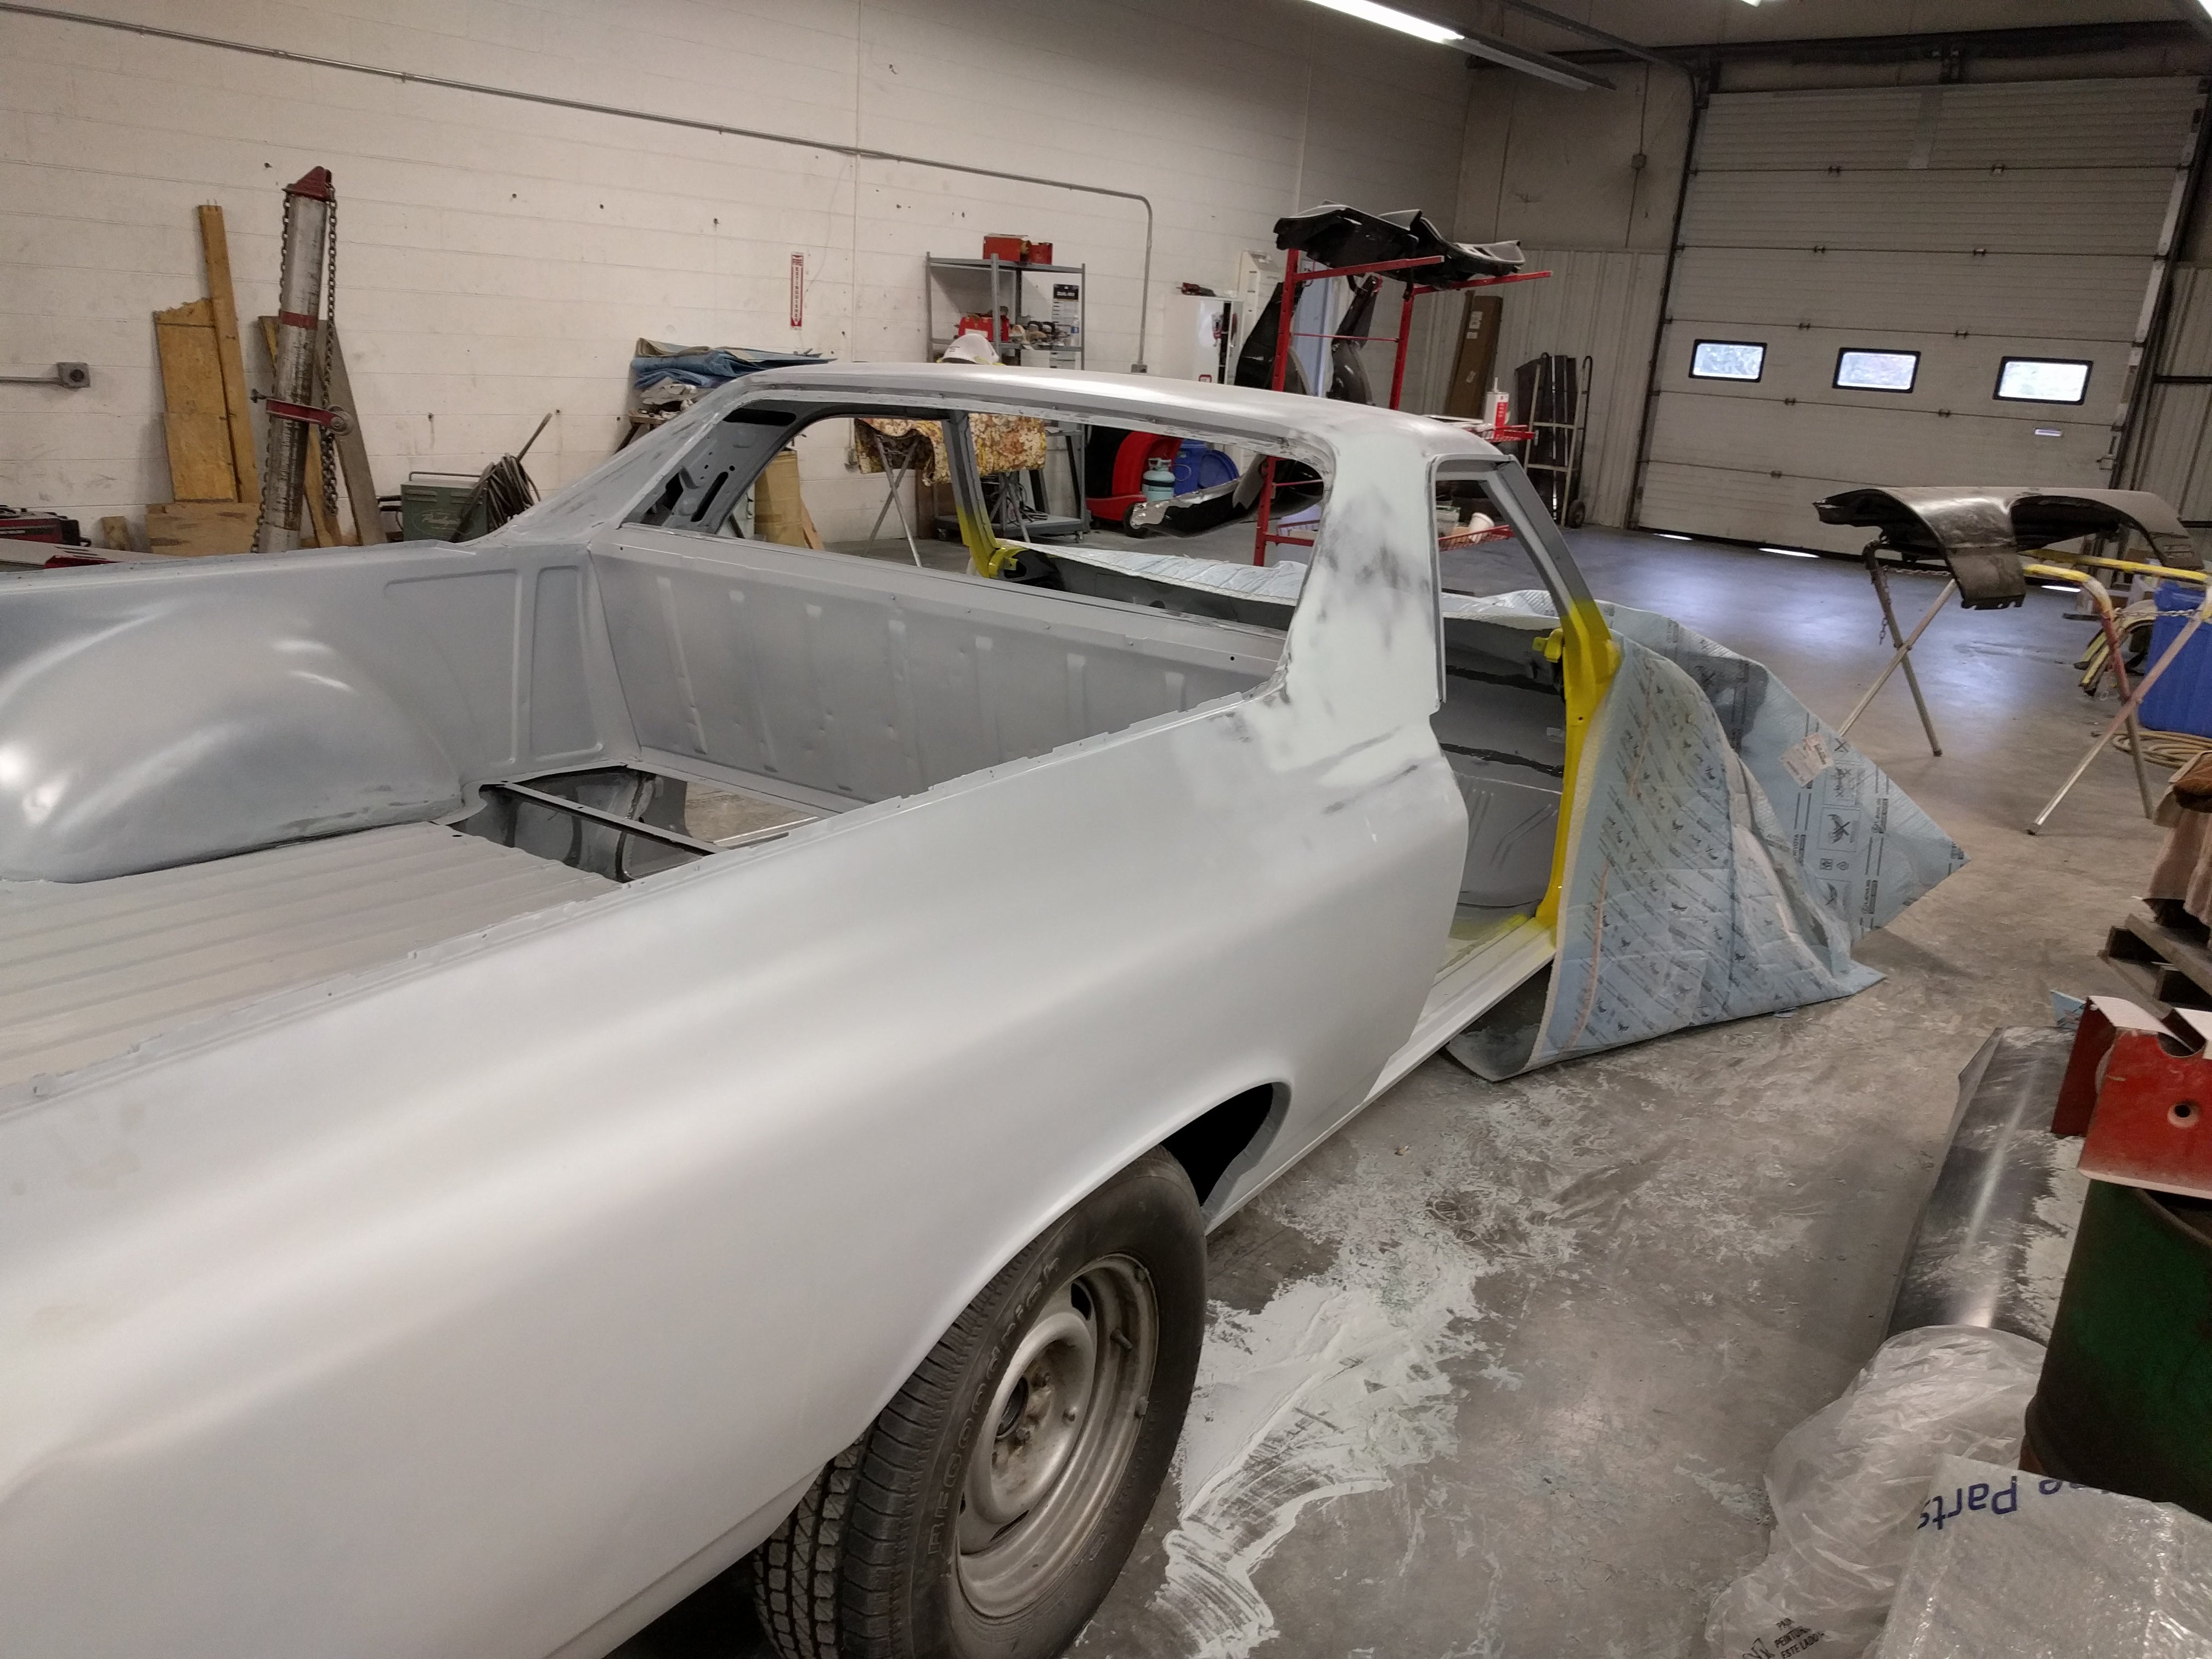
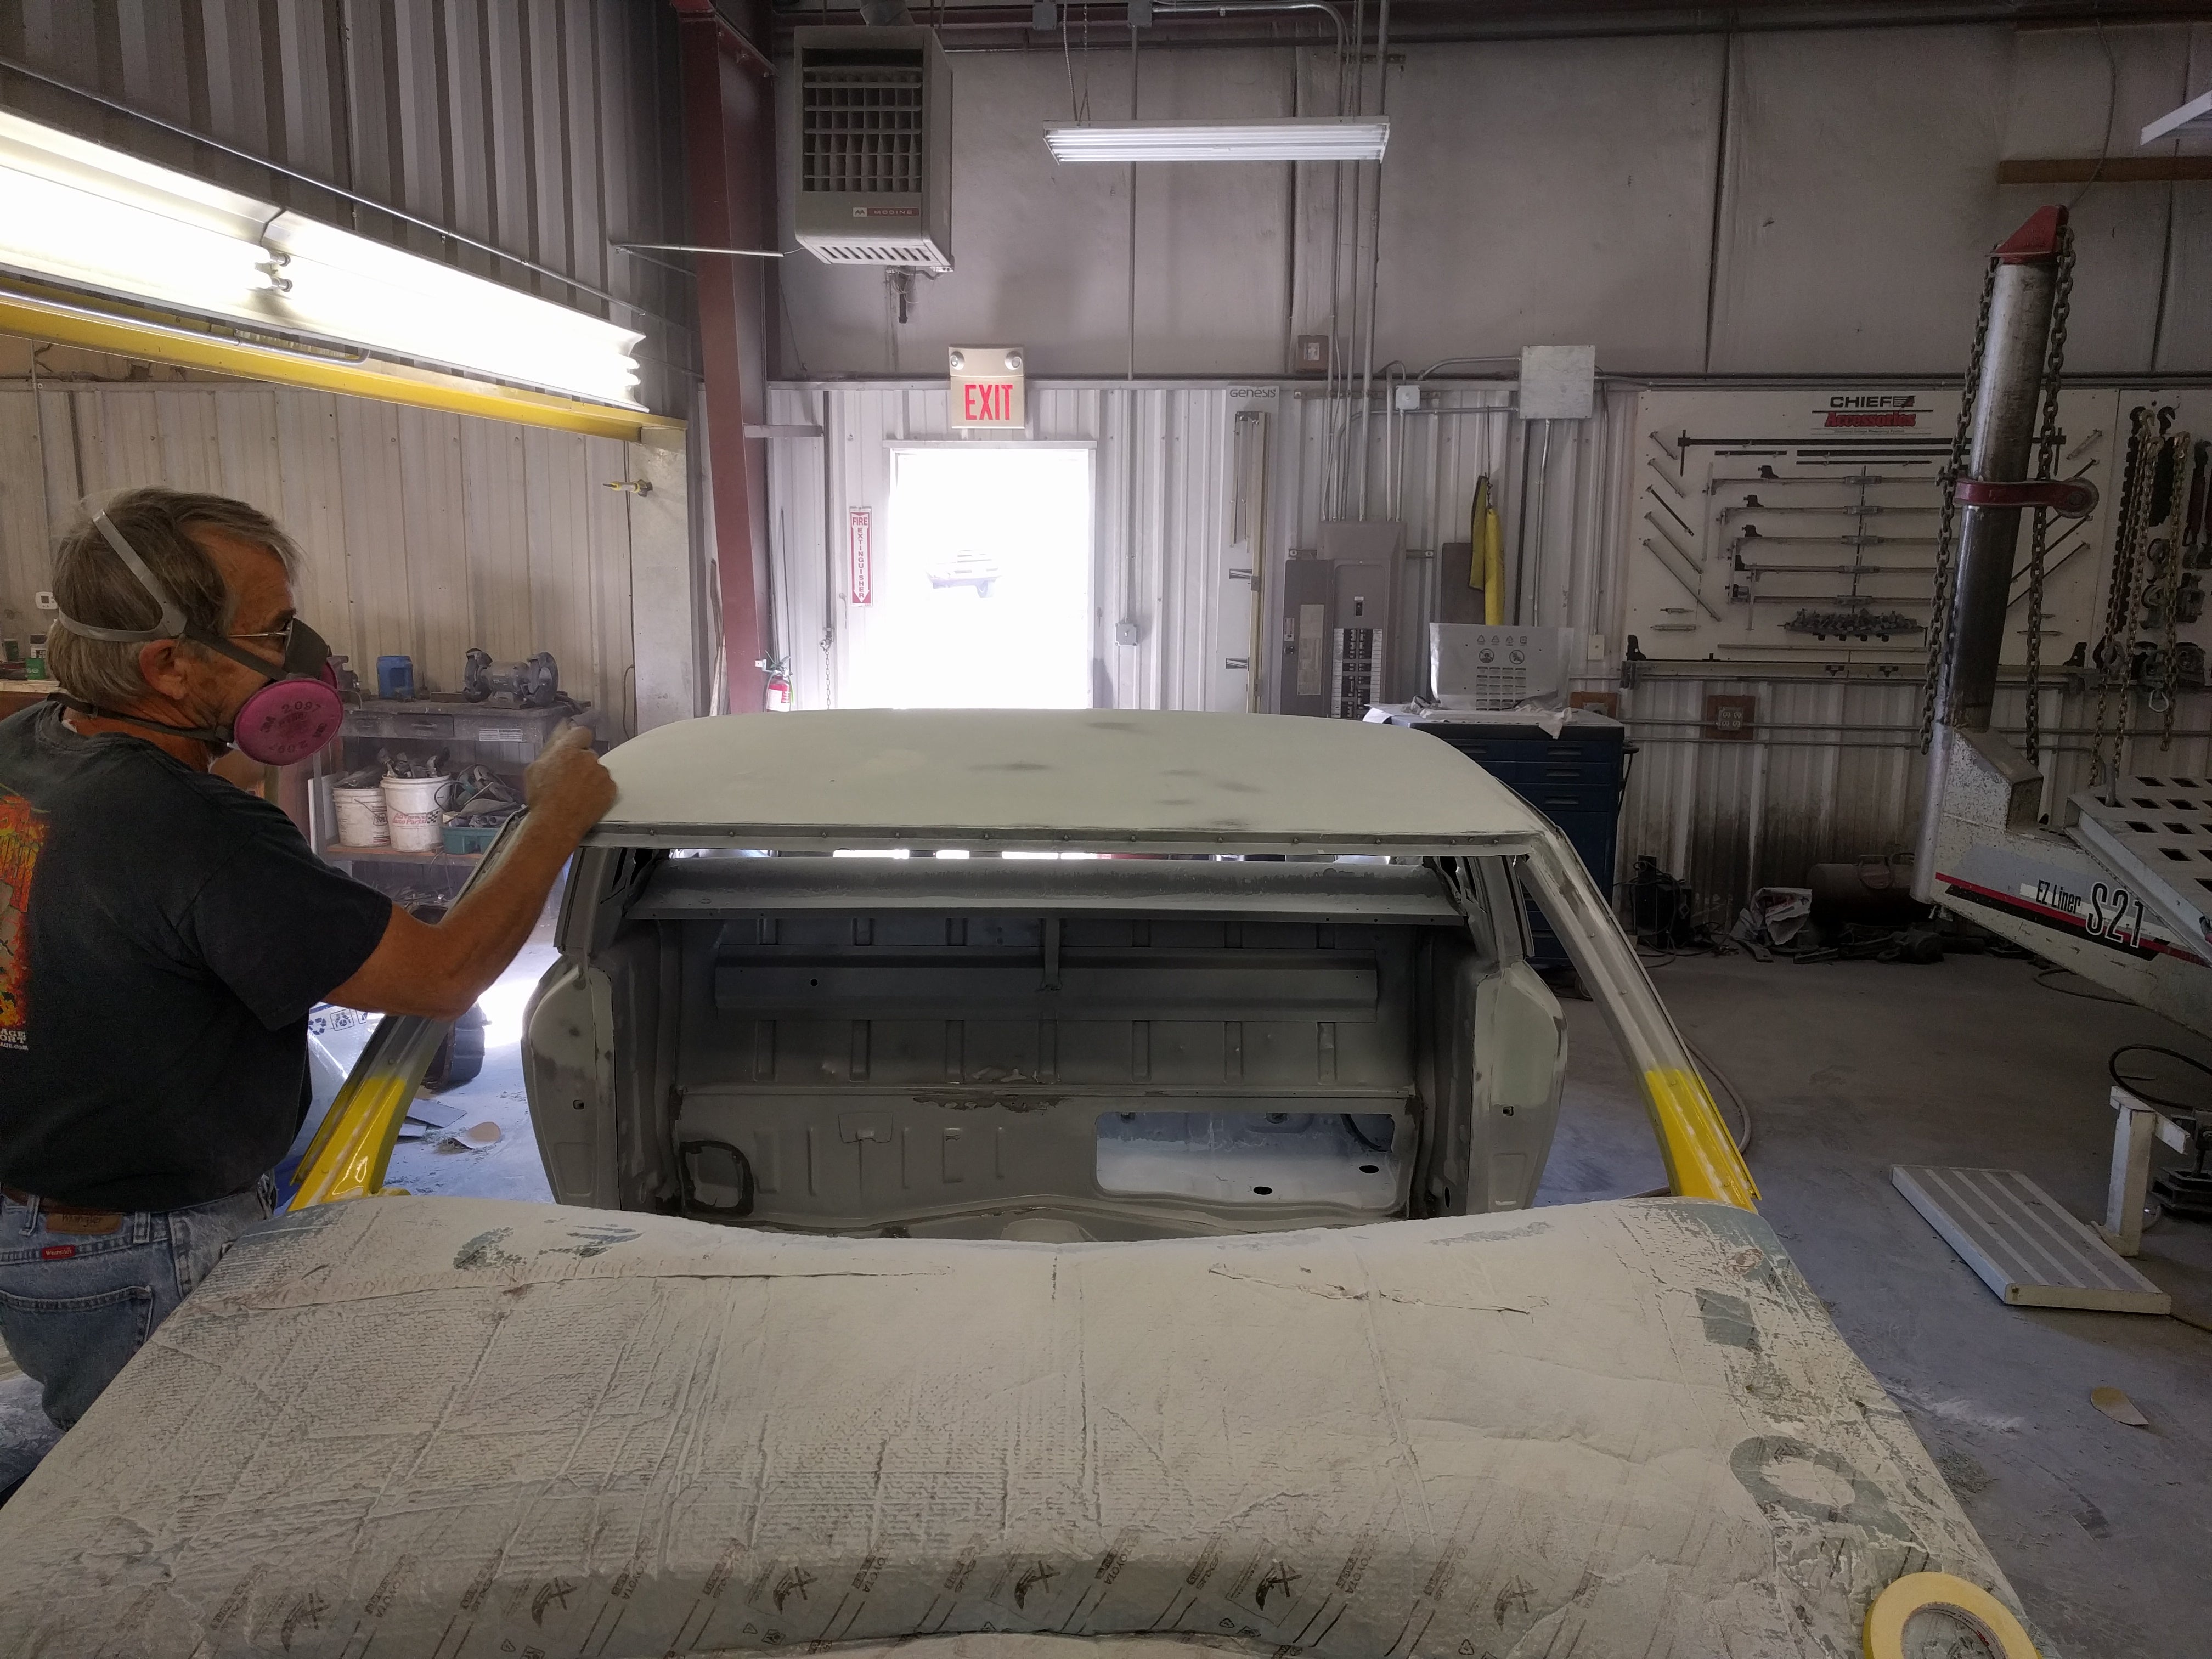
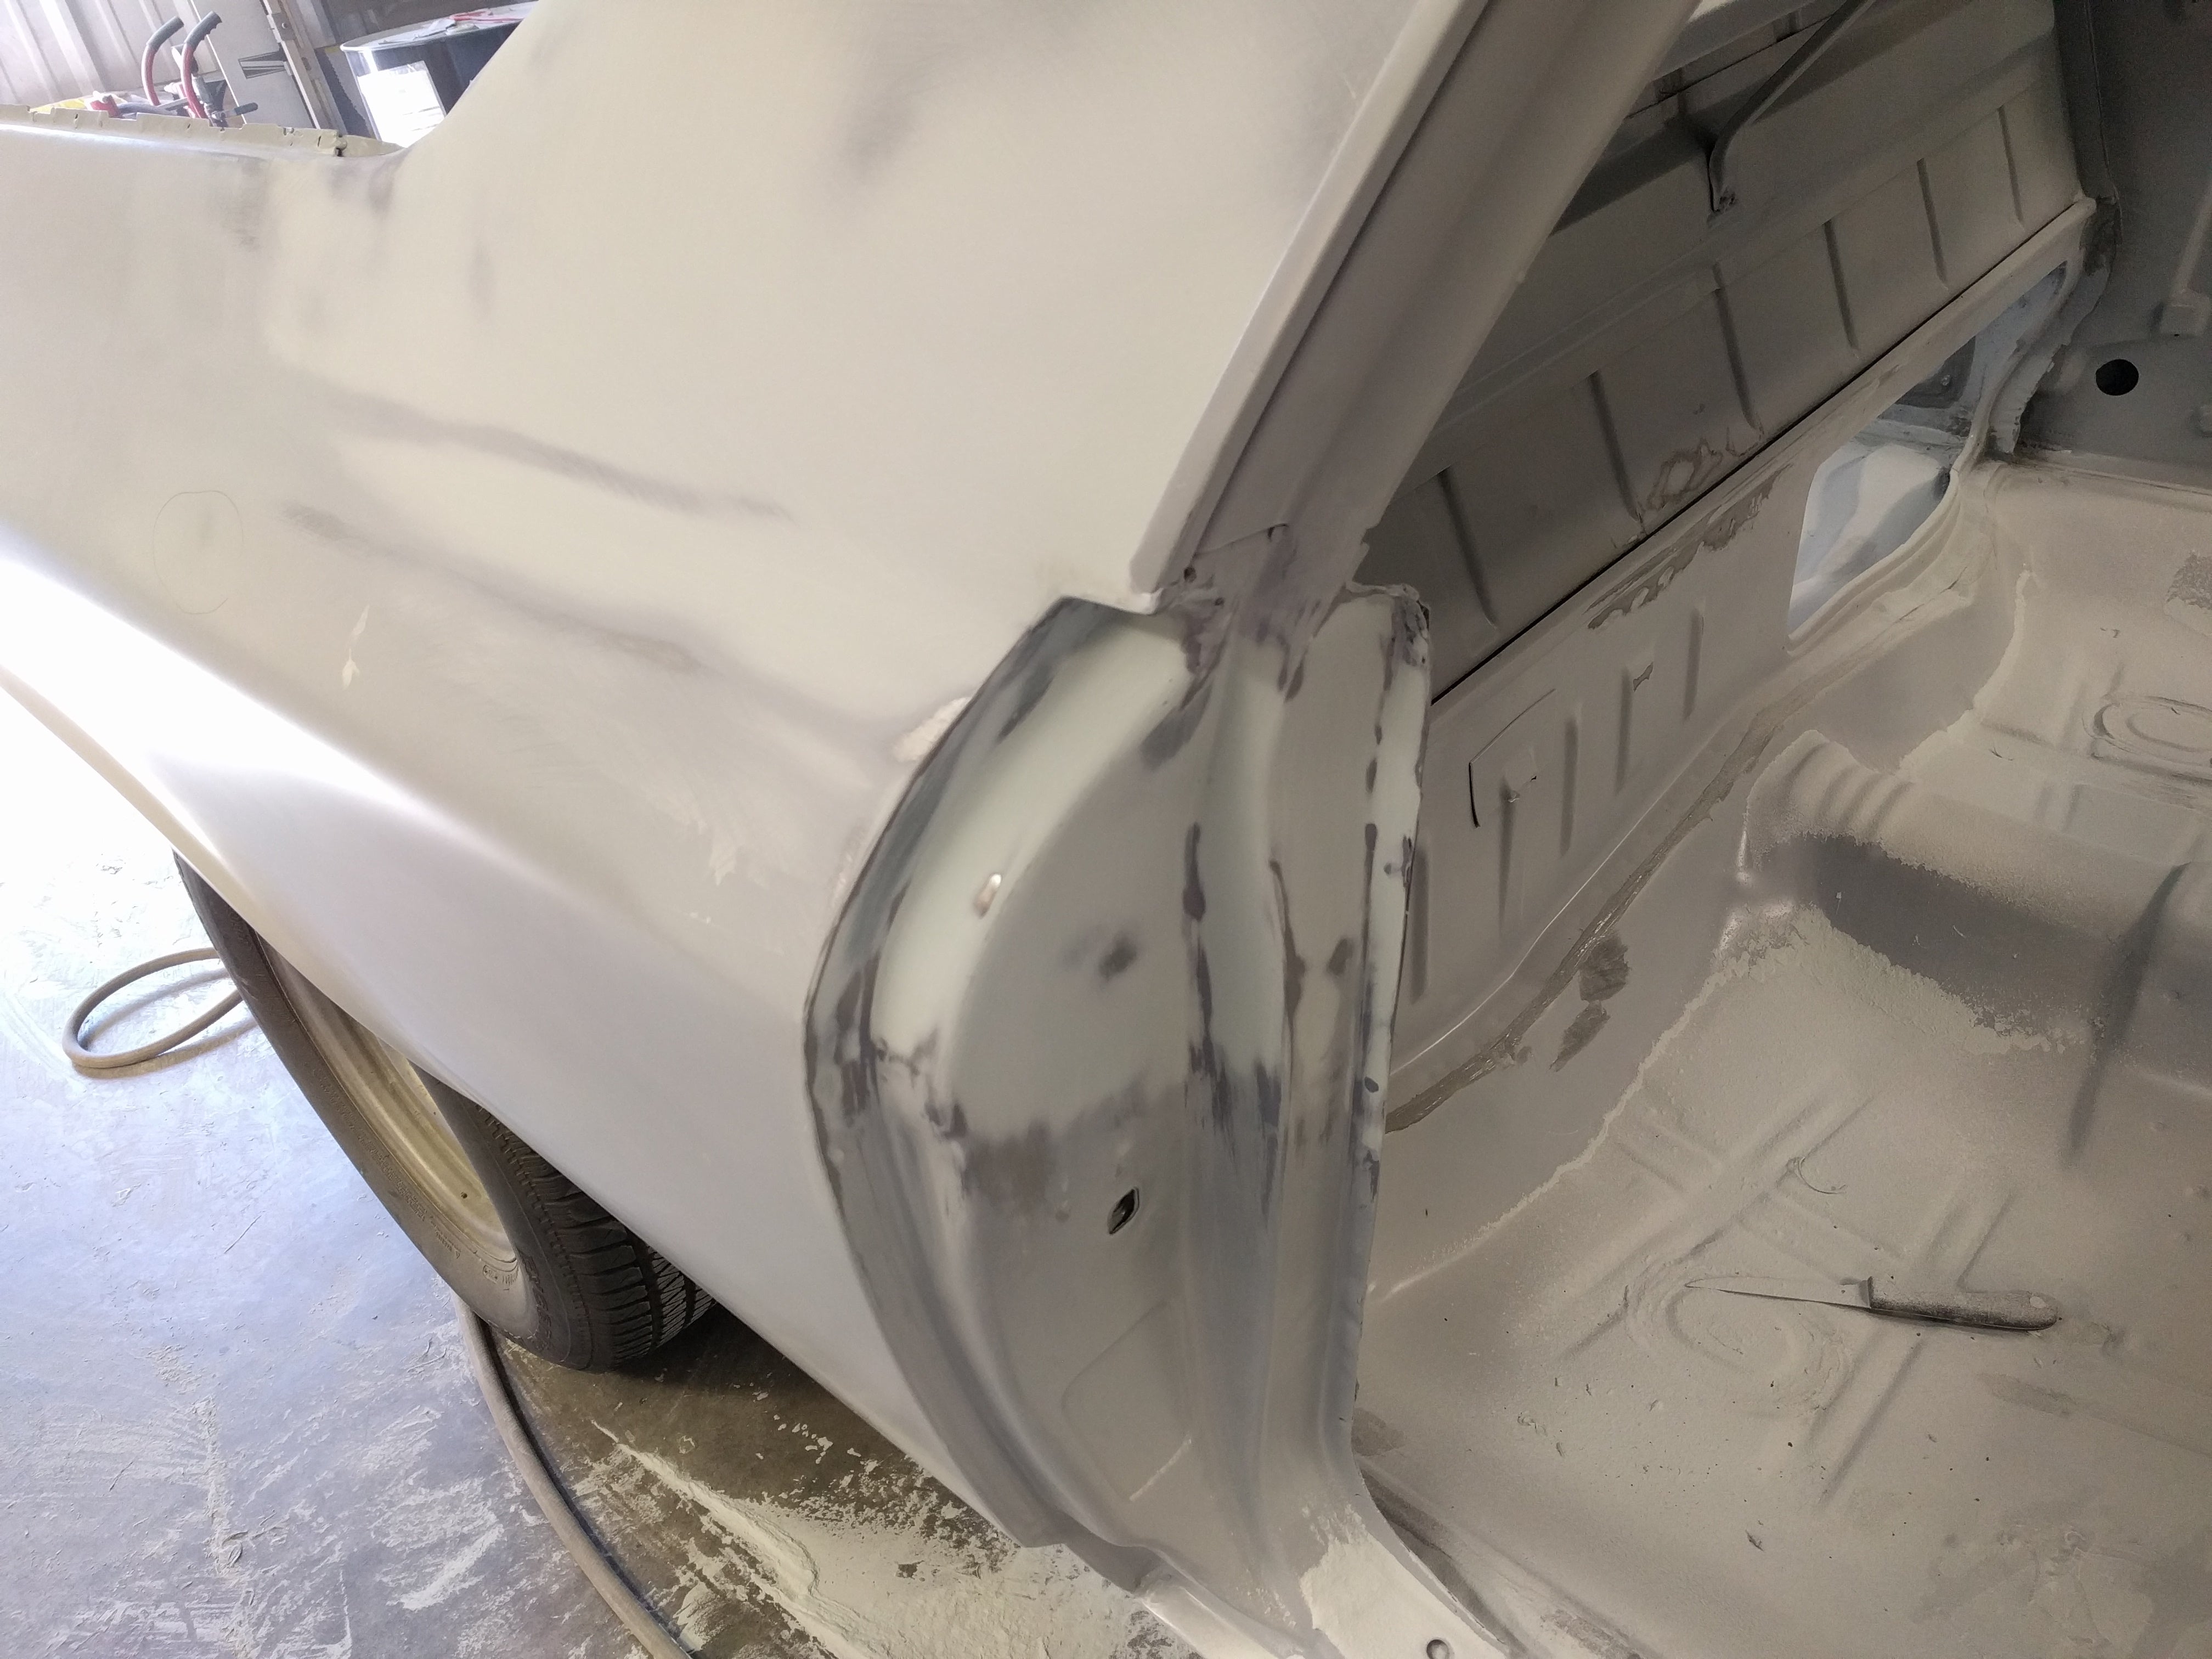
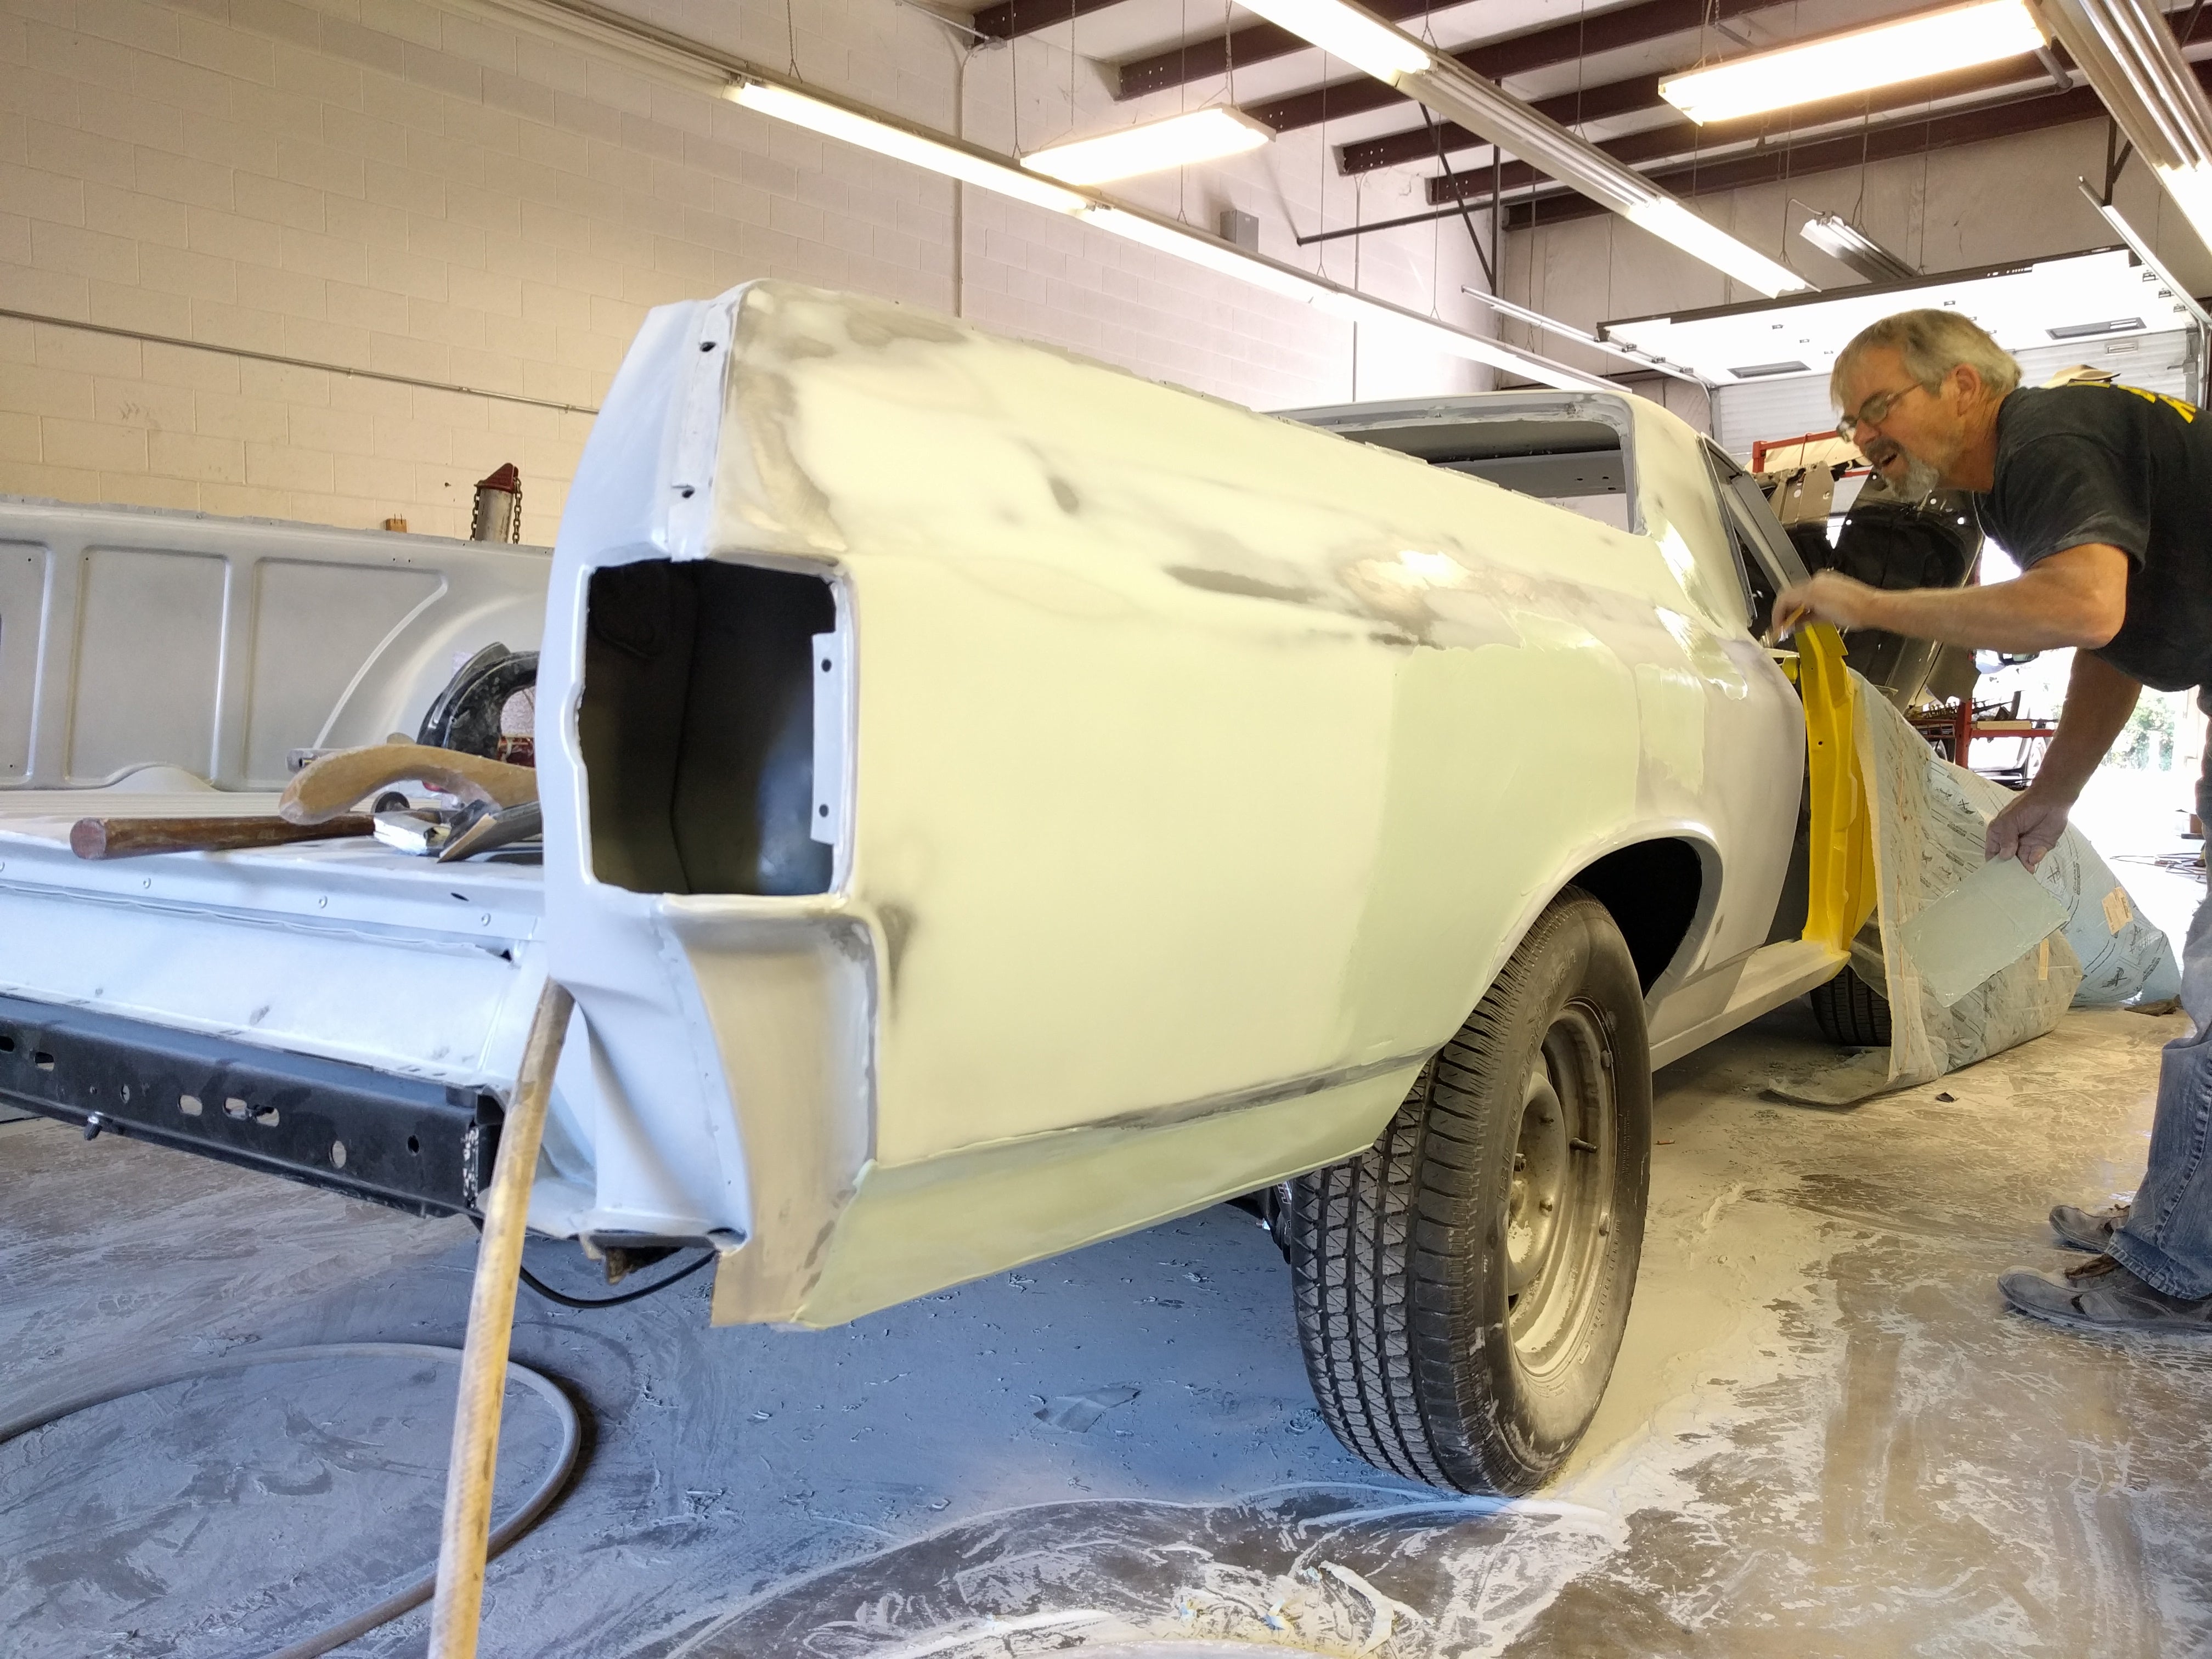
Hard to tell in a photo, but thereís more on the floor than on the car...
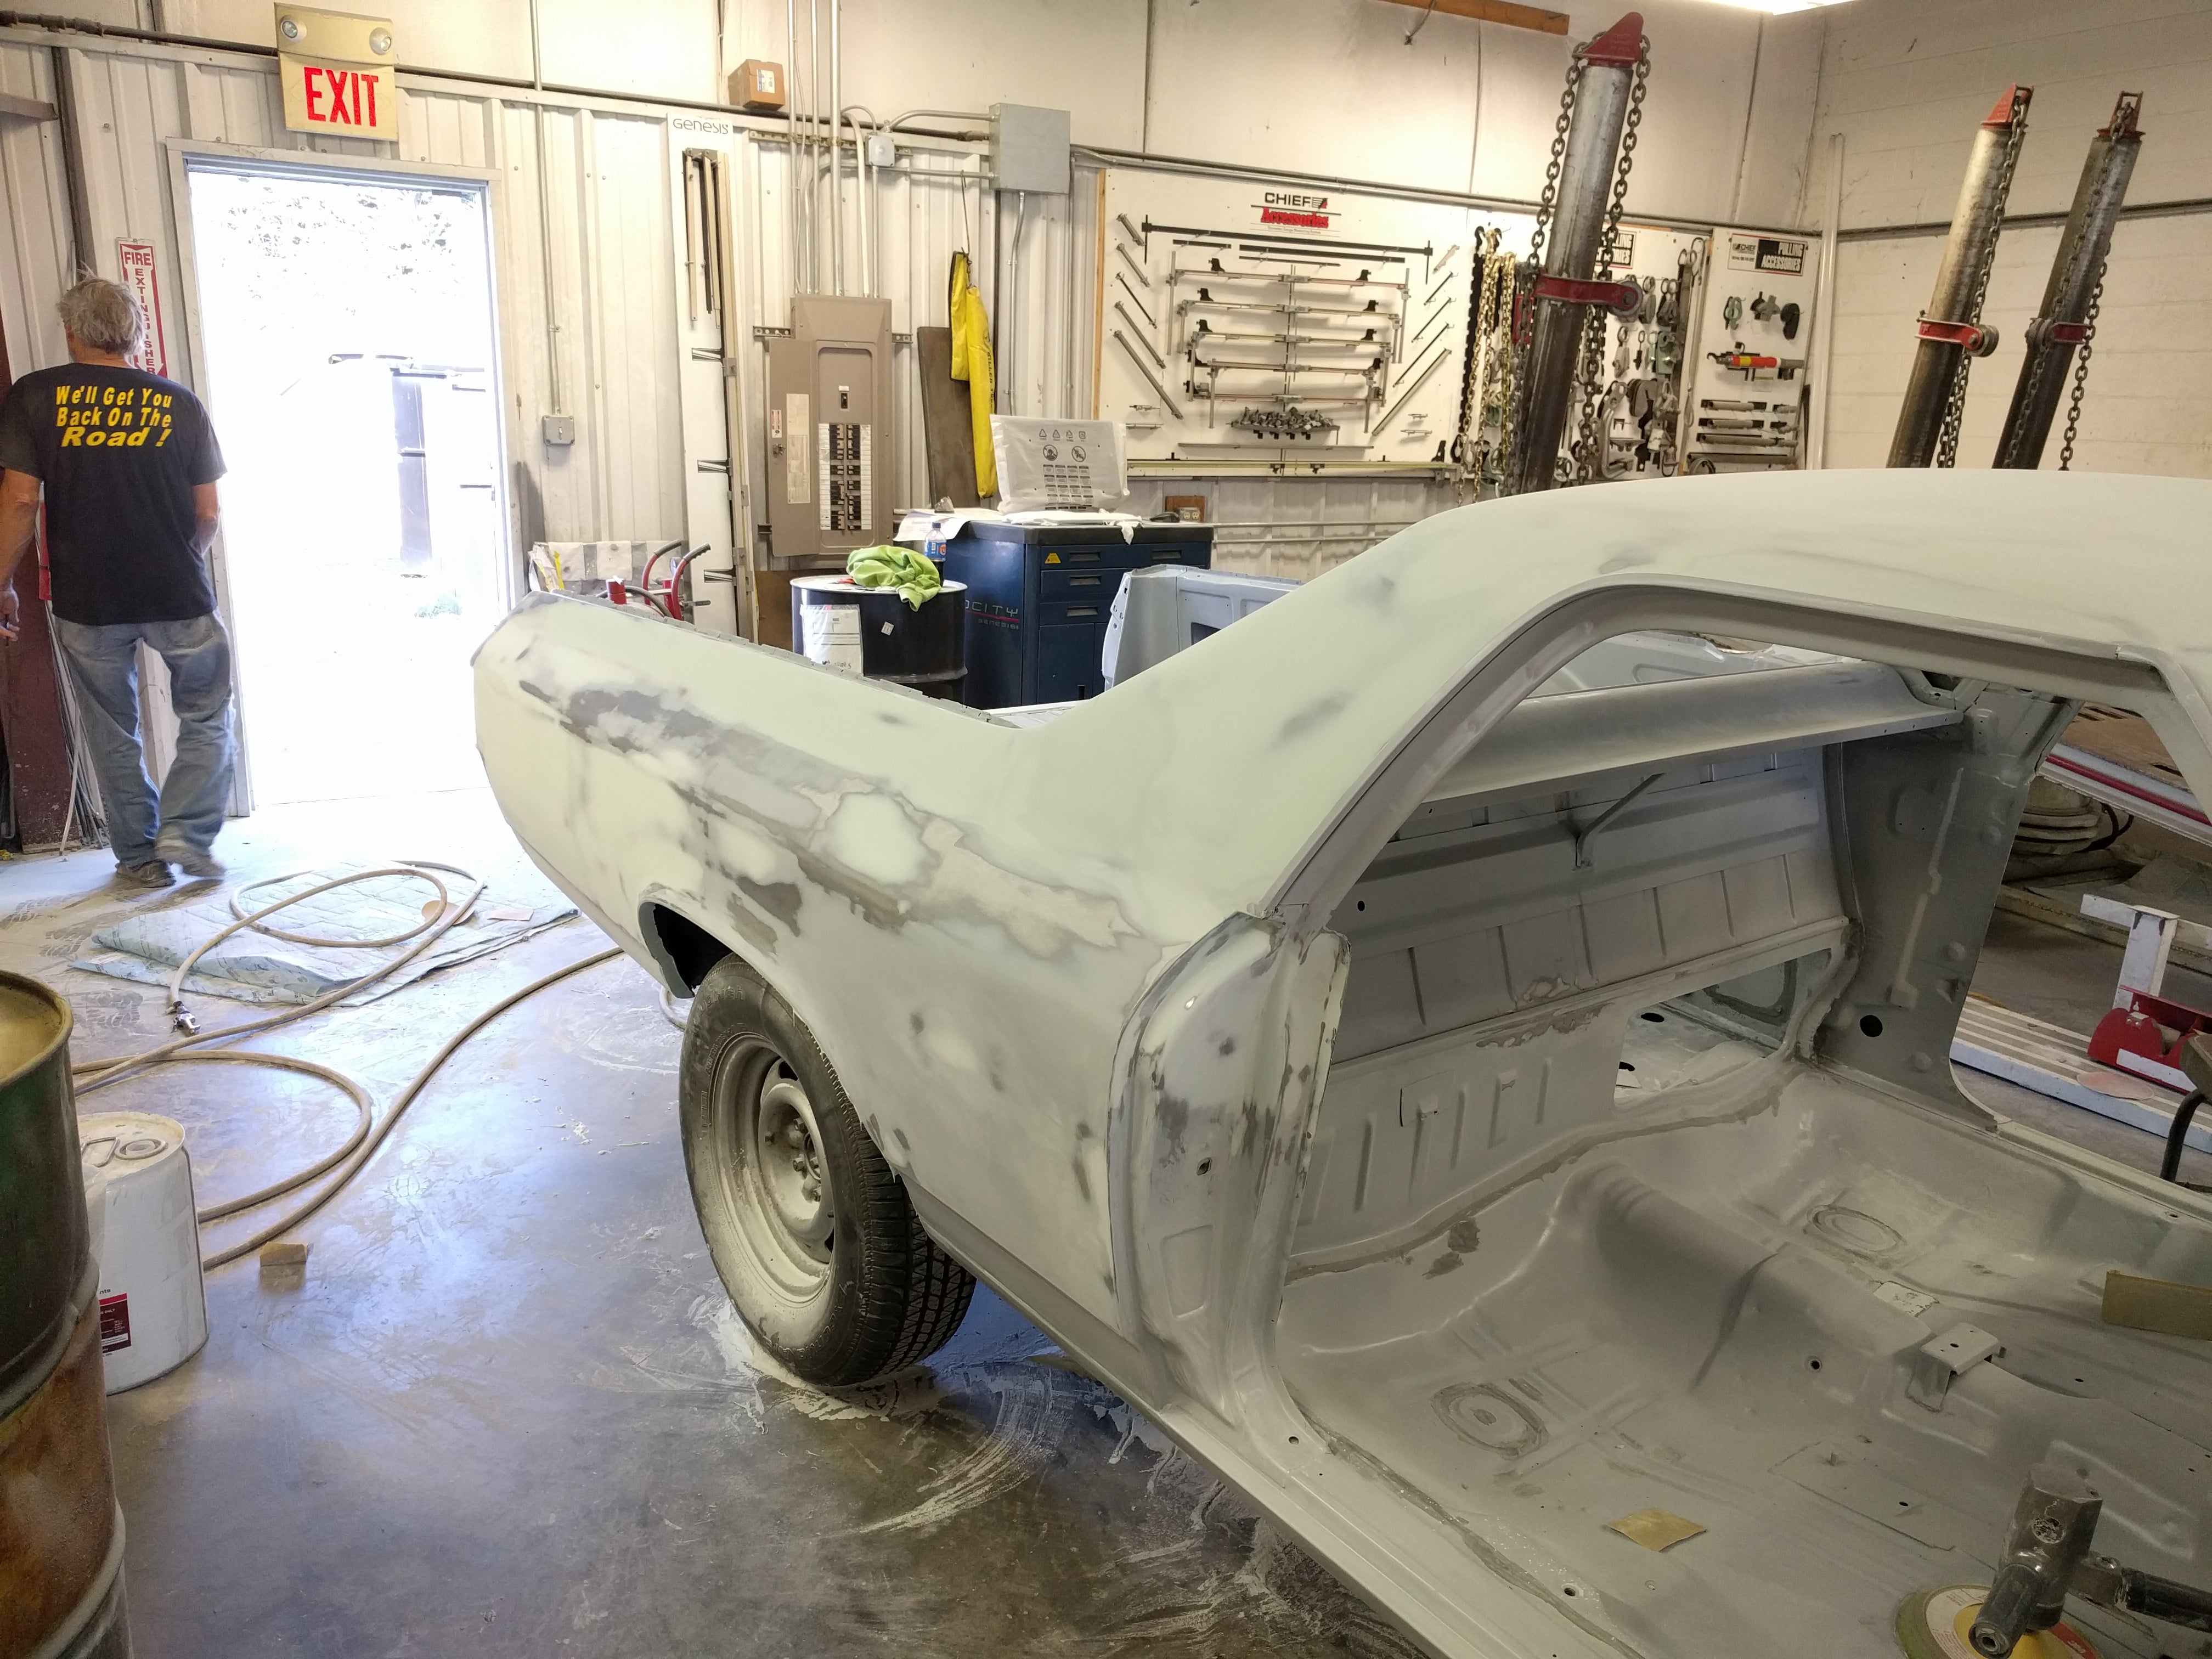
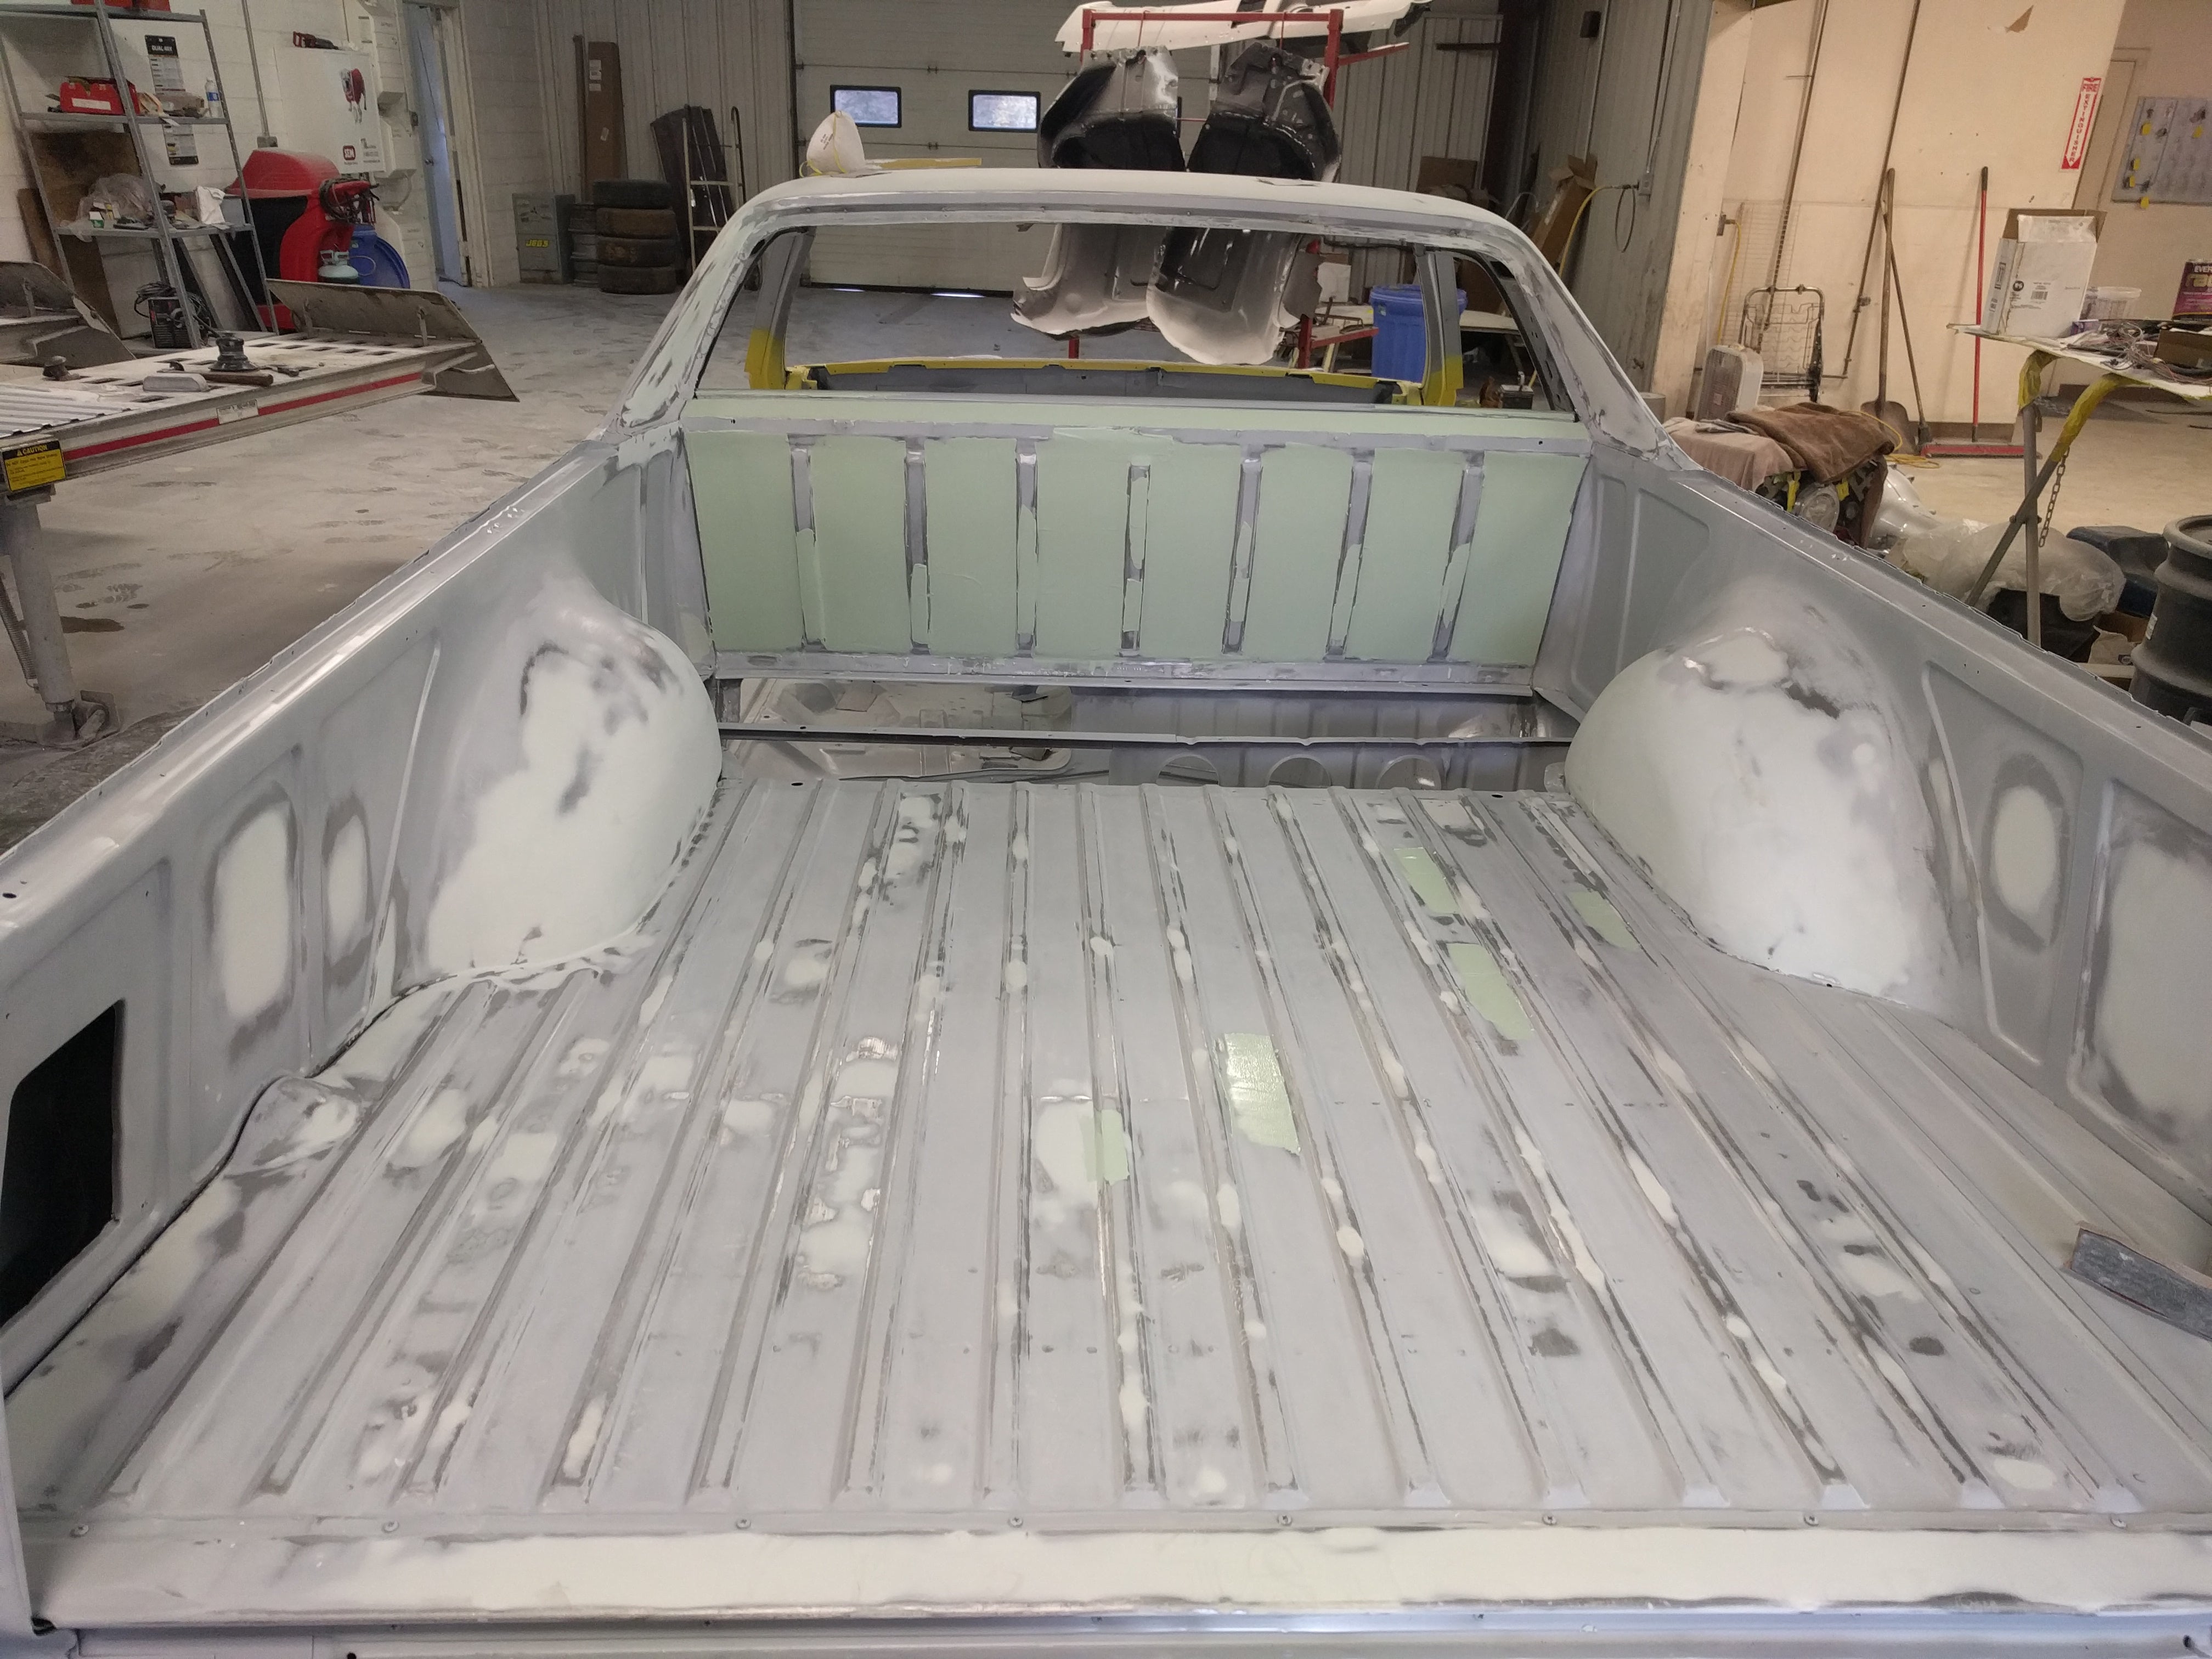
All to eventually get covered with spray in bedliner...
Once the body was straight, it was time for a field trip to the paint shop (and more primer, and sanding, and more primer...)
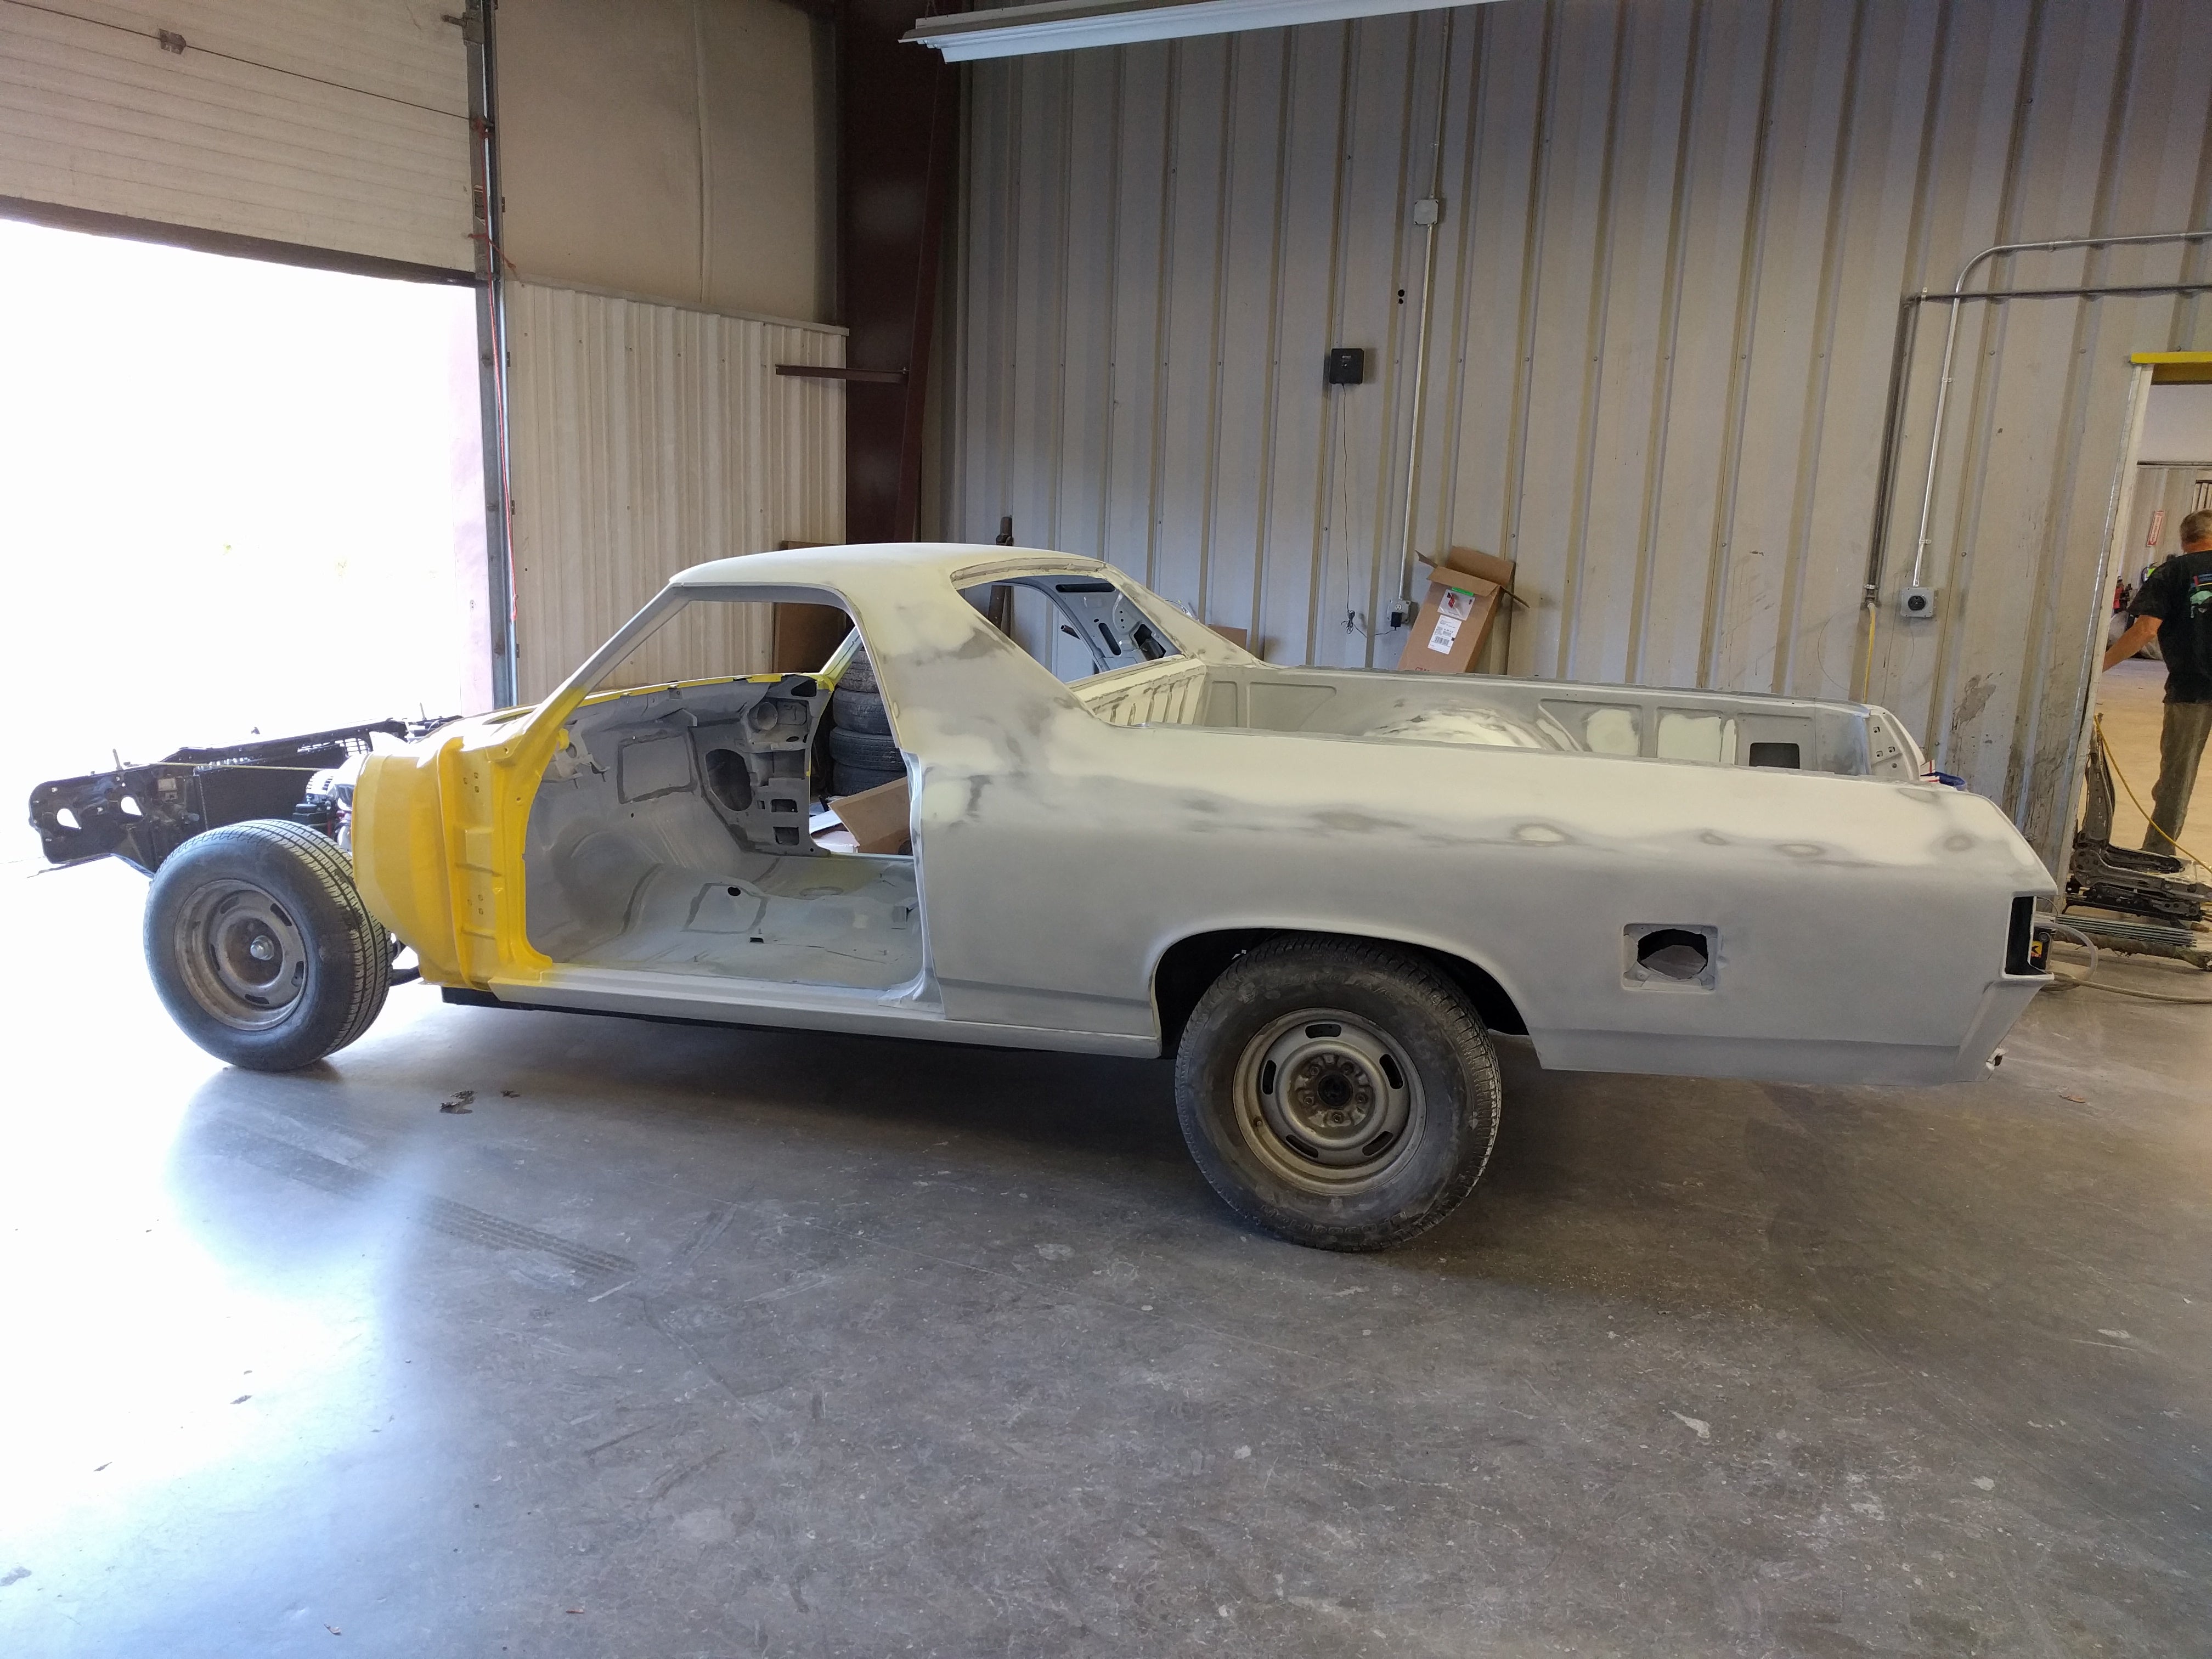
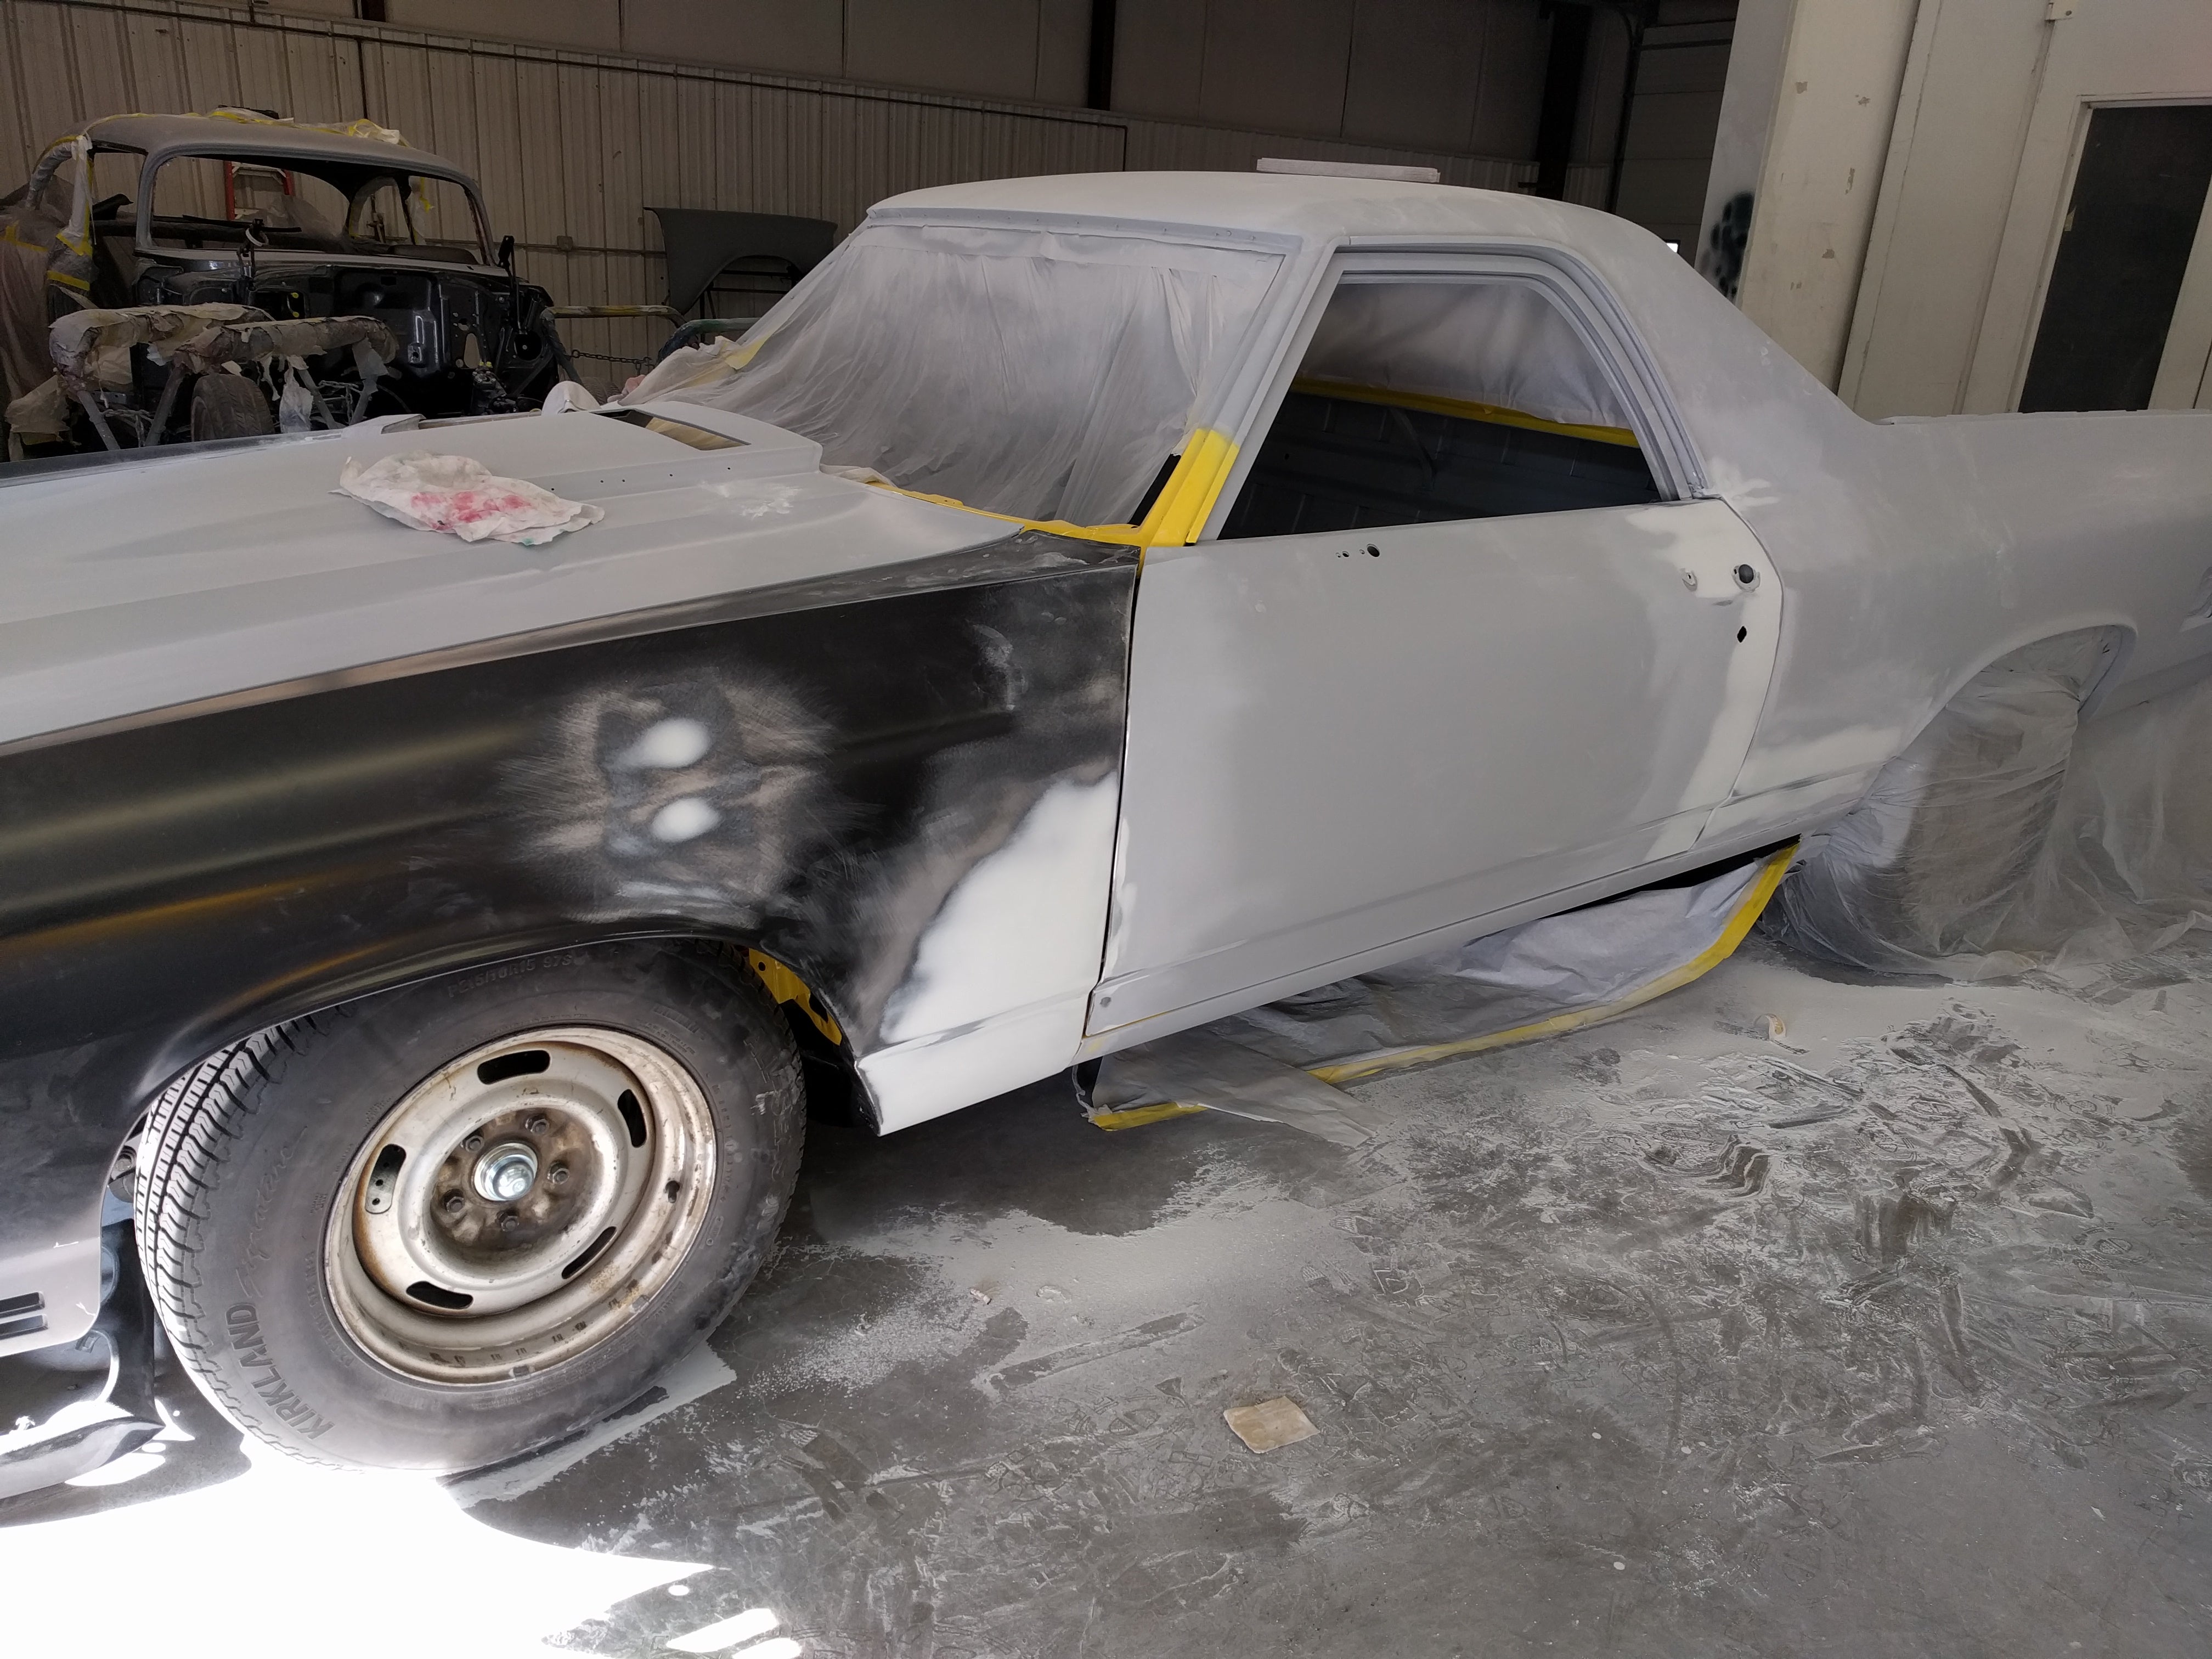
These aftermarket fenders did not want to fit doors, hood, or headlamp doors...
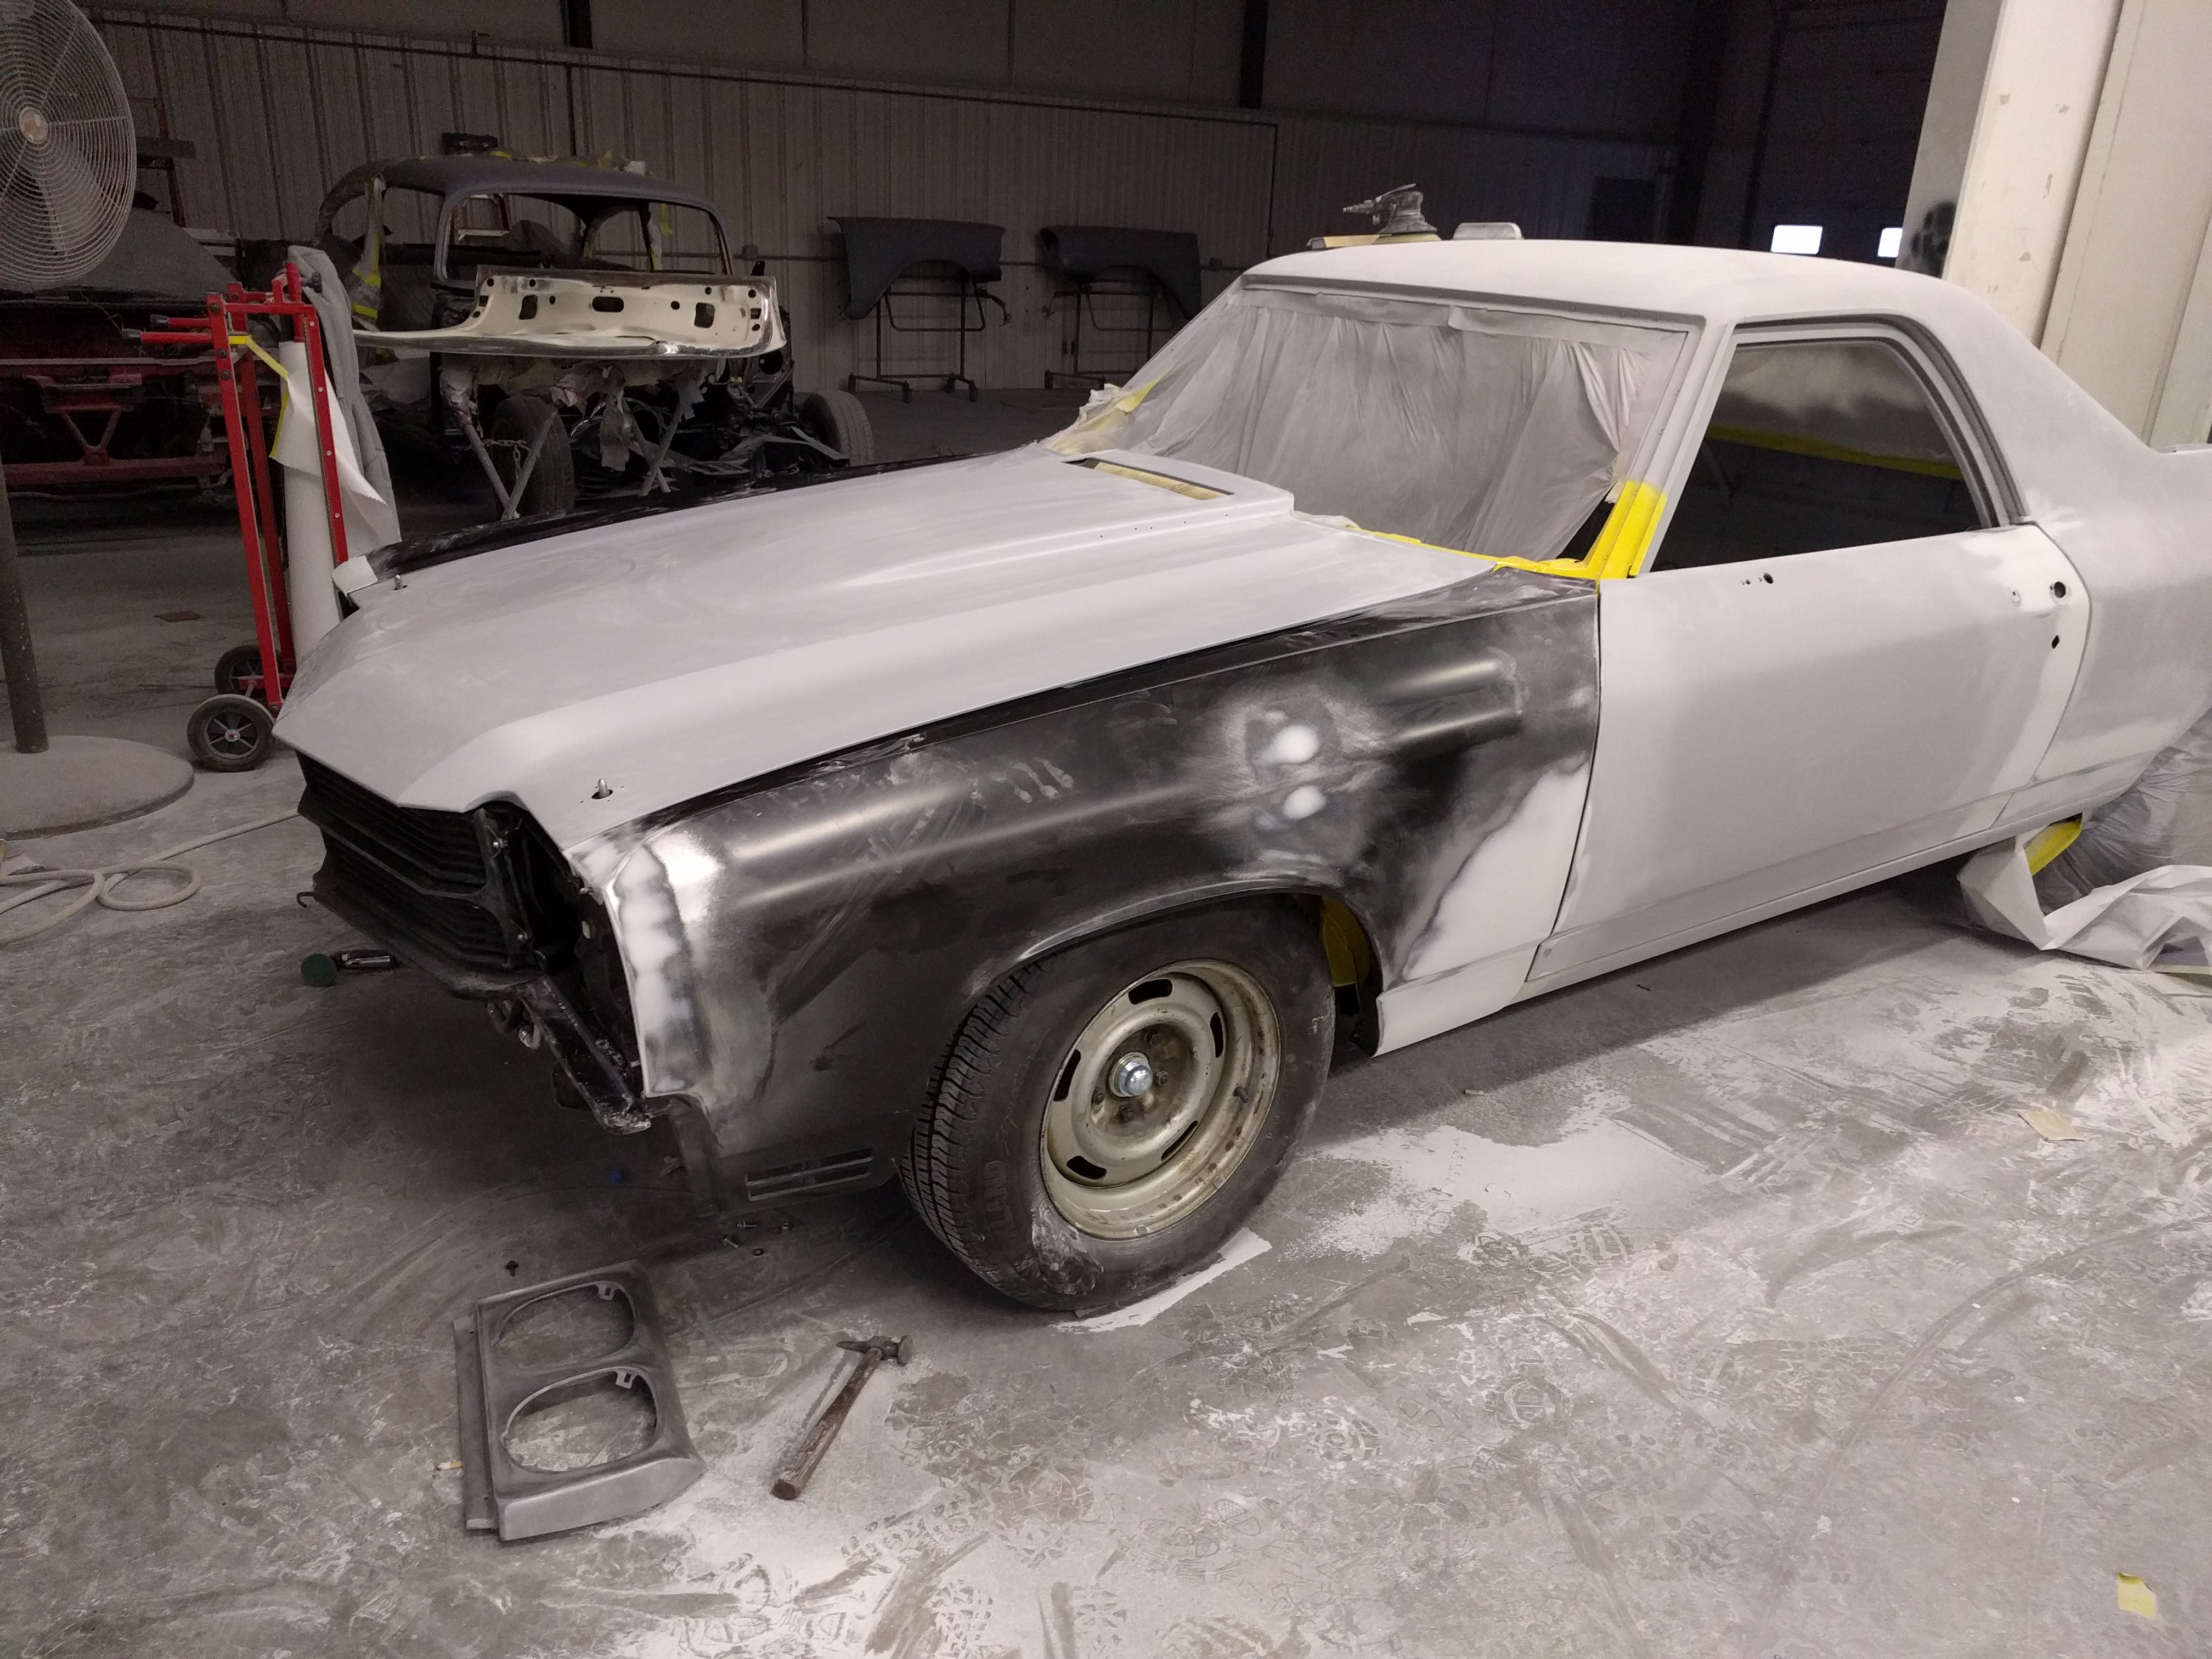
The addition of this picture brought Kinja to a screeching halt for about 10 minutes.
Once we had everything lined up and reprimed, the front end and doors were again removed, fender/hood/door insides were painted, as well as body jambs and the inside of the bed. Reinstalled doors and front sheet metal for the last time, and were ready for exterior paint.
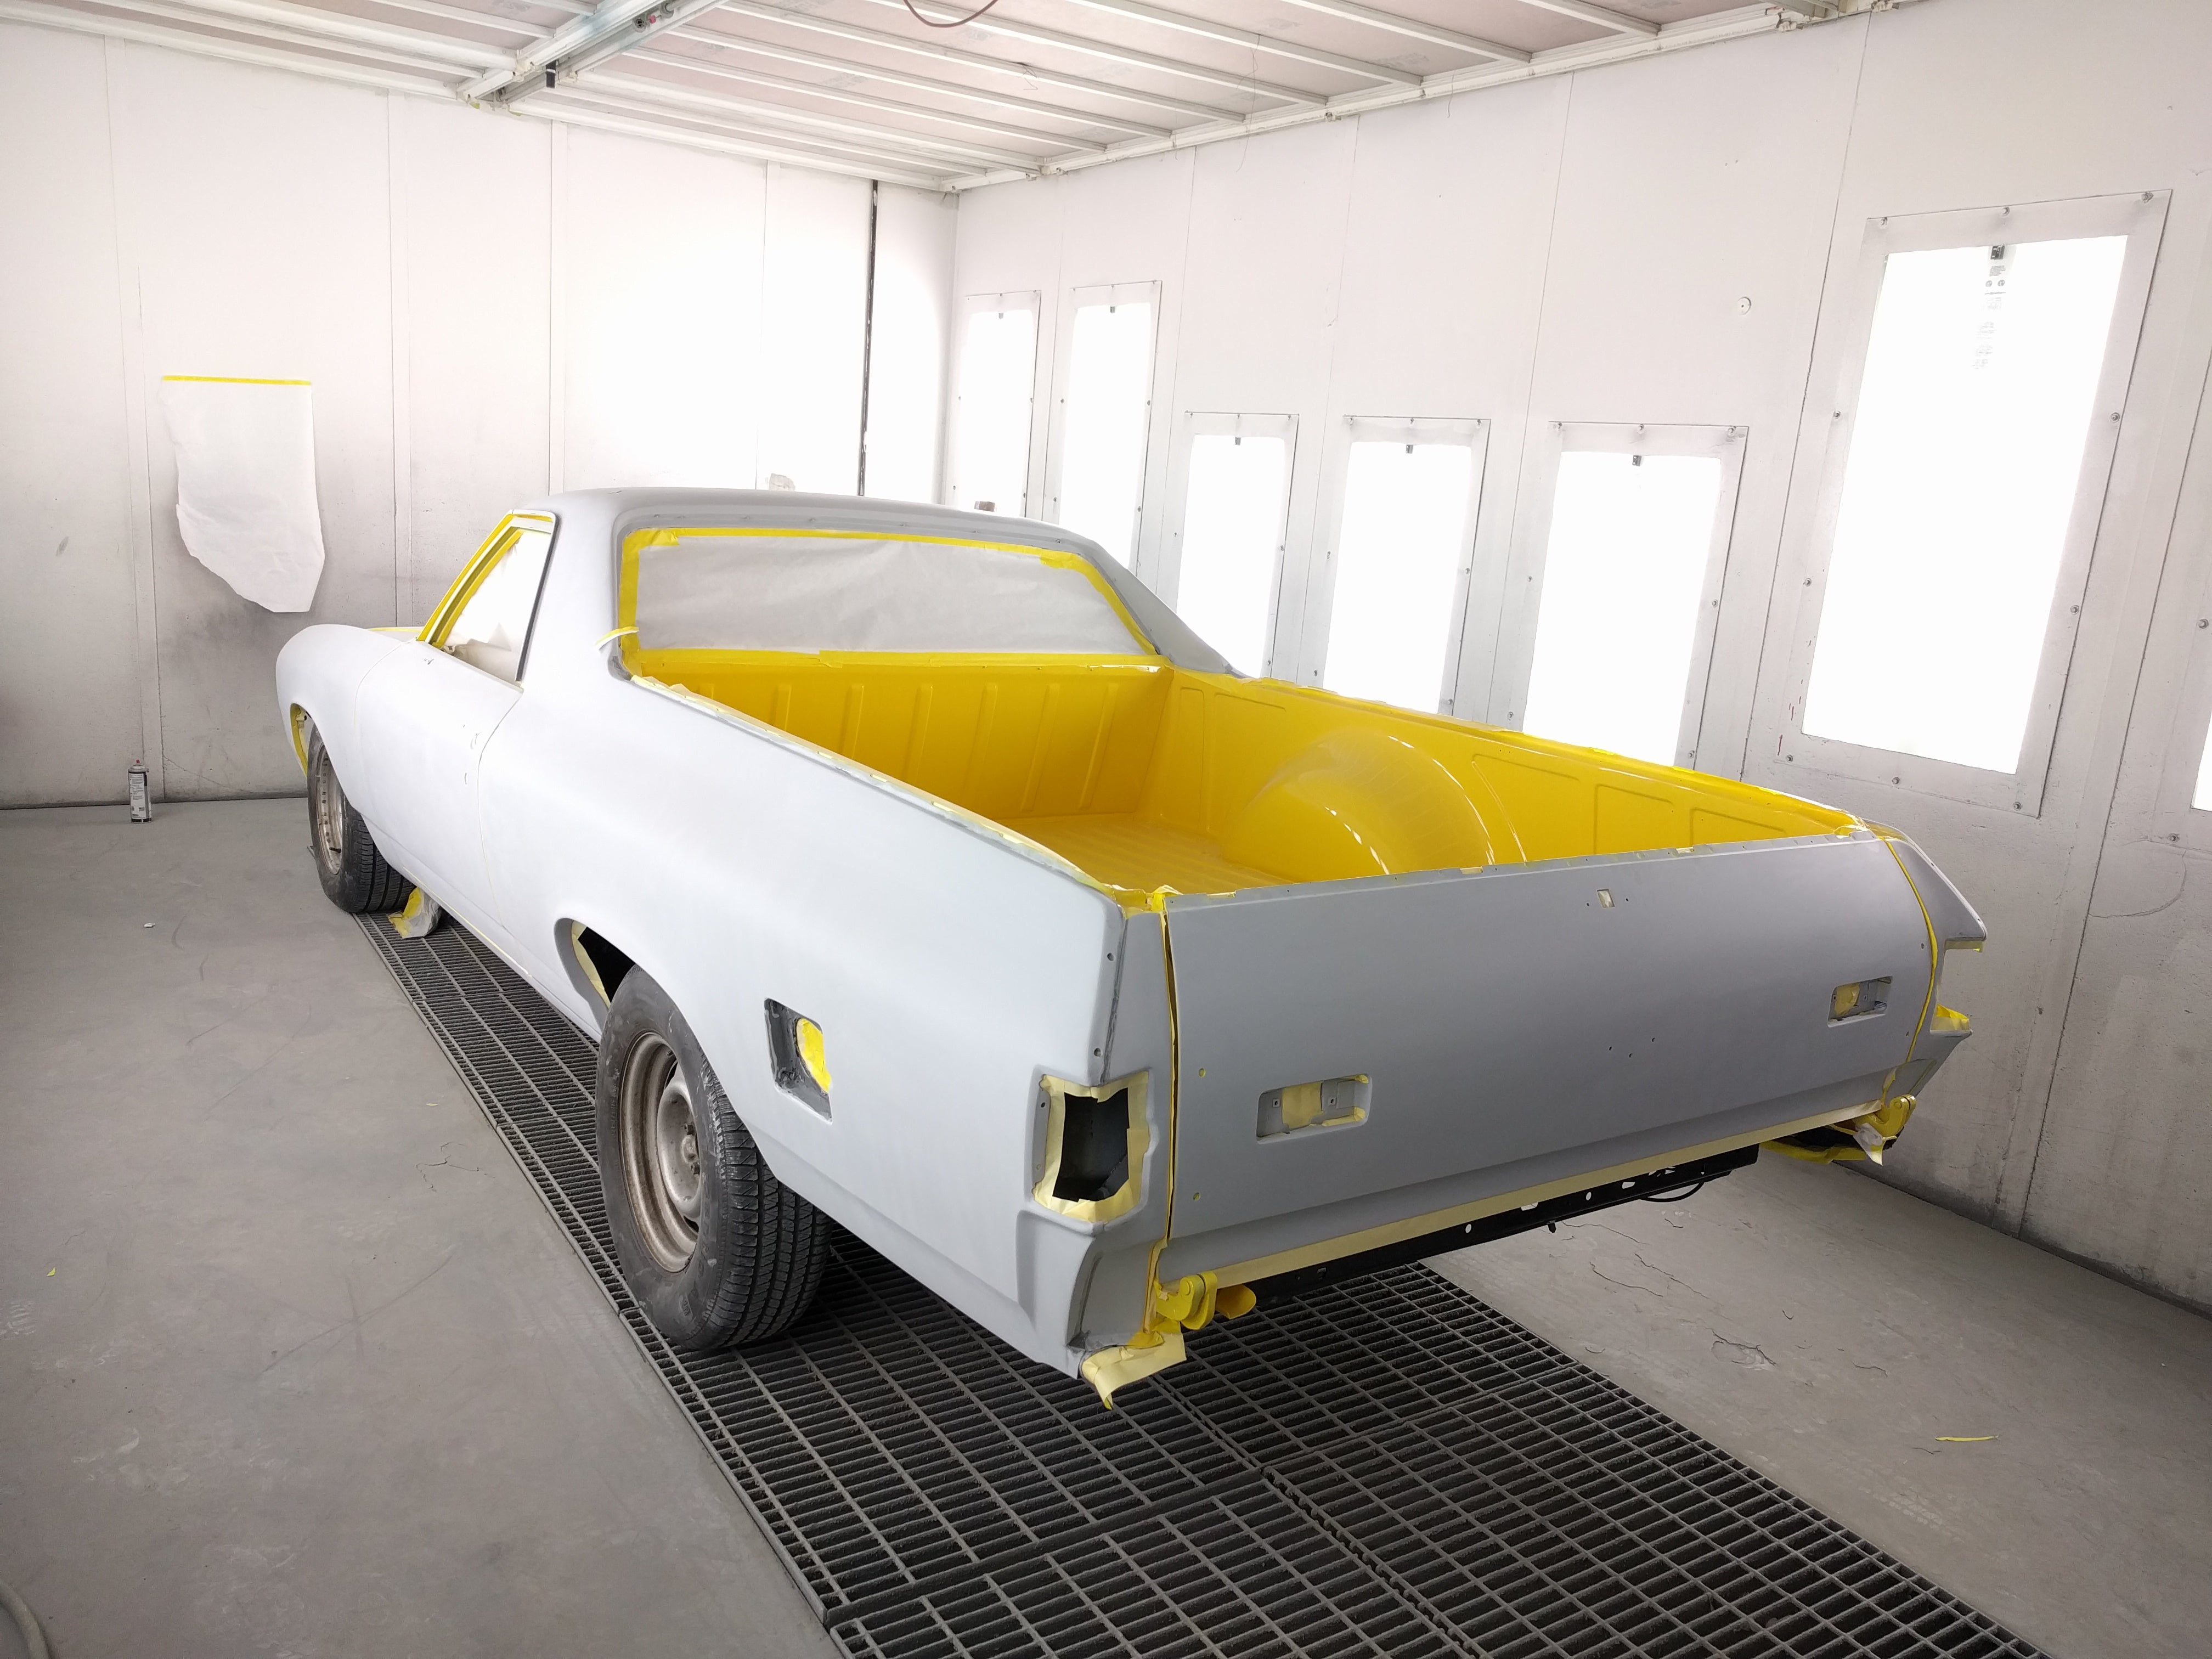
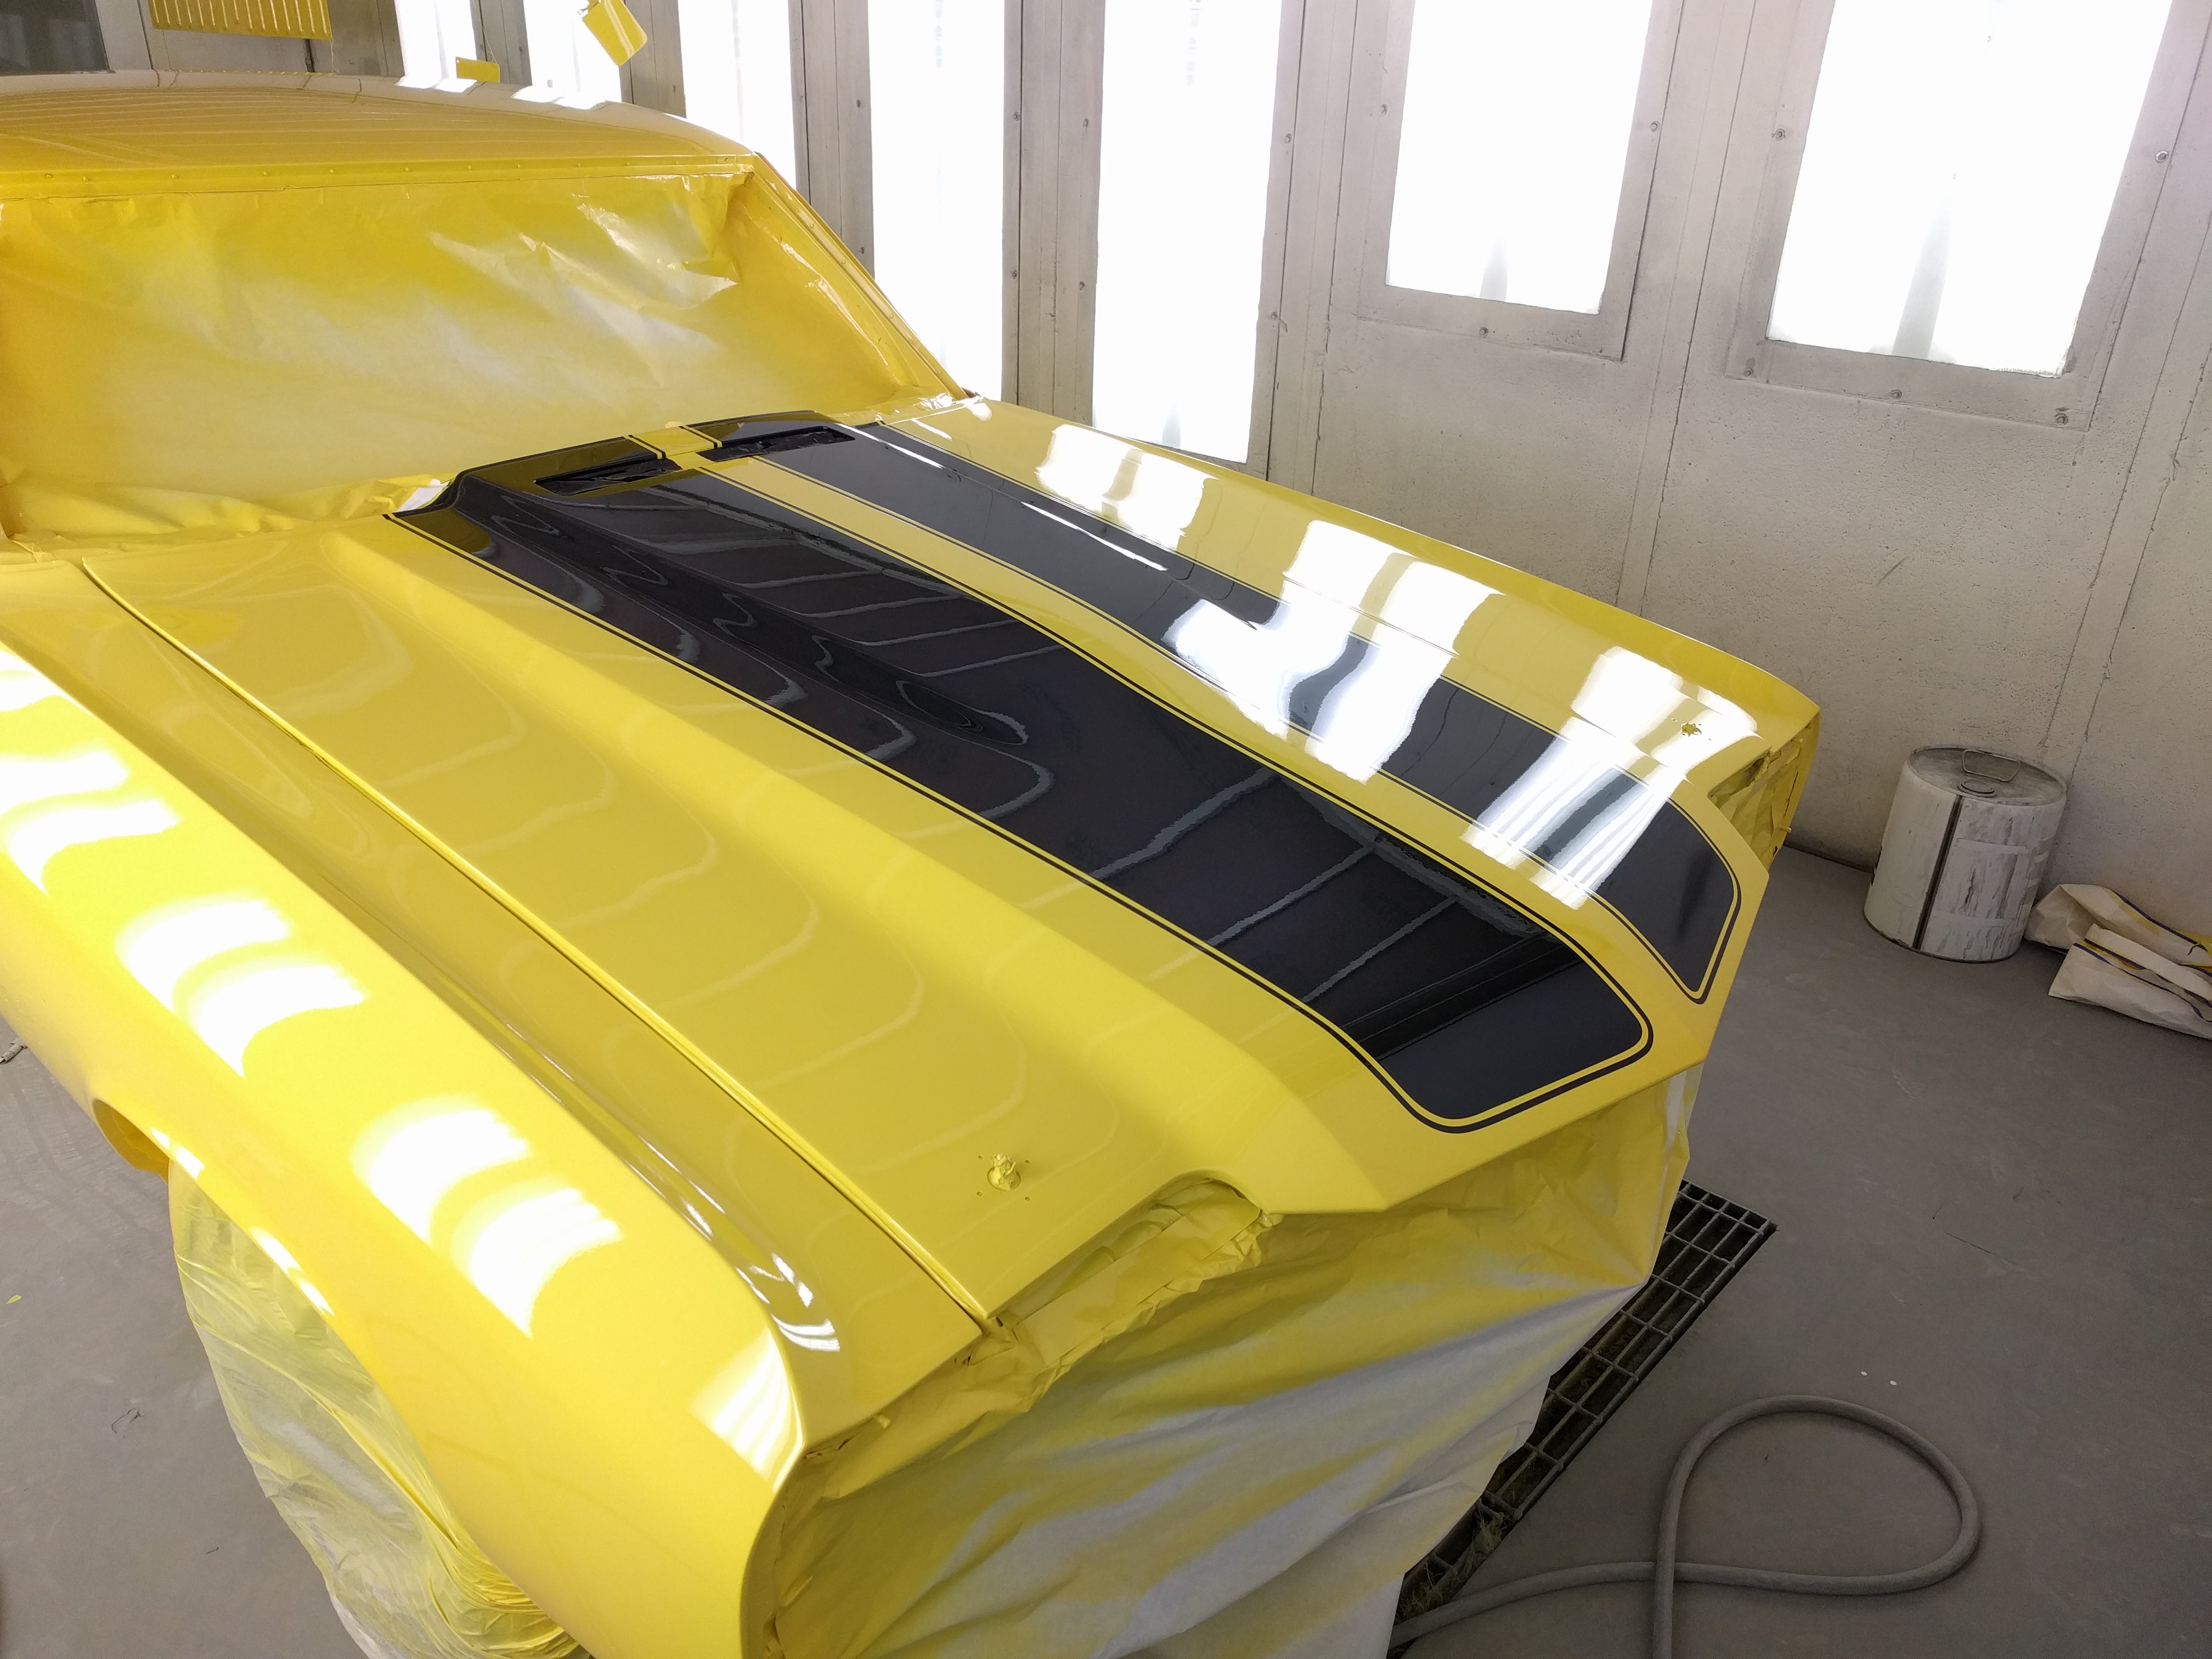
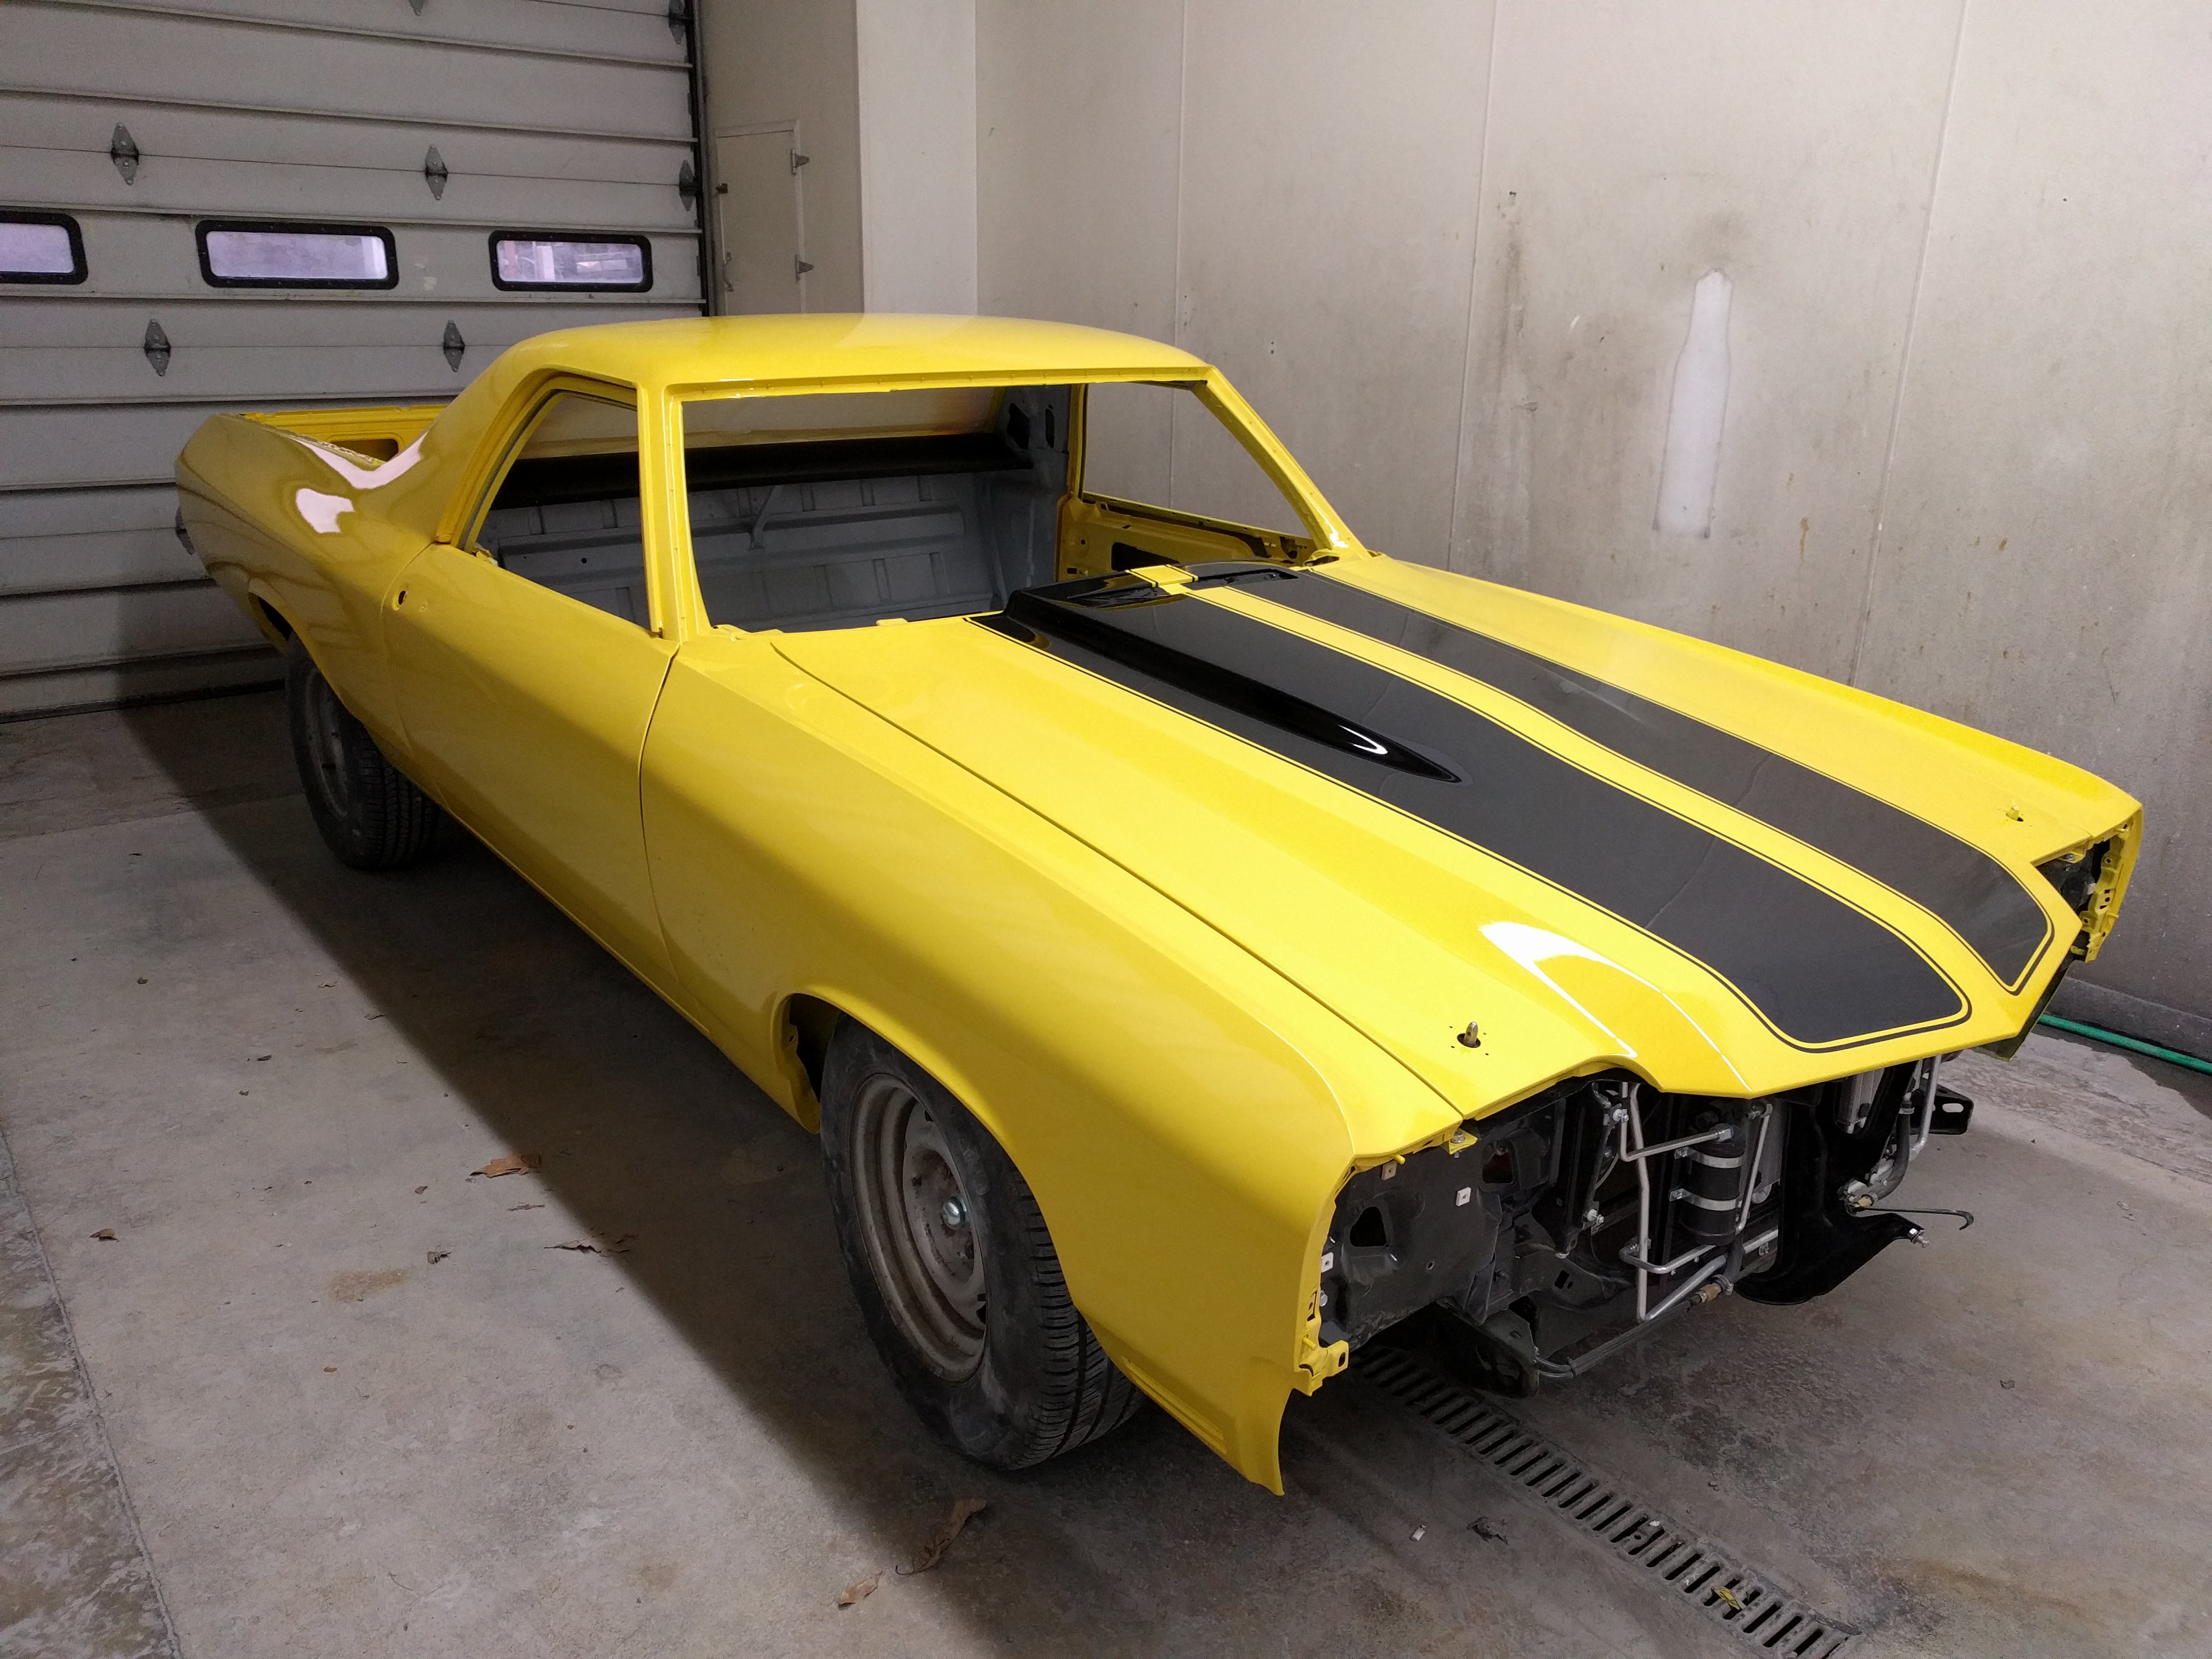
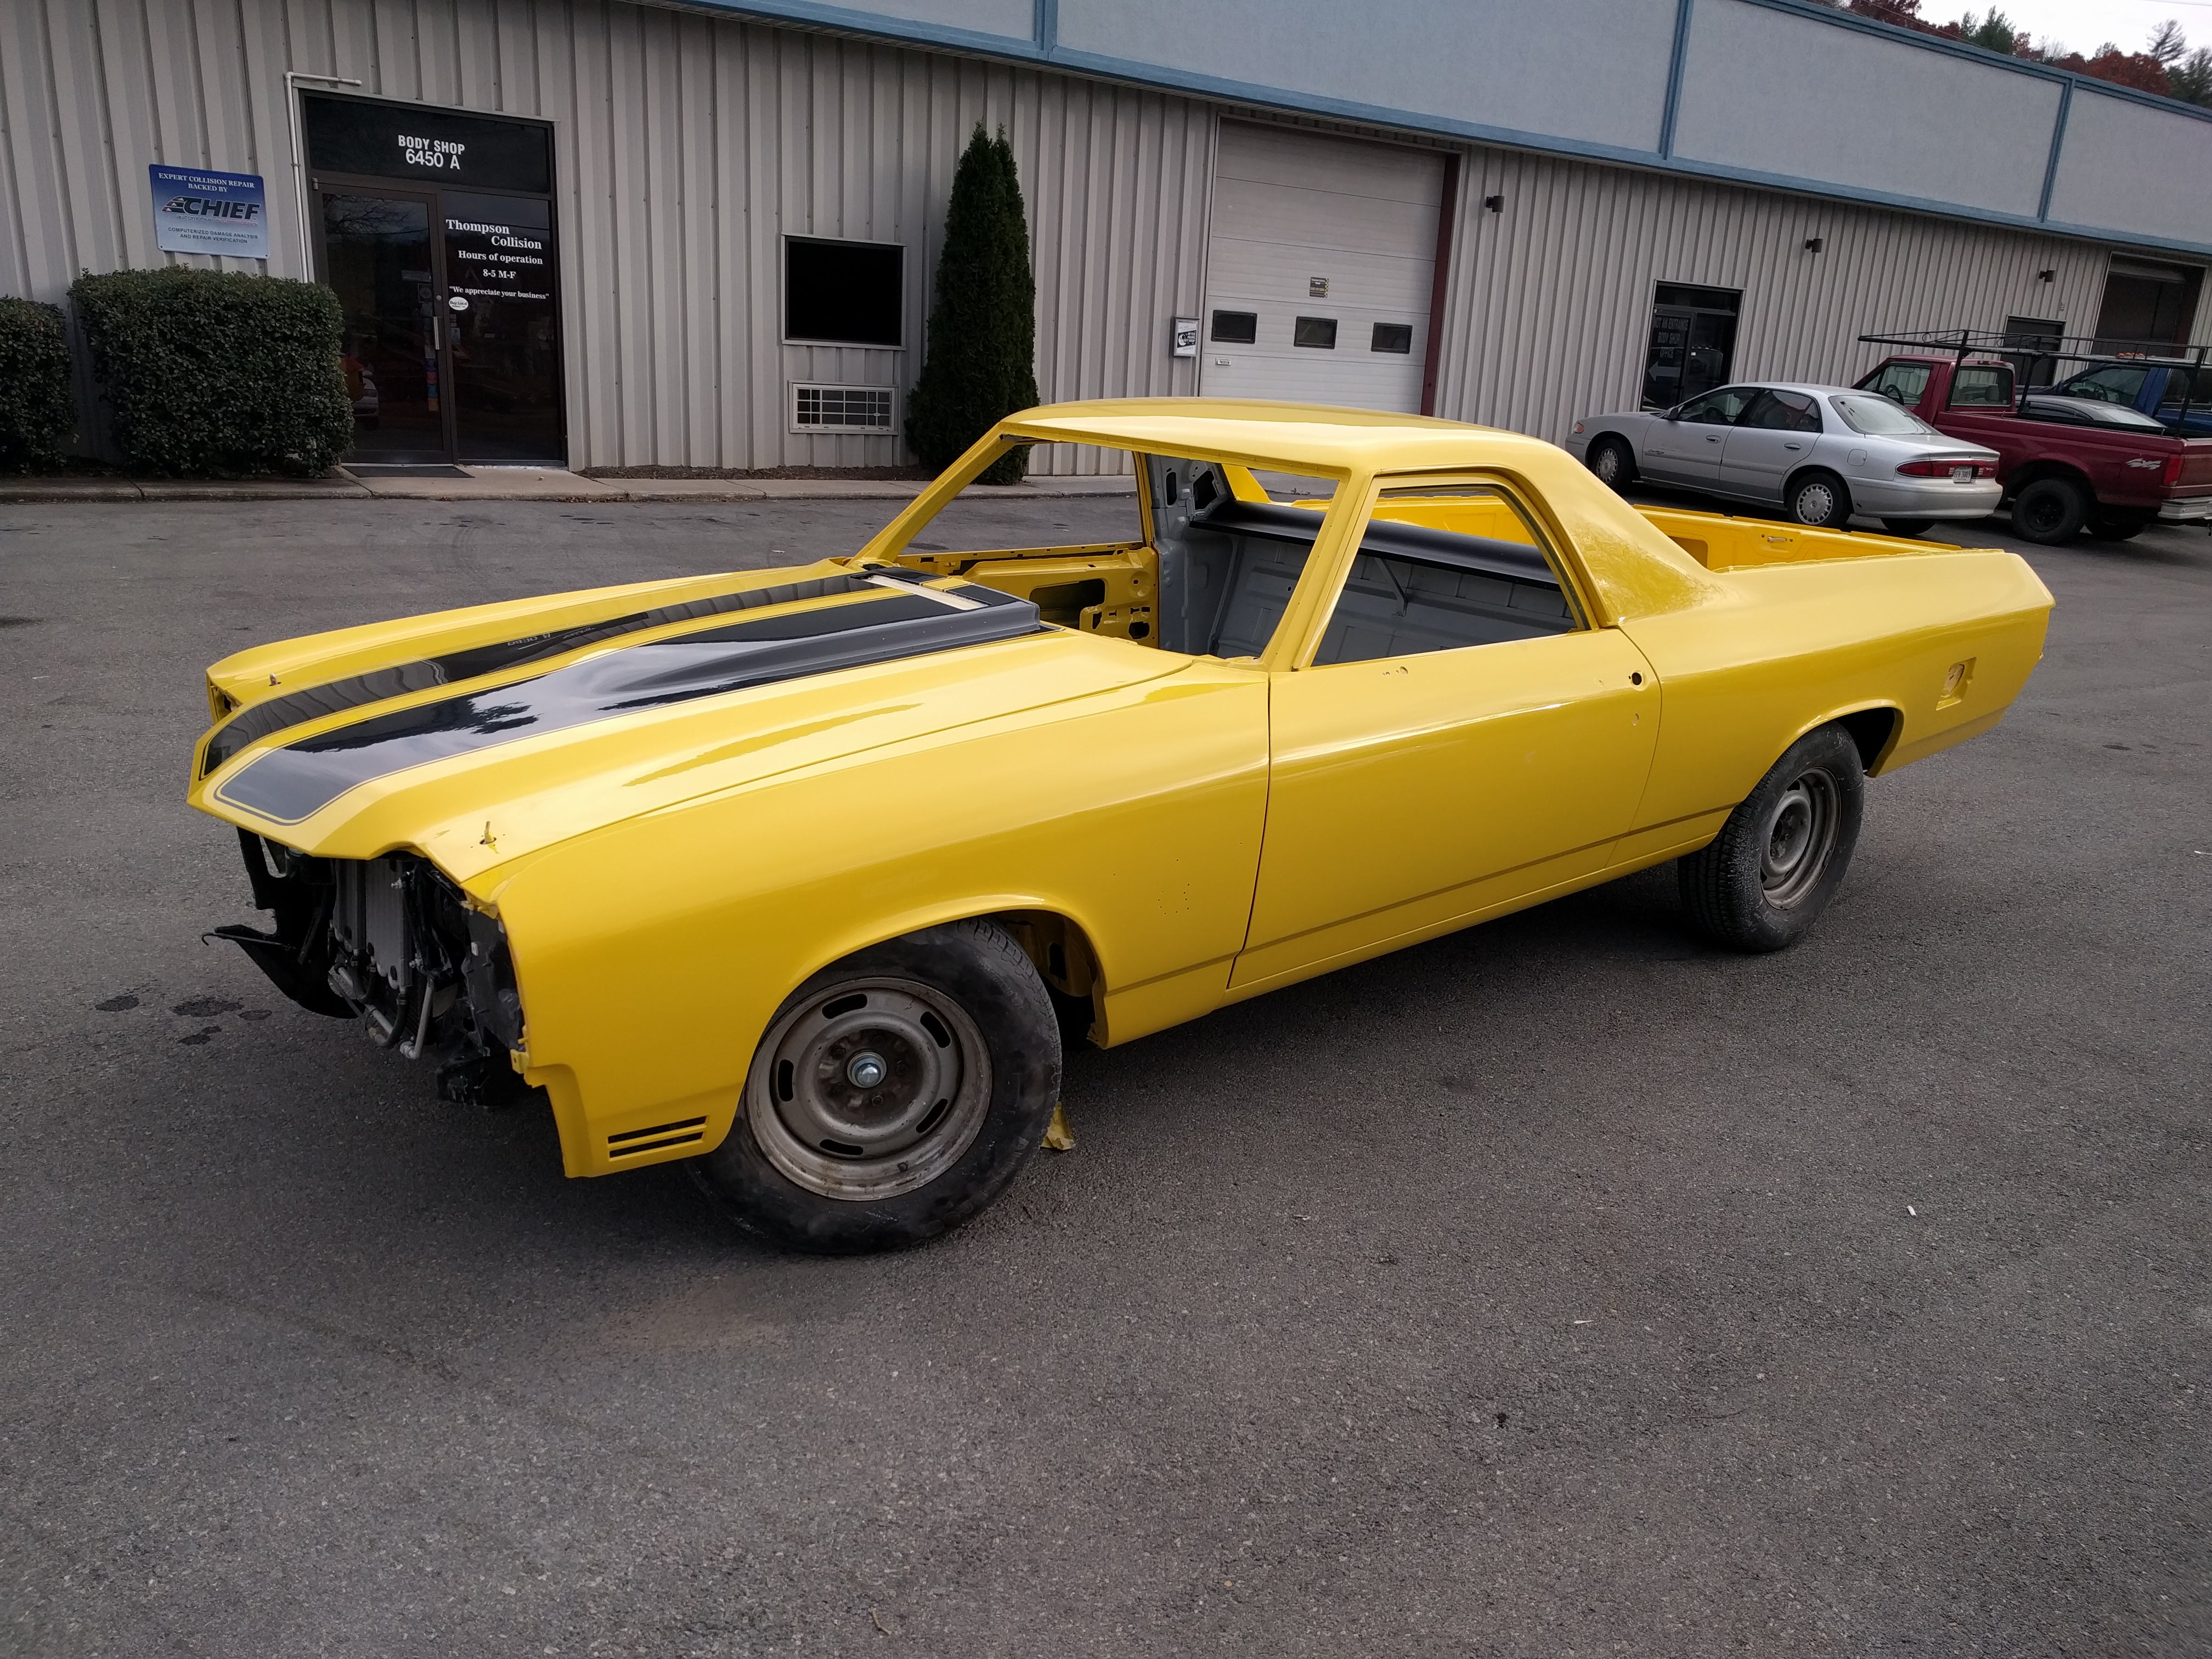
A couple solid days of sanding and buffing, and thatís pretty much that. Our customer is supposed to stop by this spring with the car once heís got it all back together, with promises of burnouts in our parking lot.
I think Iíve said it before, but itís 1000x more rewarding to finish something like this than your standard Accord/Camry/Impala/Taurus collision repair. Just getting to see the look our customers face each time he stopped by and saw his dream edging closer to reality.
P.S. Didnít realize Iíd get this long-winded or photo-happy with this post, if you made it this far, thanks for reading, youíre a trooper.
 ESSSIX GmbH - Accountant/Wagon Thumper
> Rust and Dust - Oppositelock Forever
12/14/2016 at 17:04 |
|

So much awesome!
 ToyotaFamily
> Rust and Dust - Oppositelock Forever
12/14/2016 at 17:11 |
|
bodywork is seriously an art, that thing looks nice.
 AfromanGTO
> Rust and Dust - Oppositelock Forever
12/14/2016 at 18:29 |
|
Very nice! Is it a true SS?
 Rust and Dust - Oppositelock Forever
> AfromanGTO
12/14/2016 at 19:19 |
|
It is, but nearly everything has been upgraded. 350 bored and stroked to a 406, Hotchkiss suspension, 4 link and airbags on a 12 bolt GM rear end. Frame is powder coated black, rear end is painted gray, and a good amount of shiny on the motor. Its going to be a nice ride when itís done, and itís owners are great people, too.
 Rust and Dust - Oppositelock Forever
> ToyotaFamily
12/14/2016 at 19:25 |
|
Thanks, we put a ton of time into it, and everything the owner has done is top notch work, too. I wish Iíd gotten photos of the frame without the body on. The engine is gorgeous, not too much chrome, but enough,†and nice paint on the block and heads. Frame powder coated gloss black, and the rear end housing is painted a medium gray.
 AfromanGTO
> Rust and Dust - Oppositelock Forever
12/15/2016 at 11:27 |
|
Very nice mods! :)
Wait a minute here. If it was a true SS it would have a 396 or 454 big blocks. The small block 350 even though it is bored out to a 406 is still a downgrade from the big block. Unless they have the original numbers matching big block wrapped in plastic, and donít want to risk blowing it up.
It will be super nice when it is done! Please post completed pictures.
 MM54
> Rust and Dust - Oppositelock Forever
12/15/2016 at 15:33 |
|
Very nice!
Does nobody use etching primer anymore? Iíve always been under the impression it was preferred for spraying directly onto metal, but maybe epoxy primers have come far enough that etching primer is unneeded?